Winter is Coming: How to Winterize and Store Your RV
It’s that time of year again—Labor Day is long past, and crisp autumn temperatures are starting to dip uncomfortably low overnight. Pumpkin spice is making way for peppermint mocha. You guessed it, friends … Winter is coming.
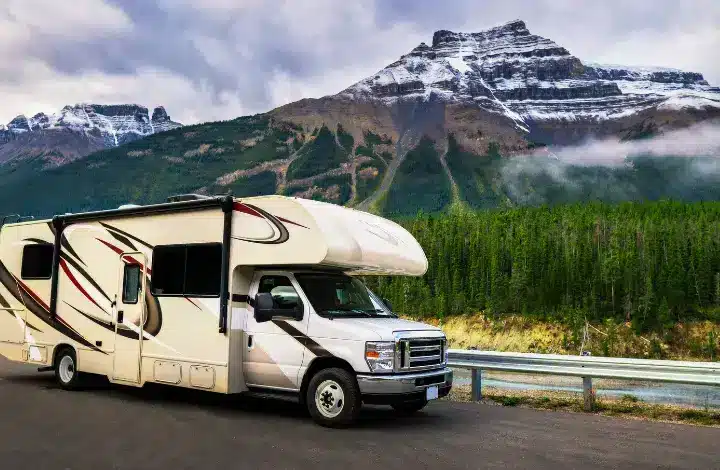
As temperatures dip close to the freezing point, it’s time to prepare your RV for winter storage. (Or, for those of us who RV full time, it’s time to head for warmer climates!)
Why and How to Winterize an RV
Winterizing your RV properly ensures the longevity of your adventure-mobile and also makes it possible to hit the road without hassle come spring.
In this post, we’ll guide you through every step of winterizing and safely storing your RV, from protecting your pipes to keeping pests where they belong—namely, outta there.
What Does “Winterizing” Mean?
As the name implies, winterizing means getting your RV ready for freezing temperatures and the long storage period it will endure over the winter.
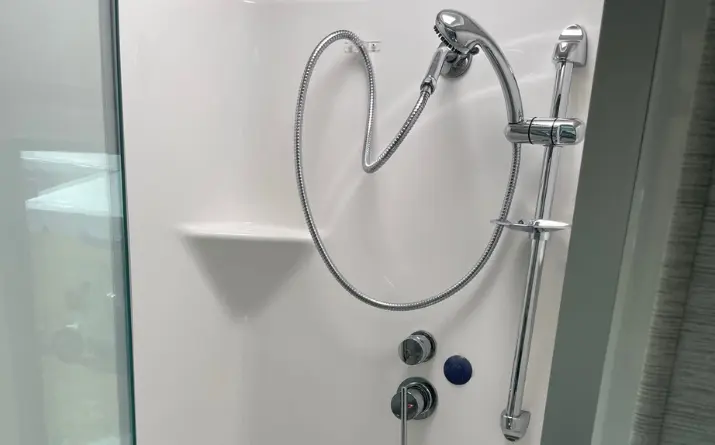
In general, when you hear people talk about “winterizing” an RV, they mean draining the plumbing system to prevent frozen pipes and resulting damage. You probably already know that when water freezes and expands, it’s bad news for any type of plumbing.
RVs are no exception, especially since they aren’t as well insulated as your sticks and bricks house.
There are a few different ways to tuck your RV in for the winter. You’ll want to close windows and vents, thoroughly clean your fridge and freezer, shut everything off, and properly store your batteries. (More on all this below.)
Is it Important to Winterize Your RV?
Any water in your tanks or water lines can crack pipes and connection points if it freezes, which could cause leaks and costly repairs come springtime. If your RV will sit unused in a location with freezing temperatures—or even the possibility of freezing temperatures—then you absolutely need to winterize.
When Should you Winterize Your RV?
You’ll want to winterize your RV in two different scenarios: when storing your RV for the winter (the subject of this post), and when camping in cold weather.
As a general rule of thumb, even if your RV is in use, you should probably winterize if:
- Temperatures are consistently at 27 degrees Fahrenheit or lower
- You can’t insulate and heat your RV’s underbelly, or you don’t have heated tanks
- You’re boondocking and can only run your furnace at certain times
Should You Hire Someone to Winterize Your RV?
In my opinion, no!
Winterizing is a simple task to do yourself. I’m hardly MacGyver, and I have winterized my RV successfully for years.
Depending on the method you use and the size of your rig, the whole process will take you less than an hour. Dealers might charge a few hundred dollars for a winterizing service, but doing it yourself can cost less than $50. It’s essentially only the cost of two gallons of antifreeze and your time.
Winterize RV Option #1: Antifreeze
The simplest, most accessible method for winterizing is to use RV antifreeze. You’ve probably seen those pink gallon jugs at your local Walmart or camp store.
This pink stuff is RV/marine antifreeze, which is non-toxic. Buying the nontoxic pink variety is important since you’ll be running this through your fresh water lines! Do not use automotive antifreeze.
With that PSA out of the way, antifreeze is my preferred method to winterize. It feels the safest and most thorough to me. Plus, it can be done in a few minutes with very few special tools.
Materials Needed to Winterize RV Using Antifreeze:
- 2-3 gallons of non-toxic RV antifreeze
- Water heater bypass kit, if your RV doesn’t have one pre-installed
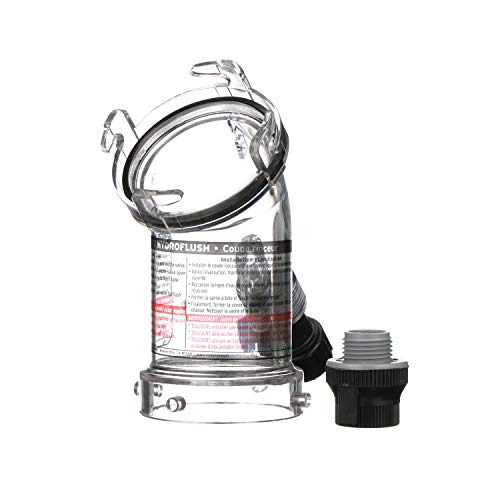
- Black tank flush wand or nozzle, if your RV doesn’t have one pre-installed
- Basic tools to remove and reinstall the water heater drain plug (I use a wrench)
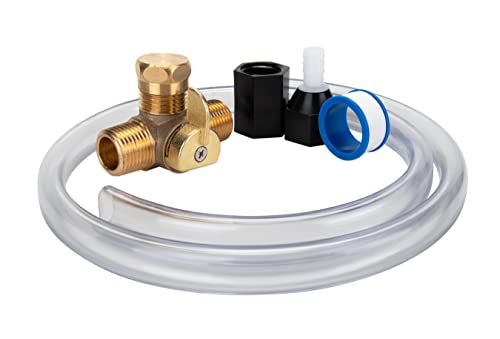
- Water pump converter kit or tubing to connect to the inlet side of the water pump, if your RV doesn’t have a line pre-installed
Note that we have included a shopping list at the end of this post for your convenience.
How to Winterize RV Using Antifreeze:
That’s it, you’re done! Basically, this method involves draining your fresh water system and making sure that any spots where water droplets might remain are filled with antifreeze.
In the spring, you’ll use fresh water to flush all the antifreeze out of the system and you’ll be ready to hit the road in no time.
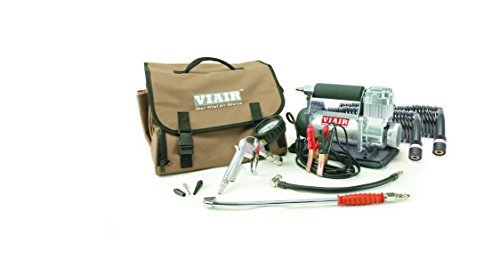
Winterize RV Option #2: Compressed Air
Materials Needed to Winterize RV Using Compresed Air
- A tankless air compressor
- A blow-out plug to connect the air compressor to your fresh water system
- An adjustable water pressure regulator to attach inline with the blow-out plug
Note that we have included a shopping list at the end of this post for your convenience.
How to Winterize RV Using Compressed Air
This method is much more involved, and you still have to use antifreeze, so it’s not my favorite. But if you don’t have the equipment to connect your water system to a jug of antifreeze directly, and you do have an air compressor, this method might be more accessible.
Final Thoughts on Winterizing RV Plumbing
Other Important Factors When You Prepare RV for Storage
Plumbing is the most time-consuming part of winterizing your RV, but it’s certainly not the whole story!
Now that your water system is safe from freezing temps, it’s time to make sure the rest of the rig is prepared for winter storage, too.
With the plumbing done, prepare the rest of your RV for storage
Cover Your RV
RV covers can be a bit expensive, but they are generally worth the investment if your rig is going to be in long term storage. A cover is meant to protect your RV from the elements while it’s not in use.
If your storage spot isn’t under the cover of a roof, consider an RV cover to protect your rig from snow, hail, ice, and even UV rays while it’s in storage.
Make sure any RV cover you use is made of breathable material to prevent mold and mildew.
IF YOU’RE BUDGET CONSCIOUS, COVER ONLY CERTAIN COMPONENTS
There are alternative options if a full RV cover is outside your budget. Consider separate covers for certain components, such as your air conditioner or tires.
Tire covers can prevent cracking and prolong the life of the rubber, while air conditioner covers can help prevent rust and keep unwanted critters out.
Pest Control
There’s nothing worse than opening up your RV after a few months in storage and seeing mouse poop or other evidence of unwanted “guests.” Start by checking the underbelly and exterior storage bays for any gaps or holes where pests might enter.
You can block these effectively with steel wool if a more permanent solution isn’t possible in the short term. Of course, also check your doors and windows to make sure they’re all closed and sealed properly.
Some RVers use moth balls to deter pests, but frankly, I can’t imagine that smell in such a confined space. I prefer more natural deterrents like peppermint oil or botanical pest control pouches. Leaving a few of these around can help discourage unwanted visitors.
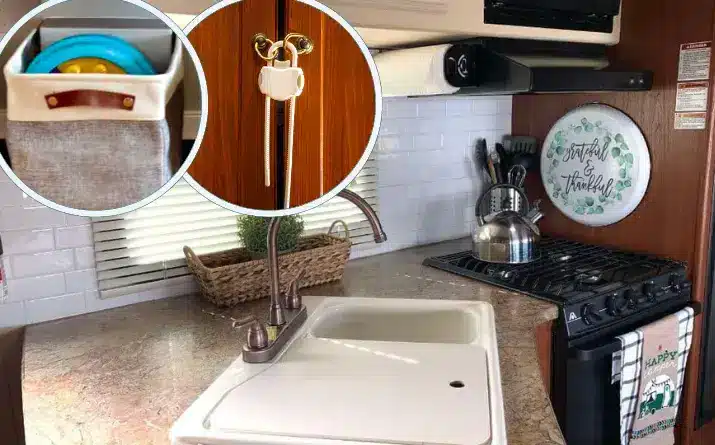
REMOVE ANYTHING THAT WILL ATTRACT CRITTERS
Finally, remove all food, pet food, and scented toiletries from the RV. Store dry pantry items or other things you want to keep in the rig in airtight containers with sealing lids to prevent food odors from tempting pests.
Related Reading: Keep mice out of your RV
Battery Storage
Batteries don’t do well in freezing temperatures. It’s best to remove them from your rig entirely and store them safely at home over the winter. Bonus points if you keep your battery hooked up to a battery tender charger, which will keep it charged and prolong its lifespan.
And don’t forget about smaller batteries in things like flashlights, smoke alarms, remote controls, etc. You’ll ensure they last longer if you take them home with you, too.
Remove batteries and store at home to maintain longer life.
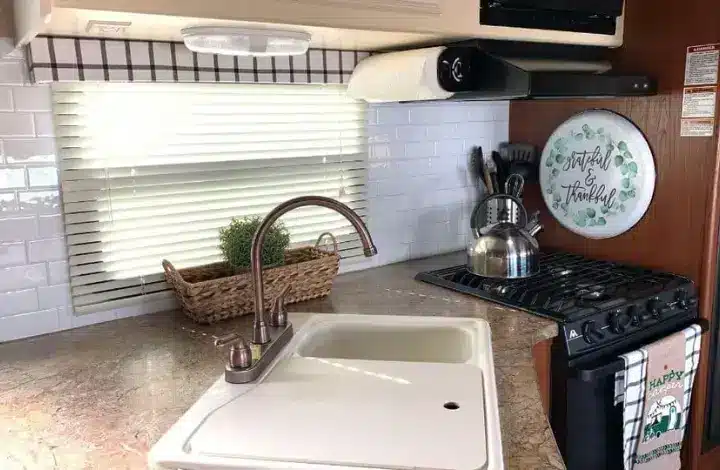
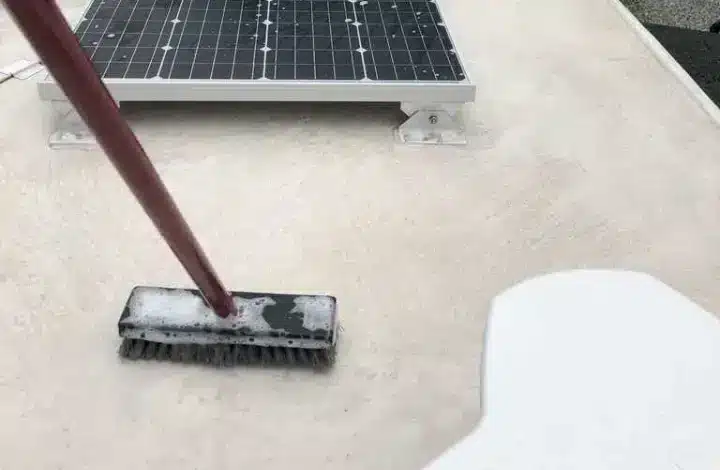
Keep it Clean
Last but not least, clean the interior of your RV thoroughly. This helps keep pests away and also discourages mold and mildew growth while you’re gone.
To that end, no matter how well you clean your fridge and freezer, leave the doors open (and the unit turned off) while you’re away. The seals prevent airflow and will encourage the growth of some funky flora otherwise.
Shopping List for Winterizing RV
For your convenience, here are the primary products you’ll need for winterizing your RV. We typically shop at Amazon because of the one-shop convenience and free shipping (with Prime). But, you can find these items at any hardware store, including Home Depot or Lowe’s.
Materials for Antifreeze Method
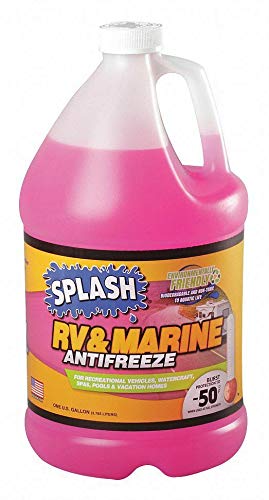
Add to RV plumbing systems to prevent water pips from freezing. -50 Point Freezing (F).

Materials for Compressed Air Method
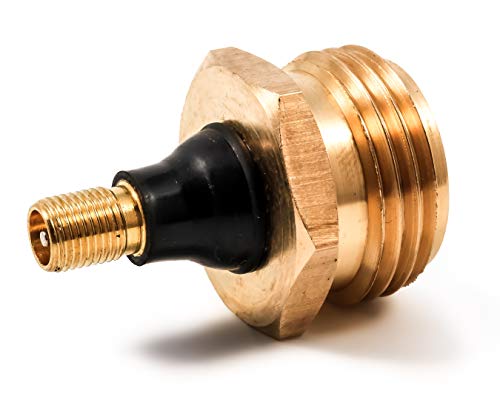
Helps clear your RV's water lines during winterization and de-winterization.

Other Items for RV Winter Storage


Tire and wheel protection covers for truck, camper, or RV. Constructed with durable, water-resistant coating. Available in various sizes; check diameter of your tires for correct size.


A botanical pest control solution made with Balsam Fir oil

12V Battery Charger and Maintainer
Final Thoughts on RV Winterizing
While this may seem like a lot, the whole process only takes an hour or two, start to finish, depending on how much cleaning you need to do.
Try to winterize your plumbing yourself if you haven’t done it before. I believe you’ll realize how easy it is!
By taking just a few careful steps in the fall, you will help maintain your RV in great condition and be ready for next year’s adventures!

Sarah Kuiken has been a full-time solo traveler for 4 years and counting, but she’s been a solo adventurer for decades. She owns her own copywriting business, Flourish Writing, which she operates from the road. Sarah loves to explore state and national parks with her two dogs, Orion and Piper—wherever they’re allowed, of course. When she’s not whipping up web copy for fellow entrepreneurs, she’s probably out hiking or paddle boarding with the dogs in tow. Learn more about her freelance writing business at FlourishWriting.com.