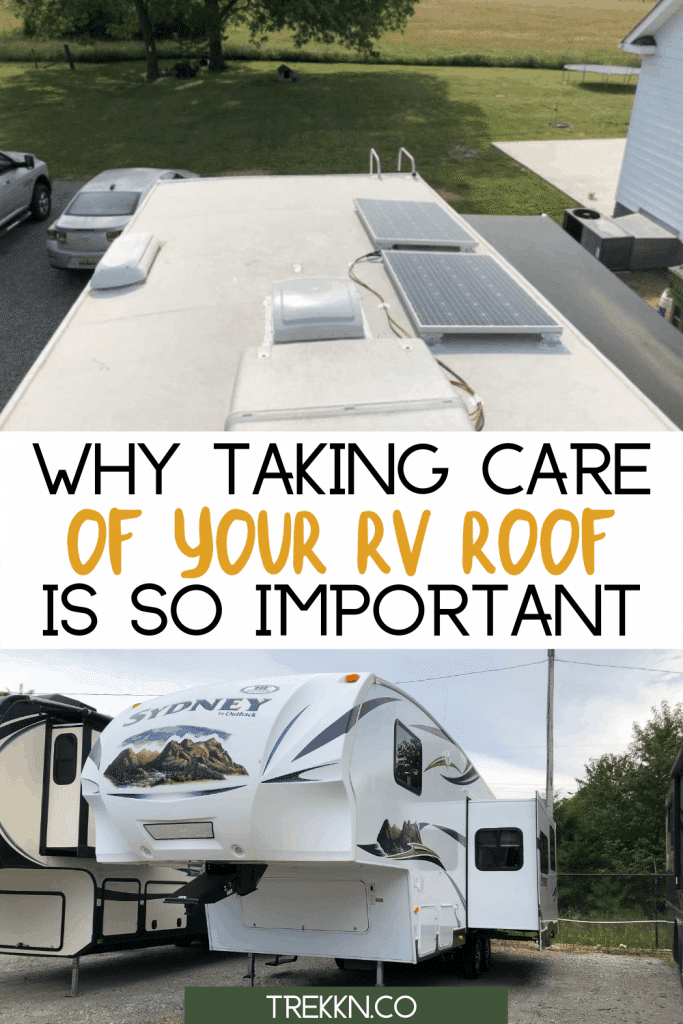
How to Clean the RV Roof: Detailed Guide & Materials
The RV roof is not something most people look at on a daily, weekly, or even monthly basis. But, the truth is the secret to the longevity of your RV is right above your head! Proper RV roof maintenance helps to ensure your rig is in good health for years to come.
In fact, the RV roof is the first line of defense against a plethora of potential problems. Roof maintenance is the key to maintaining a roadworthy RV. Read through your owner’s manual and follow our tips below.
Keep your roof in tip top shape and your rig will be ready to hit the open road whenever you are ready for a new adventure.
Your RV roof sees the first rays of the sun each day, and the first drops of rain during afternoon storms. Knowing what type of roof you have, manufacturer recommendations for care, and how to make a repair are all key tools to have in your bag of RV knowledge.
Types of RV Roofs
There are several types of materials that manufacturers use on RVs. They vary by brand, RV type, and price point. As an RV owner, knowing what roof type you have is key to helping maintain it for years to come.
Aluminum
Aluminum roofs became popular with RVs in the 1930s and saw a surge post WWII as American GI’s returned home and hit the open road. They mimicked the style of the times, the sleek look of the aircraft that became a symbol of the pre- and post-war era.
Solid, sturdy, and able to handle the beating of being towed down the new interstate highway systems, metal roofs continued their popularity from the 1940s through the 1970s. Easy to spot, they are shiny (or dull if they are painted) and provide the protection you are used to with a metal roof on your sticks and bricks home.
Ethylene Propylene Diene Monomer (EPDM)
EPDM was introduced to the RV roof in 1983 by Dicor. It is often referred to as a rubber roof or rolled rubber roof. The product was originally developed in 1962. It increased in popularity in the late 1970s under the Middle East Oil embargo.
It was first used as an alternative to asphalt roof shingles. By 1983 RV manufacturers began using EPDM. At the time it was the latest and greatest advancement in RV roofing technology.
The product is a membrane rubber, usually black, topped with an oxidative layer that we see as white. EPDM is made from recycled tires, slate dust, and saw dust. One of the clues that you may have a EPDM roof is dark black streaks on the sides and especially the front and back caps.
Another way to tell is if the roof is slick when wet (use extreme caution here). If you are still unsure, remove one of the roof vent shrouds and look at the extra material behind it, it should be black on bottom and white on top.
Thermoplastic Polyolefin (TPO)
The TPO rubber roofs were introduced in the 1990s as an alternative to PVC roof materials. It has gained popularity over the years and is now the most used RV roofing material in the industry.
While TPO is still a rubber roofing membrane, it is closer to a PVC material than rubber. This means it is lightweight and UV-resistant.
TPO will be easy to walk on when wet (not slick) and again if you pull a vent shroud off, it should show a white material on the underside (no black backing). It also tends to have more sheen to it, whereas EPDM can be a bit dull looking, especially if it has not been washed in some time.
Fiberglass
Fiberglass has been around for centuries. It is made from glass fibers, produced by blowing compressed air through molten glass, producing glass fibers that can be molded into any shape or woven into a fabric material. Fiberglass RV roofs are comprised of glass fibers pressed into a flat sheet with a thermoplastic resin.
This makes fiberglass stronger than metal, but flexible enough to withstand an RV moving down the road.
Fiberglass roofs are typically seen on motorhomes, class C’s, and higher end fifth wheels. Most are painted to match the paint scheme of the coach, but if you get close enough you will see the individual fibers exposed through the paint.
Another clue that you may have a fiberglass roof is the sealant used. The sealant will be more of a rubbery, silicone-based sealant, quite different from the lap sealants used on the TPO and EPDM roofs (we’ll cover sealants in a bit).
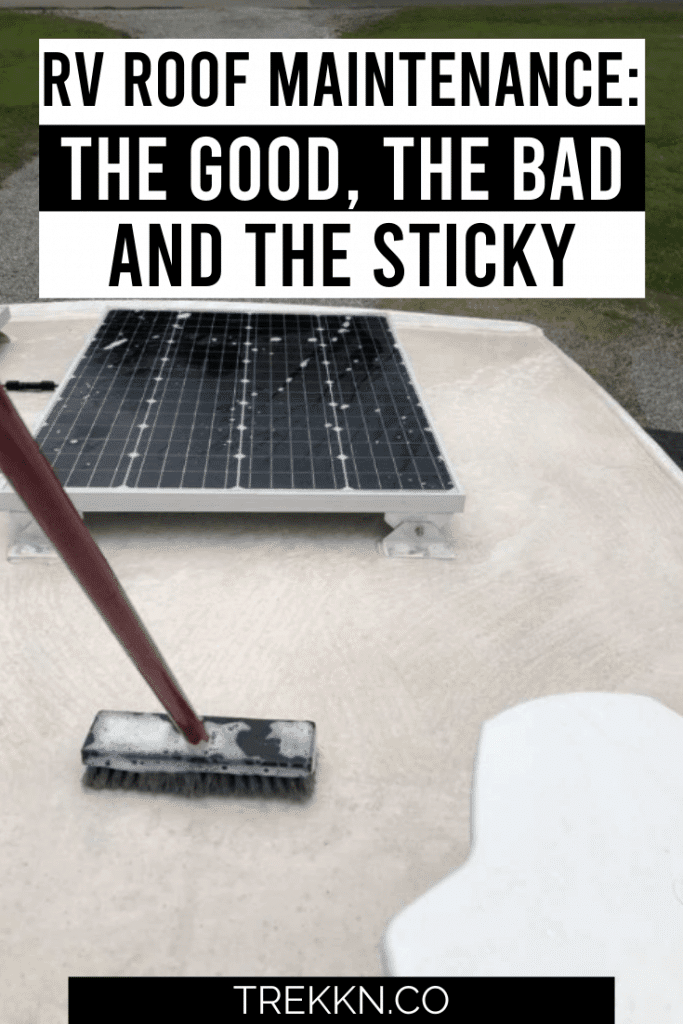
RV Roof Maintenance: The Good, Bad and Sticky
Now that we know what roof material we are working with, we can apply the proper techniques recommended by each manufacturer to make your RV roof last as long as it was designed to and keep it looking good and leak free.
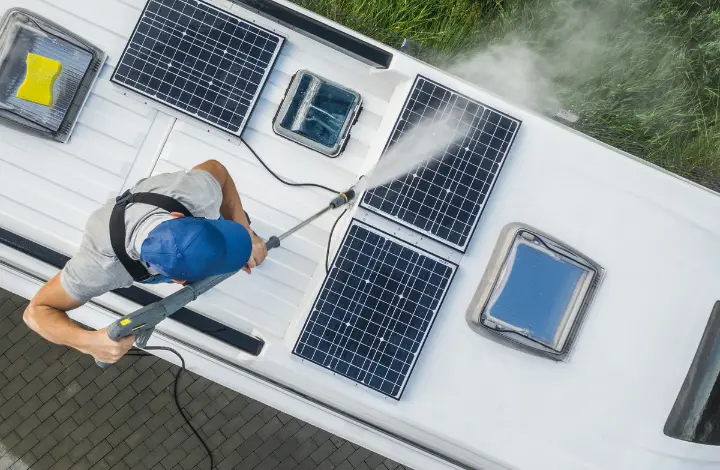
A Clean RV Roof is a Happy Roof
Most, if not all, RV roofs can benefit from a good wash. Many RV roof manufacturers state that petroleum solvents (which dissolve residues) can damage the roofing material. So we recommend that you use a good, non-petroleum distillates-based soap.
My favorite soap to use for washing the roof of our RV is Dawn dish soap. I prefer to not use harsh abrasives during the cleaning process. Dawn is the best product to remove grease without harming the roof or the paint.
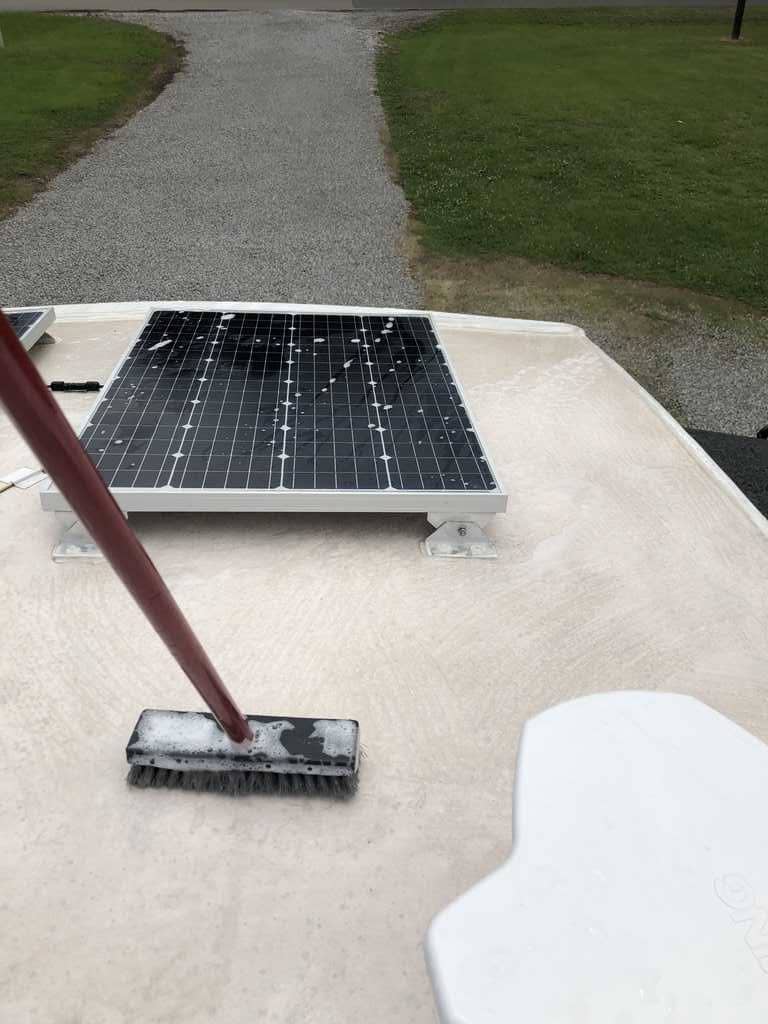
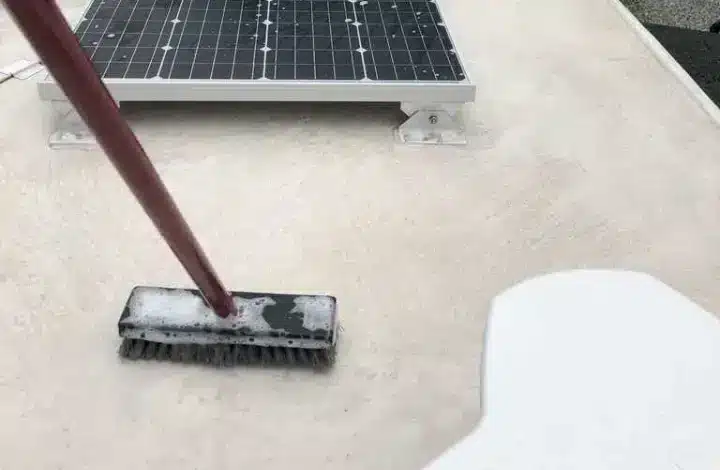
Use a soft bristle brush, similar to the microfiber brush you would use on your tow vehicle or work car. Using the brush, a mild detergent, and warm water, gently scrub the roof. Cover every inch as much as possible, and remove any stuck dirt.
If you need to work on any stubborn stains, you can try a handheld medium bristle brush. Use a circular motion with light, gentle pressure to avoid scratching the material.
BENEFITS OF WASHING THE ROOF
There are two primary reasons for washing your RV’s roof.
- Clean RV roofs look really good.
- Enables you to spot any potential issues.
Loose dirt can hide cracks or imperfections in the material. You want to wash away the grime to keep the roof in good shape, but also to avoid missing any issues. Cracks can allow leaks that could result in water damage and cost thousands of dollars to repair.
Perform a Roof Inspection
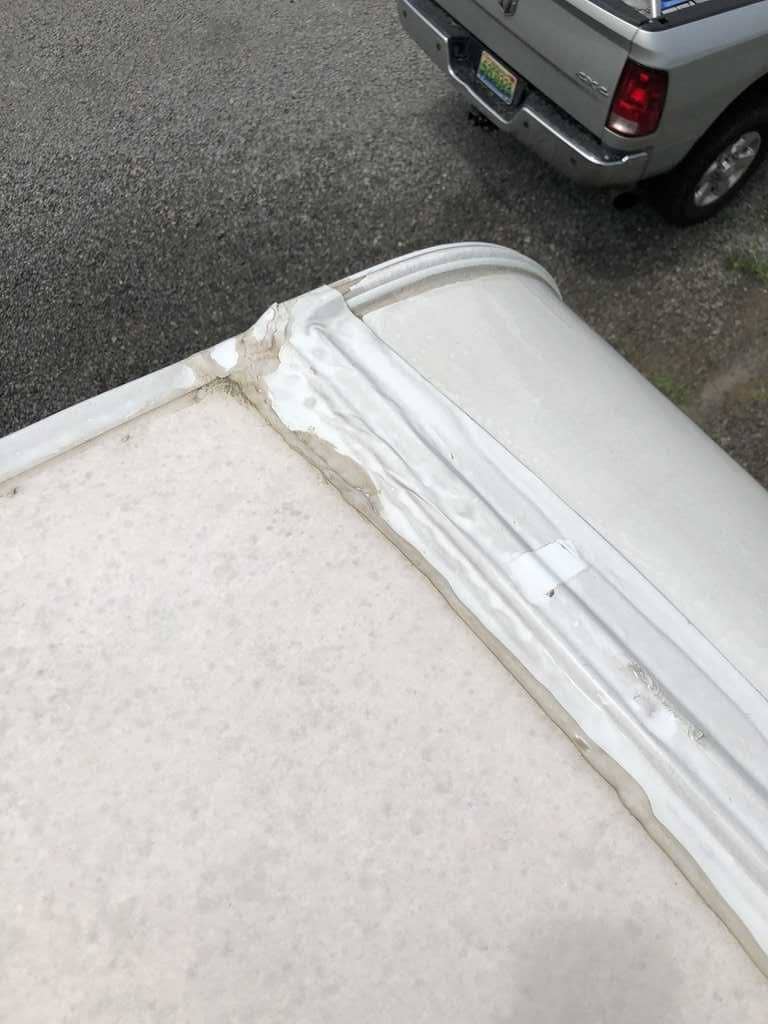
Once the roof has been washed, allow it to fully dry. Then walk the roof to check all areas. I recommend using a flashlight to check the front and back seams where the roof of your RV meets the front and back walls or caps.
DURING ROOF INSPECTION CHECK THE SEALS
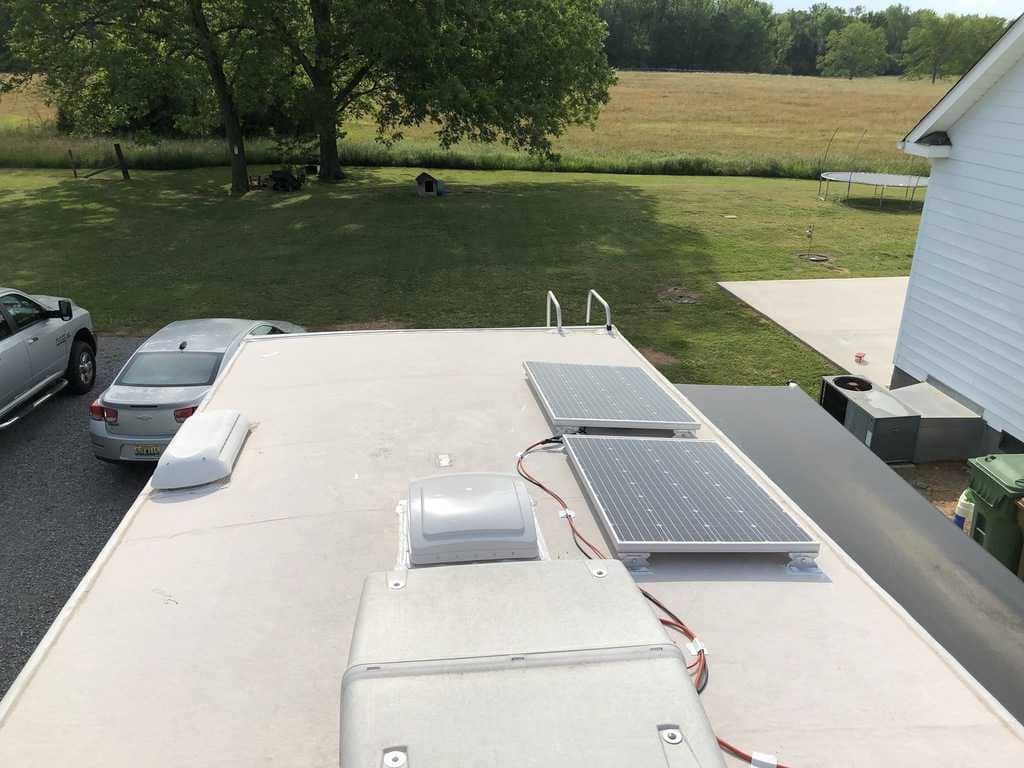
Also inspect the side seams where the roof meets the sides of the rig. Check the sealed surfaces around any of the various appliances or holes in the roof. Be sure to check the following:
- Vent fan
- Refrigerator vent
- Air conditioner
- Sun roof
IDENTIFY AND MARK THE PROBLEM AREAS
If necessary, remove some of these vent caps for a more thorough inspection of the seals. What you are looking for is cracks, holes, or crevices that could cause a leak or other potential problem.
This is why the roof wash is super important. With a clean roof, these imperfections may not be visible. Identify the problem areas and mark them (and/or take a photo) so that you don’t forget where they are.
One good idea is the keep a written list. Mark each area on the roof with a number to ensure that when you repair the issues you can check them off without missing any.
After your inspection is complete, it’s time to repair any defects you may have found. Defects are repaired differently depending on the material of your RV roof. This is why it is important to know what material was used to manufacture your RV.
If you use the wrong sealant on the roof, it may not bond properly and could allow water to seep in down the road.
As always, if you feel uncomfortable making a repair, contact a RV repair specialist.
Aluminium Roof Repairs
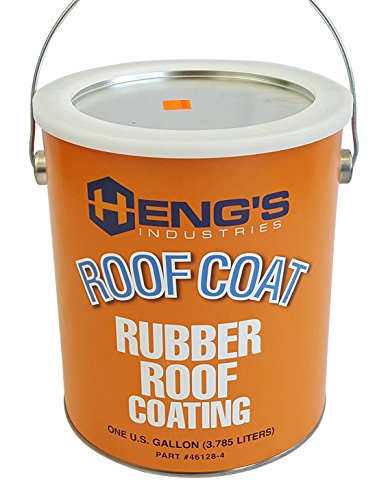
Aluminum roofs are usually constructed of one sheet of metal that covers the RV. A repair can be difficult. Most RV shops will suggest rolling a coat of an elastomeric sealant over the entire roof. An elastomeric coat is flexible, white in color, will seal the entire roof, and is rolled on like a coat of paint on a wall in your home.
Stretchable, UV resistant, and hardy to the elements, this coating should seal any issues you may have found during your inspection. This can also be applied to a small area with localized defects as well.
Kool Seal, Henry, and Heng’s are some of the brand names you’ll find while searching for this product.
EPDM Roof Repairs
Dicor makes a full suite of products to repair it’s long standing EPDM rubber roof. A self leveling lap sealant works great for front or back cap seals and any places where a hole may have developed, especially in the area around the appliance vents on the roof.
Apply liberally, and watch it run. It will level itself with the roof, sealing any areas that may be a potential problem.

Lap sealant can be applied directly over an old coating of dicor. If the old dicor looks really bad or cracked, scrape off as much as you can, clean the area locally with a damp rag and soapy water or mineral spirits (note: A large amount of mineral spirits can be harmful to your roof so use sparingly and never pour it directly on the roof. Use it only on a small area with a damp cloth). Apply the lap sealant to the area and allow plenty of time for it to dry.
Another product that can be used in an emergency is Eternabond Tape. Eternabond Tape is probably the stickiest tape I have ever worked with! When pressed firmly on the roof, it can cover any hole, ding, dent, or bad caulk job. I carry a roll of this in our RV no matter where we are just in case we get snagged by a tree or hit with some type of road debris or flying object.

TPO Roof Repairs
TPO can be treated much the same as EPDM. As I said earlier, TPO is another rubber membrane. Cleaning and applying the suite of dicor products will seal any number of defects, just as you would treat an EPDM roof. Wash, inspect, clean locally and apply sealant as you would on an EPDM roof.
Fiberglass Roof Repairs
Fiberglass roofs are a bit rare, and finding repair options are even rarer. If you find a defect in your fiberglass roof, say a hole, the dicor self leveling lap sealant can be applied or a strip of Eternabond Tape as well.
For gashes or tears, a repair of the fiberglass is best. This involves scuffing the surface of the fiberglass and laying a new layer of fiberglass fabric and applying the resin to cure the fabric to cover the tear or gash. Consult a RV repair specialist before performing this operation or find a repair shop that may be willing to do the job.
Spend Quality Time on Your RV Roof Maintenance
RV roofs are usually an item that is too easily out of sight and out of mind. However, they are the most important inspection point of any RV! You can save yourself thousands of dollars with regular inspections and repairs to your roof.
We often joke that our neighbor must think we are crazy because of the time we spend on the roof of our RV. I know a simple walk around my roof will save me in the long run and is well worth the time and curious looks I get.
I am 100% certain you will never regret the decision to spend quality time maintaining your RV roof. By keeping it in good condition, you will save yourself time, headaches, and expenses down the road.
Nick and Kelsey Hensley are part-time RVers and full time adventure seekers. Nick is a Rocket Scientist by day and a Certified RV Technician by night. Kelsey works as a freelancer, photographer and digital ninja. With their two kids, the Hensleys road trip across the country every summer on their quest to see all 63 National Parks. On the weekends you can find this nerdy crew at a campground, historic site, or checking out the newest restaurant in town.
Maintenance is vital for a peaceful life and safe driving. I appreciate your informative blog. I use rubber roof sealant on my RV.