Your 6 Best Water Filter Options for Hiking
Hydration is a necessity in life. When you prepare for outdoor adventures, it’s not enough to know there’s a river, stream, or other water source nearby. You need to be able to drink it without ingesting harmful bacteria or sediment. We created this guide to help you find the best water filters for your hiking adventures.
In this article, we’ll give you all the details about personal water filtration systems. You’ll have the information you need to compare and select the best water filter and understand how to filter water when hiking the trails you love.
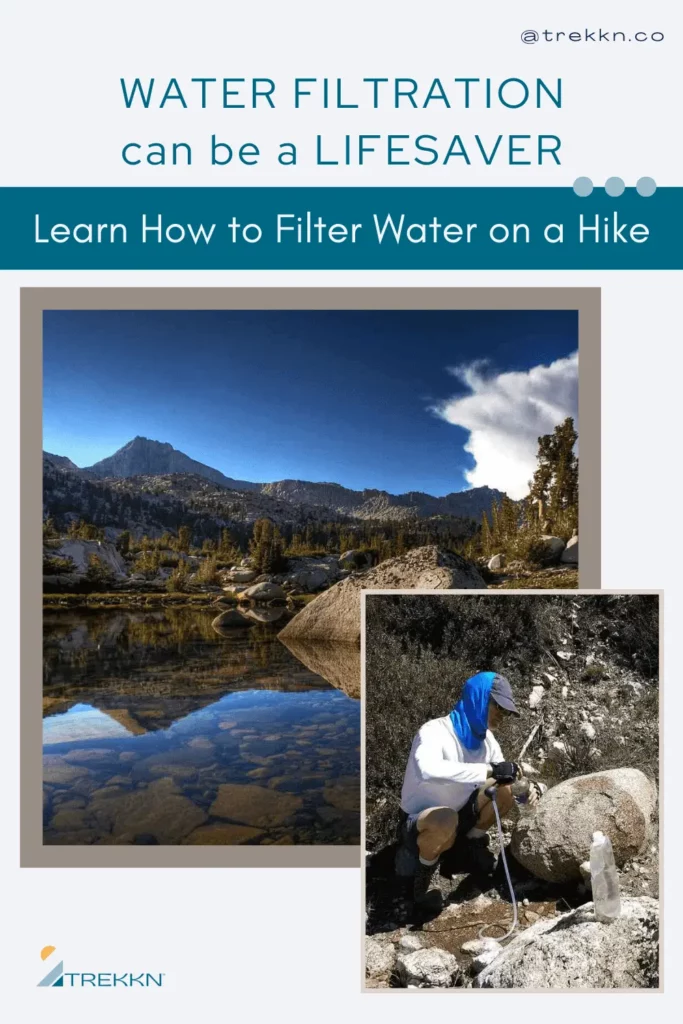
Let me tell you a quick story about one of my own personal hiking experiences. By the end, you’ll understand why it’s important to know how to filter water on a hike.
One summer, some friends and I went for a short hike in the Rocky Mountains and decided to bushwack our way back to the car off-trail. I usually carry a 40-liter day pack for long hikes, with plenty of room for a 3-liter water bladder, water filters, and additional water bottles as backups.
But on this day, because we’d only planned to be out for a couple of hours, I had my small “short hike” day pack with me, which contained a single one-liter Nalgene. Big mistake.
Our route back was steep, with thick vegetation, and our total hiking time was about twice what we’d thought it would be. By the time we returned to the car, I was out of water, dizzy and nauseous from walking in the afternoon sun. Yes, I was dehydrated.
And here’s the kicker: we were walking along a stream for much of the way. In a true emergency, I’d have dipped into it for a drink—but with a map in hand and a clear idea of where the car was (even if it was difficult to reach), it wasn’t worth the risk to drink from the stream without a filter.
Unfortunately, all my water filters were at home, resting safe and dry in my 40-liter day pack.
Dehydration is a serious risk that hikers face every time they set foot on a trail, especially in hot and arid conditions.
Staying hydrated is not just about thirst. It’s about safety.
Running out of water can cause dizziness, nausea, and confusion, putting hikers in life-threatening danger. It’s not just about thirst; it’s about safety.
In this post, we’ll cover the different types of water filtration available and answer some burning questions like: are water filters really necessary while hiking? (Spoiler alert: they are.)
So grab your hiking boots, fill up that water bottle, and let’s dive into the world of water filters.

Do You Need a Water Filter for Hiking?
Let’s start with a question you might be asking yourself: are water filters really necessary while hiking? After all, don’t people pay for bottled mountain spring water?
The short answer is a resounding yes—you absolutely need a water filter to safely drink from natural water sources. Even the “naturally purified” mountain spring water you find in the alpine wilderness is often contaminated.
Natural streams and lakes might look crystal-clear, but they can still host a cocktail of nasty bacteria, viruses, and parasites like Giardia and E. Coli.
Yes, water filters are necessary for backpackers and hikers.
These little guys can cause diarrhea, stomach cramps, and nausea—not to mention the rare brain-eating amoeba that also haunts some waterways.
Obviously, if you’re in a life-or-death situation and must drink unfiltered water to survive, then yes—drink up!
But, there are so many lightweight, easy-to-carry water filters on the market that it’s easy to learn from my cautionary tale and keep one in every pack, no matter how long you’re planning to be outside.
Best Types of Portable Water Filters
As with most things gear-related, the world of portable water filters is vast, with options to suit every budget. In the case of selecting a personal water filtration system, you’ll also want to take your level of patience into consideration.
Every option has its own strengths and weaknesses. Some are better suited for backpacking than day hiking, and vice versa.
Here’s an overview of each filter type and my top picks from each category.
1. Pump Filters
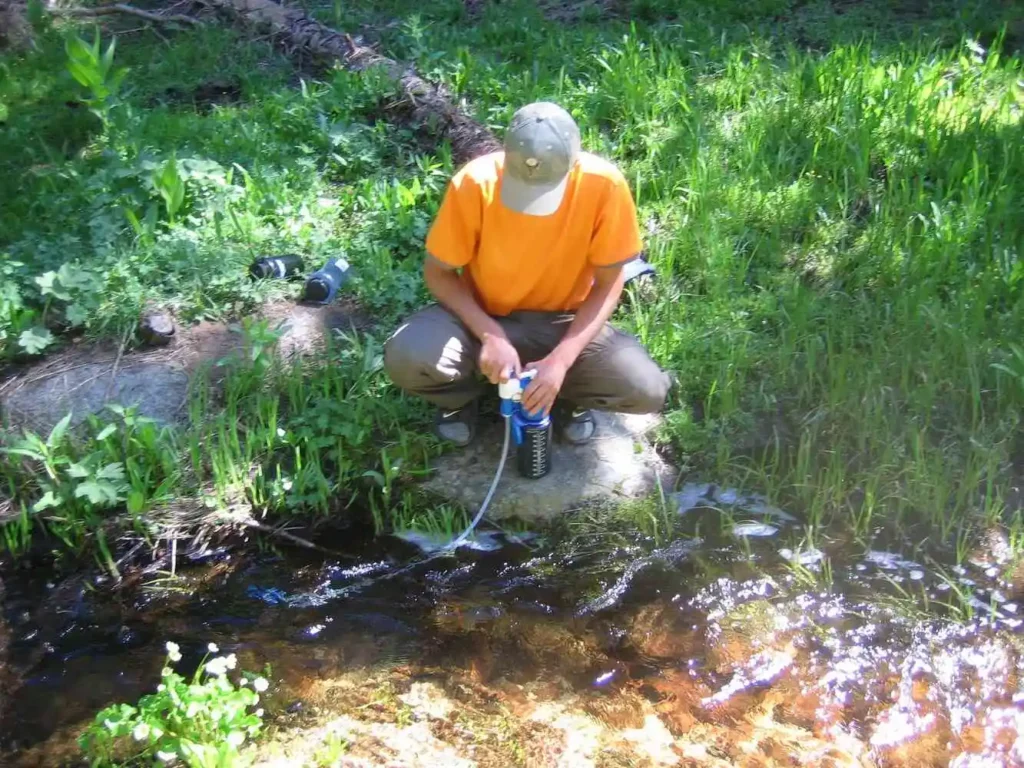
Backpackers have used pump filters for decades. They can be a tad bulky, but tend to be relatively easy to use, assuming you have a bit of hand strength and a healthy dose of patience.
Pump filters do just what the name implies; you pump water from a natural source through a filter and directly into your water bottle.
The pros: Reliable; often field-serviceable
The cons: Bulky; can be expensive; takes both time and energy to treat water
The gear: I don’t generally use a pump-style filter, but at only 14.5 ounces in weight, I have used and liked the MSR MiniWorks EX water filter.
- Removes 99.9999% of bacteria and 99.99% of protozoa
- One filter treats up to 2,000 liters of water
- Weighs <1 pound
2. Gravity Filters
These are my personal favorite when backpacking! Gravity filters allow you to leave your water to filter by itself while you’re doing other chores around camp.
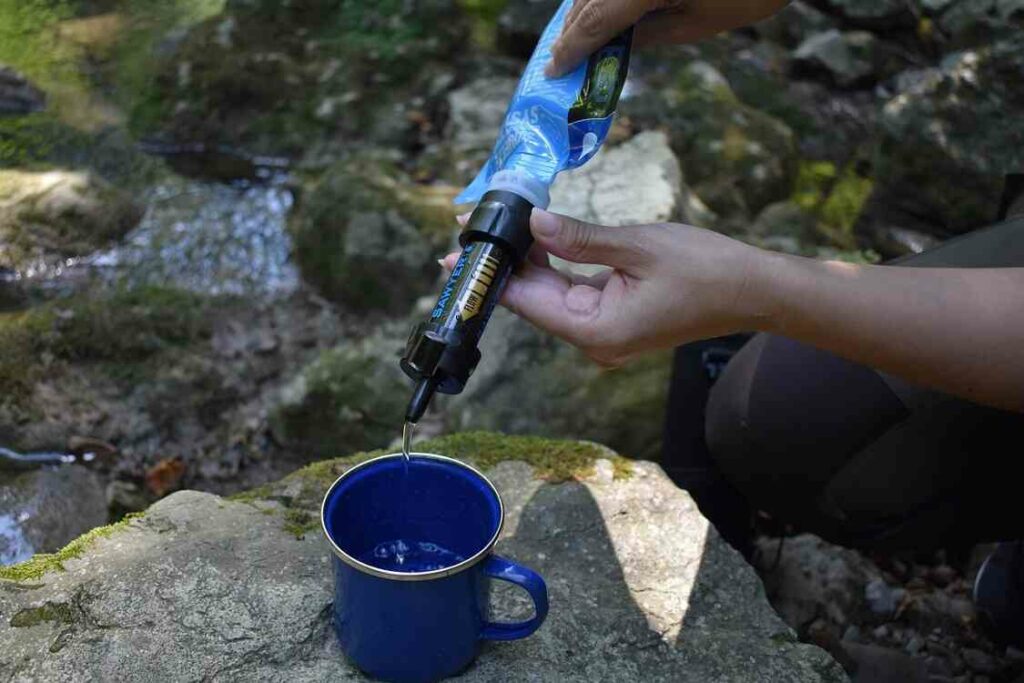
You won’t be surprised to learn that gravity filters work by using … well, gravity. Simply hang a reservoir filled with untreated water, then let the water flow downward through a filter into your water bottle or a separate reservoir.
It’s also possible to squeeze the untreated water pouch, which increases the flow. But, in general, the catch for day hikes is that gravity filters take time to work. While no manual effort is required, a healthy dose of patience does help.
The pros: Affordable; easy to use; lightweight; not too bulky
The cons: Can be time-consuming for day hikes
The gear: I’ve had my Sawyer setup from REI for years and love it.
A water filtration system is a must-have when hiking. We like the small Sawyer squeeze filter because it's compact and easy to use.
- Lightweight (3 oz) and portable
- 0.1 Micron inline filter removes bacteria, protozoa and microplastics
- 2 reusable BPA-free collapsible pouches
3. Straw Filters
Lightweight, compact, and great for solo hikers, this type of filter is now a constant in my smaller day pack.
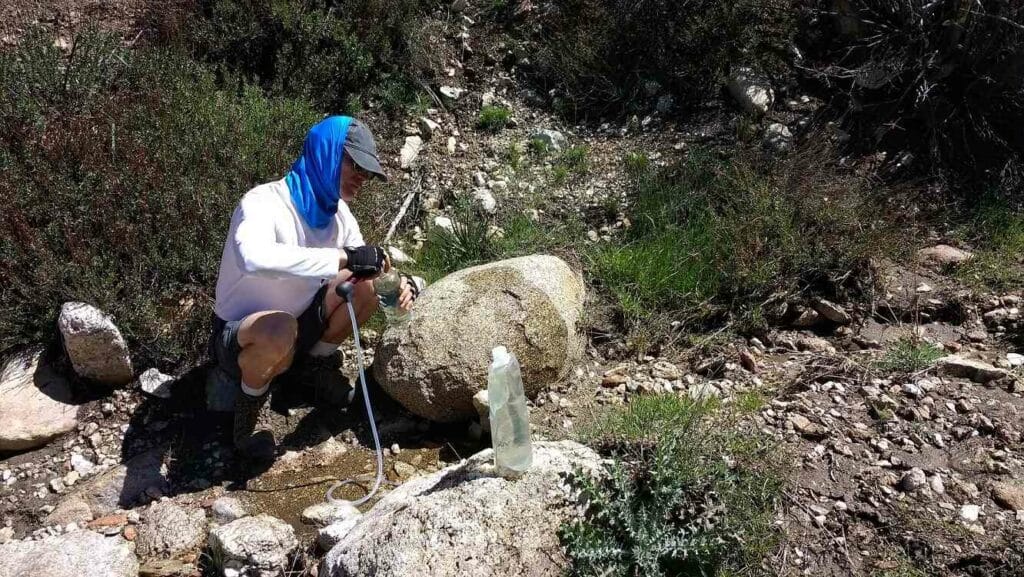
Straw filters work by letting you drink directly from a water source through the filter straw. Sip straight from that lake or stream if you’re so inclined.
If you bring a bottle you’re okay filling with untreated water, you can carry it with you—just remember to sip through your straw.
The pros: Low cost; lightweight and easily portable; can be used instantly with no waiting
The cons: Can’t filter large quantities for use later
The gear: I carry the LifeStraw filter. I hardly know it’s in my pack it’s so small and lightweight.
Protects against 99.999999% of bacteria (e.g., E.coli, Salmonella), 99.999% of parasites, microplastics, dirt, sand, and cloudiness. Weighs approximately 0.1 pound.
4. Ultraviolet (UV) Purifiers
These pen-like gadgets use UV light to kill off bacteria and viruses. They’re quick and effective, but are on expensive side.
Make note that these water purifiers rely on batteries to power the UV light. You will want to ensure you’re carrying extra batteries (CR123) in your pack to avoid running out of juice while in the wilderness.
The pros: One of the smallest and lightest options available
The cons: Expensive; battery-operated; the UV lamp has a shelf life; will only sanitize water where the UV light is fully submerged (not on the mouth of your water bottle, for example)
The gear: The SteriPen Adventurer is a popular option that comes with its own carrying case.
Battery-powered UV water filter protects against 99.99% of harmful bacteria, viruses, and protozoa (e.g., Giardia, and Cryptosporidium). Certified by Water Quality Association.
5. Bottle Filters
Like a regular water bottle, but with a built-in filter. These work much like the straw purifiers. Fill up your water bottle and drink through the mouthpiece. The water gets filtered as you drink.
As with the straw filters, each hiker should ideally carry their own.
The pros: Easy to use
The cons: Mid-level cost; can’t filter large quantities
The gear: LifeStraw and Grayl are popular picks in this category.
Filters out 99.999999% of harmful bacteria, 99.999% of parasites (e.g., Giardia and Cryptosporidium), 99.999% microplastics, sand, dirt, and cloudiness.
- BPA-free
- Membrane microfilter lasts for up to 1,000 gallons of water (about 5 years of daily use)
- Carbon filter lasts for up to 26 gallons (2 months)
What About Water Purification Tablets?
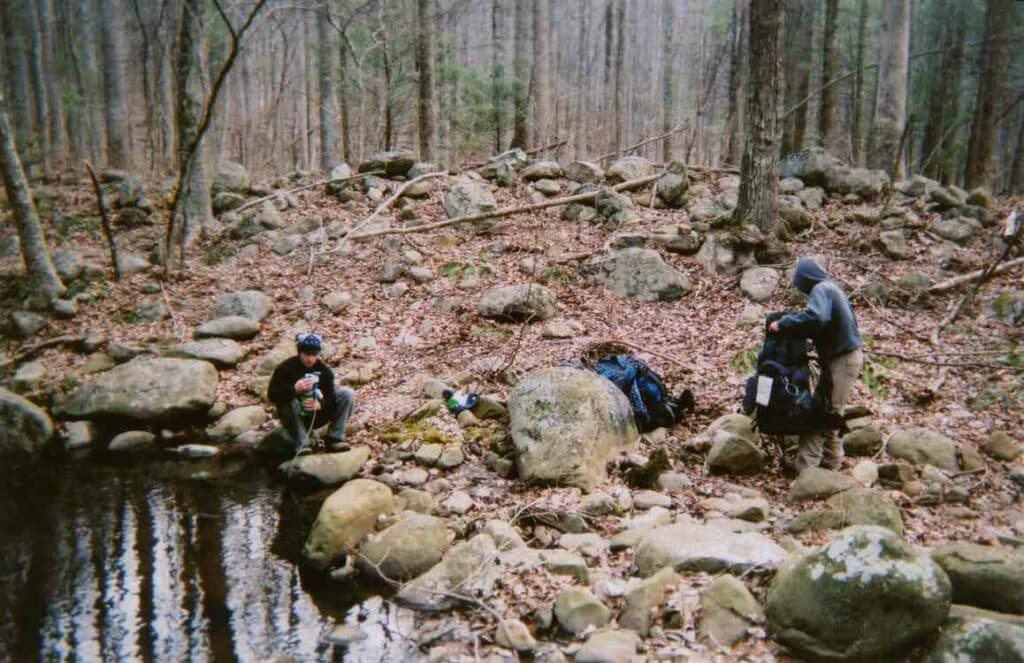
Tablets don’t filter your water, but they’re an extremely lightweight water treatment option that’s easy to store in a day pack in case of emergency.
One downside of tablets is that they won’t filter out gritty sediment or anything else that’s floating around in your Nalgene. But, purification tablets do make your water safe to drink.
Iodine and chlorine are the most popular water treatment options. Iodine comes with an unpleasant taste and some potential side effects if used long-term, so use the taste neutralizer tablets and take care if you go that route.
That said, if you’re facing a choice between untreated water or funky-tasting iodine water, you’ll be happy to have this treatment with you in a pinch!
6. Water Purification Tablets
To use, follow the directions for the tablets you choose. Most take at least 30 minutes (and some as long as 4+ hours) to work, so plan accordingly and be patient.
The pros: Easy to carry for emergencies; long-lasting
The cons: Won’t physically filter contaminants; takes time to work; can impact taste and pH
The gear: There are tons of options on the market. Check out these Katadyn chlorine tablets or liquid iodine with taste neutralizers, available at REI and from Amazon.
Each tablet treats one liter of water. Works in as few as 30 minutes (needs up to 4 hours for cold, dirty water).
How Much Water Should You Drink While Hiking?
All of this hydration gear begs the question: how much water should you drink while hiking? The answer will vary based on the weather, your exertion level, the elevation, and your body.
As a general rule of thumb, you should aim for about half a liter every hour. Double that amount (at least) on hot days or if you’re working extremely hard.
Also, remember to listen to your body. Pay attention to obvious signs like thirst, but don’t neglect the subtler signals as well, like dark or infrequent urination.
Always start your hike well-hydrated, and be sure to take a few sips of water every 10-15 minutes, even if you’re not feeling especially thirsty.
Water bladders are great for this since you don’t have to stop hiking to grab a drink.
Platypus is my preferred brand for water bladders and soft bottles. In addition to durability and easy of use, they offer a variety of designs. It's a perfect gift for campers and hikers.
- Clip gate handle easily straps on backpack
- Dual-lock cap prevents leaks
- Lightweight (1.6 oz.) and flexible
- BPA-free, Phthalate-free, BPS-free
- Made in the USA
Prepare to Hydrate on all Hikes
Water filtration can save a life.
As with all things nature-related, preparation is key.
You never know when you’ll find yourself out for longer than you’d planned, and hydration is second in importance only to finding shelter when it comes to survival priorities outdoors.
Knowing the ins and outs of water filtration can be a lifesaver, so always bring some form of water treatment with you to ensure that you have constant access to clean, safe water.
Happy hiking!
Related Reading
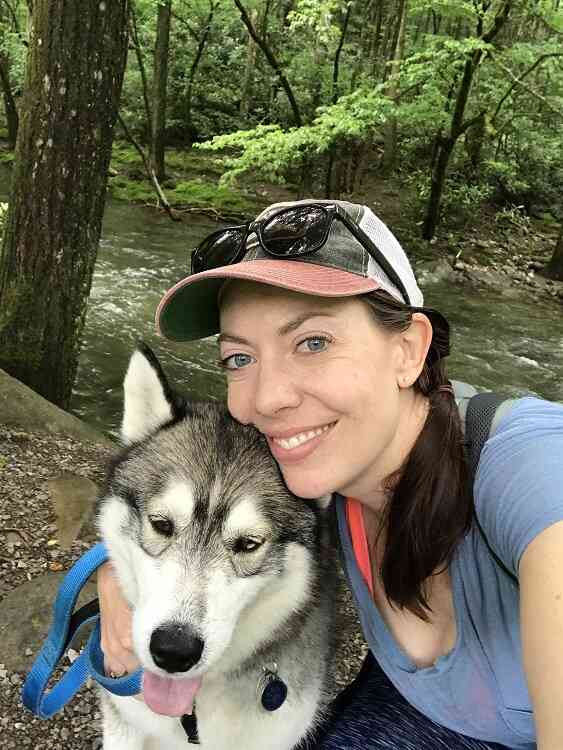
Sarah Kuiken has been a full-time solo traveler for 4 years and counting, but she’s been a solo adventurer for decades. She owns her own copywriting business, Flourish Writing, which she operates from the road. Sarah loves to explore state and national parks with her two dogs, Orion and Piper—wherever they’re allowed, of course. When she’s not whipping up web copy for fellow entrepreneurs, she’s probably out hiking or paddle boarding with the dogs in tow. Learn more about her freelance writing business at FlourishWriting.com.


