
Campervan Upgrades For Our First Big Road Trip
It’s hard to believe, but we have already owned Kona the campervan for seven months. In those seven months, I have given this small RV quite a bit of my attention. By attention, I mean campervan upgrades and repairs needed for our first major road trip adventure.
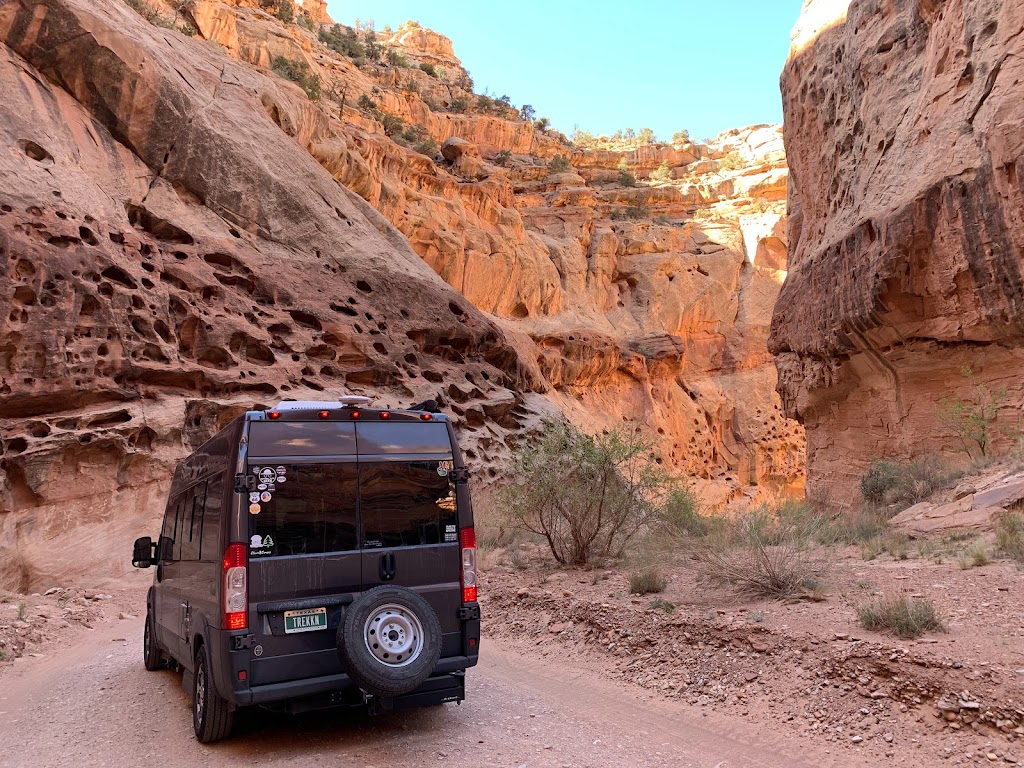
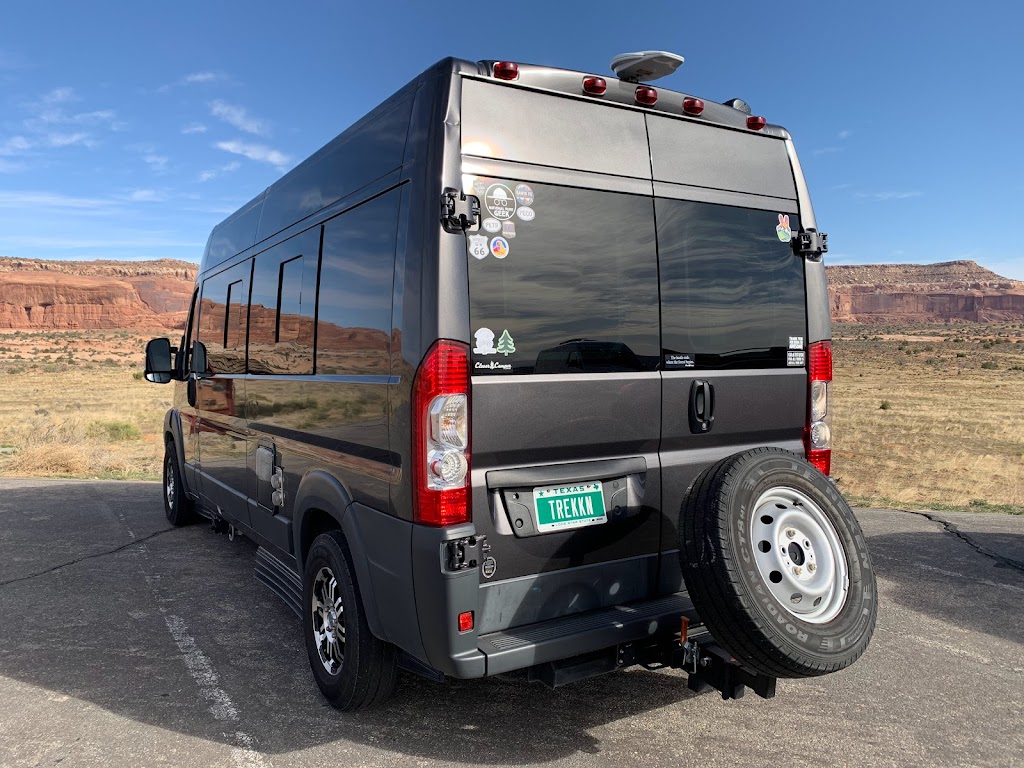
Our campervan, Kona, is a 2018 Sunlight Van One (converted by Erwin-Hymer Group North America…before they went belly up) built on a 2017 RAM Promaster 2500 chassis with a 3.6L V6 engine.
So far she has delivered pretty much everything we had hoped for when we purchased her. But that doesn’t mean she hasn’t needed a little help along the way.
In fact, we’ve made a number of upgrades and tweaks to this tiny home. We’ve also made plenty of RV accessory purchases to make our travels in the campervan more comfortable and convenient.
Most of the changes we learned from campervan groups we joined. Believe me, those groups have been a lifesaver for total van life newbies like us!
Let’s dive into the specifics of what we’ve done and what we’ve learned. We’ll also share the accessories and products we bought to ensure we are well prepared for our first long road trip.
Our plan is a six week trek on the open road. We will travel through northern New Mexico, Colorado, Utah, Idaho and Wyoming during the months of April and May.
Prepped Campervan for First Big Trip
I encountered my first big (and nasty) surprise when I hooked up the hose at our house. It’s connected to the city water connection. You may know what’s coming next in this story.
Well, I wanted to make sure the pipes and faucets operated normally, but I did not yet fully understand on how the systems operated. The result? Drum roll…a river of water flowing down the aisle of the van and dumping out the back door. Yup, great start.
Re-route Fresh Water Tank Overflow Hose
Let me start with a quick recap of the situation. These are the three things I didn’t know when I hooked up the van to city water for the first time:
- There is a valve under the kitchen sink that closed off the fresh water tank if you want to use city water.
- When you hook up a hose and keep that valve to the fresh water tank open, it fills up that tank fast.
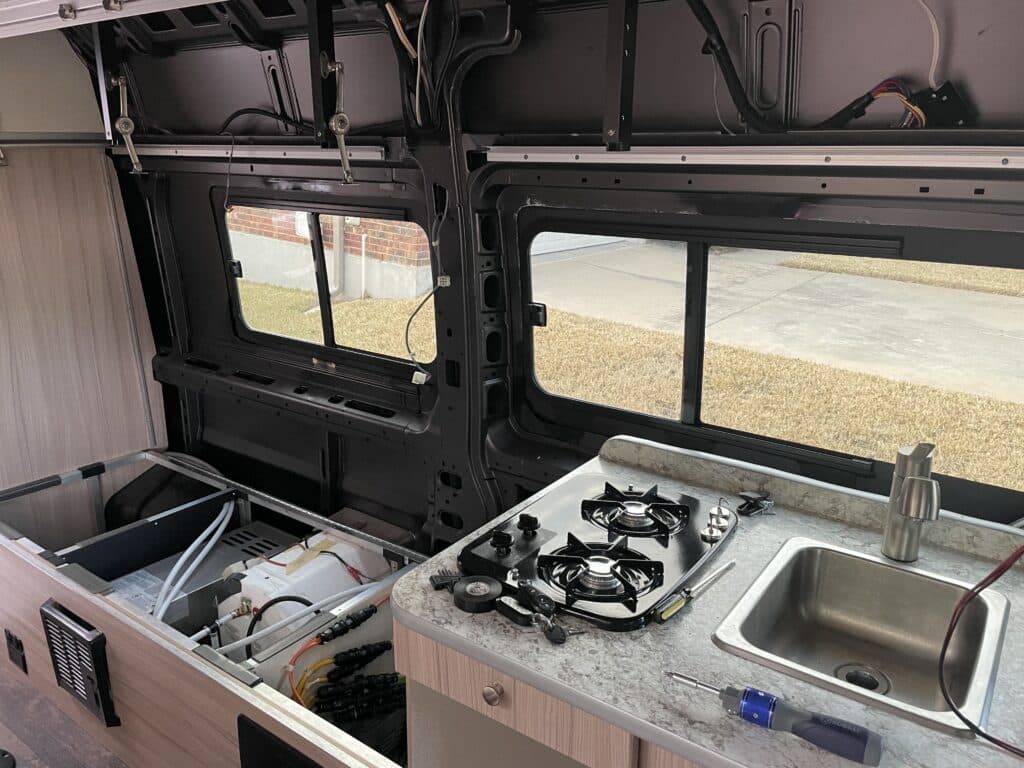
- When that fresh water tank overflows, it (inexplicably) spills out of an overflow hose located right behind the refrigerator, which INEXPLICABLY is INSIDE the van.
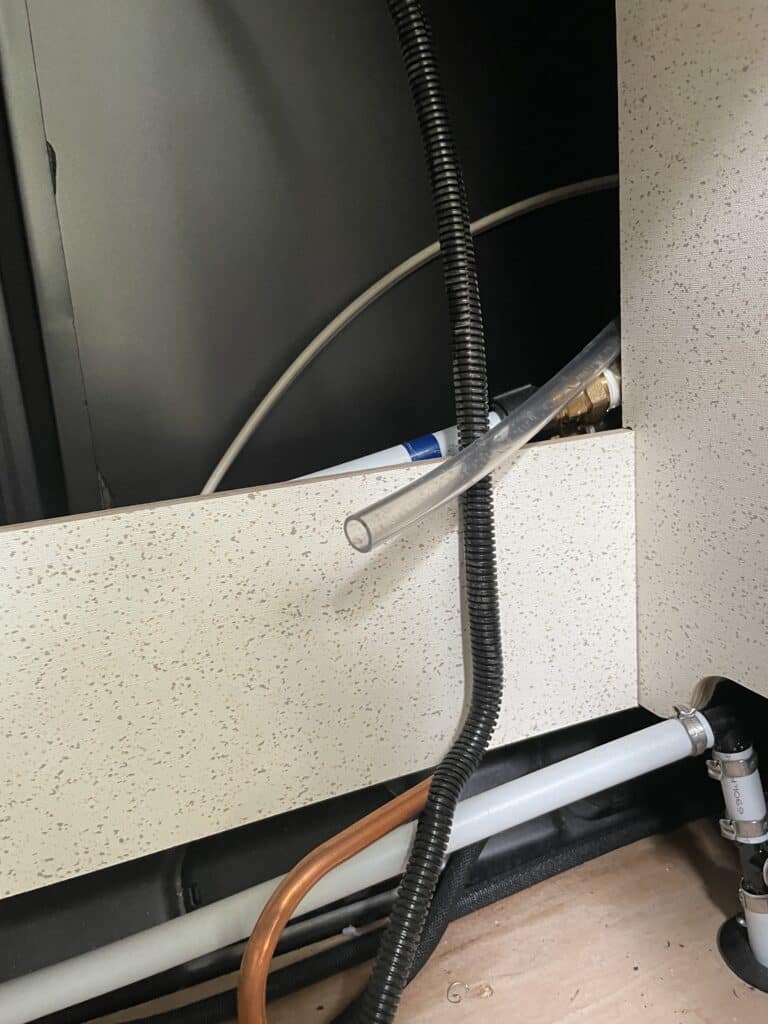
After mopping up my unexpected river, I went to work routing that overflow hose to the outside of the van. This involved removing the refrigerator to access the hose, finding a way to jam it through the same hole in the floor to the outside that other hoses and cables were already routed through (tight squeeze), and then using spray foam to fill the space and keep the hose in place and any critters out.
Issue #1 resolved. But wait, there’s more!
Remove Interior Veneer
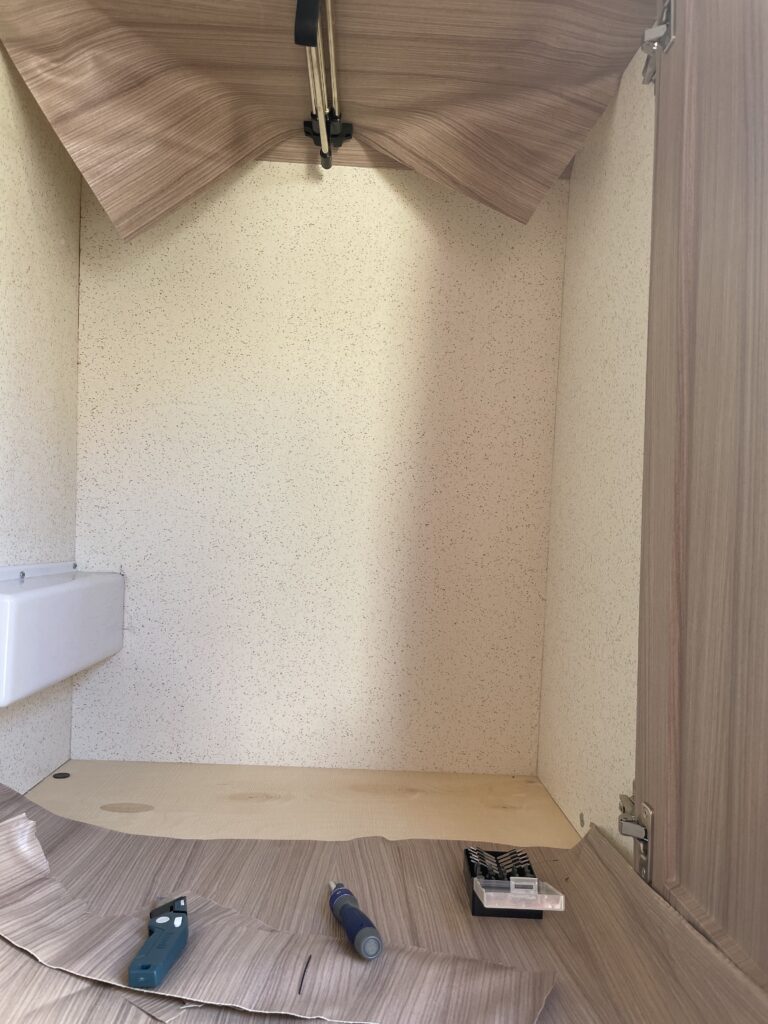
It didn’t come as a big surprise that some of the adhesive veneer on the drawers, cabinets and walls of the campervan was not in good shape.
In some areas it was just bubbling up a bit. In other places it was completely loose of the wood surface beneath.
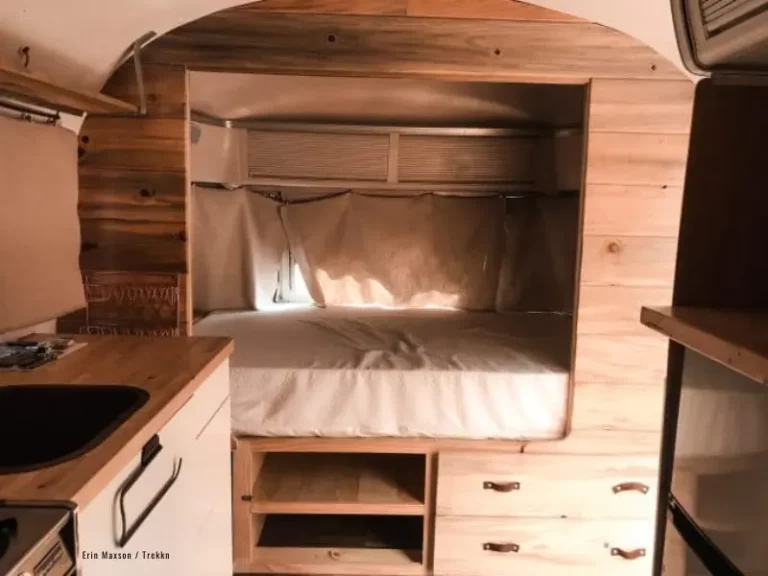
I spent a couple of hours peeling off some of this plasticky veneer that was in bad shape. Underneath I found some pretty decent looking wood that we might end up staining a bit darker for a nice cabin feeling inside the van.
It ought to be a reasonable replacement for this less-than-ideal plastic veneer.
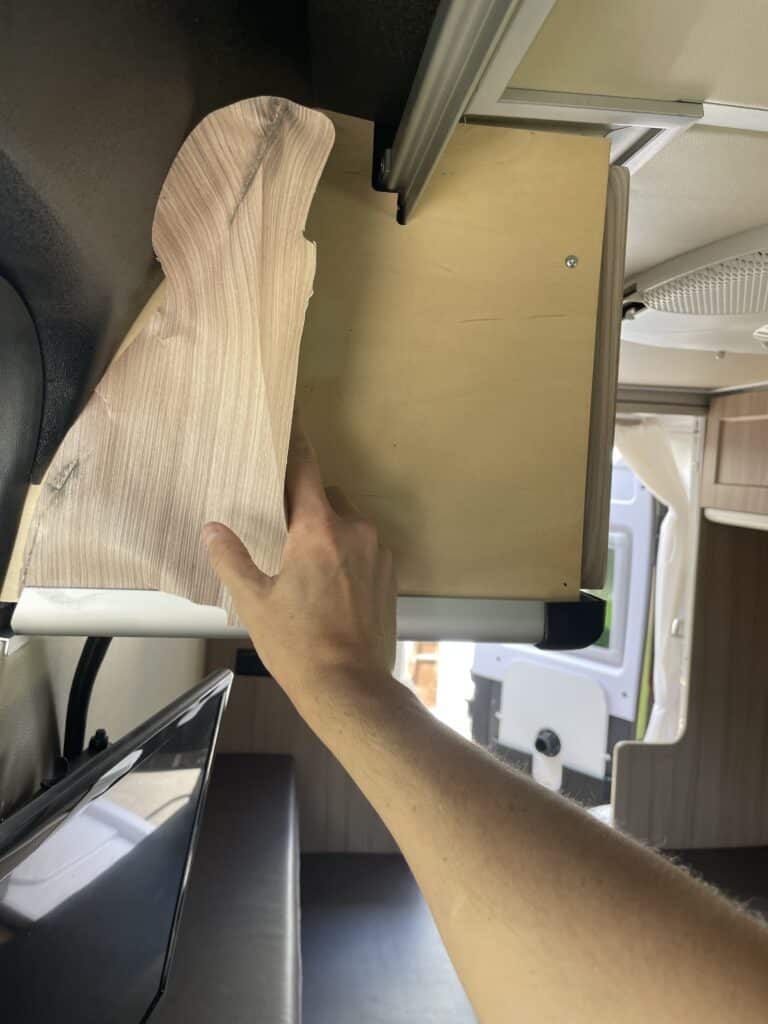
It’s disappointing that the manufacturer wouldn’t use some longer-lasting material for the interior finish. That said, I still consider it a pretty small issue compared to all of the other things that can go wrong in a van like this.
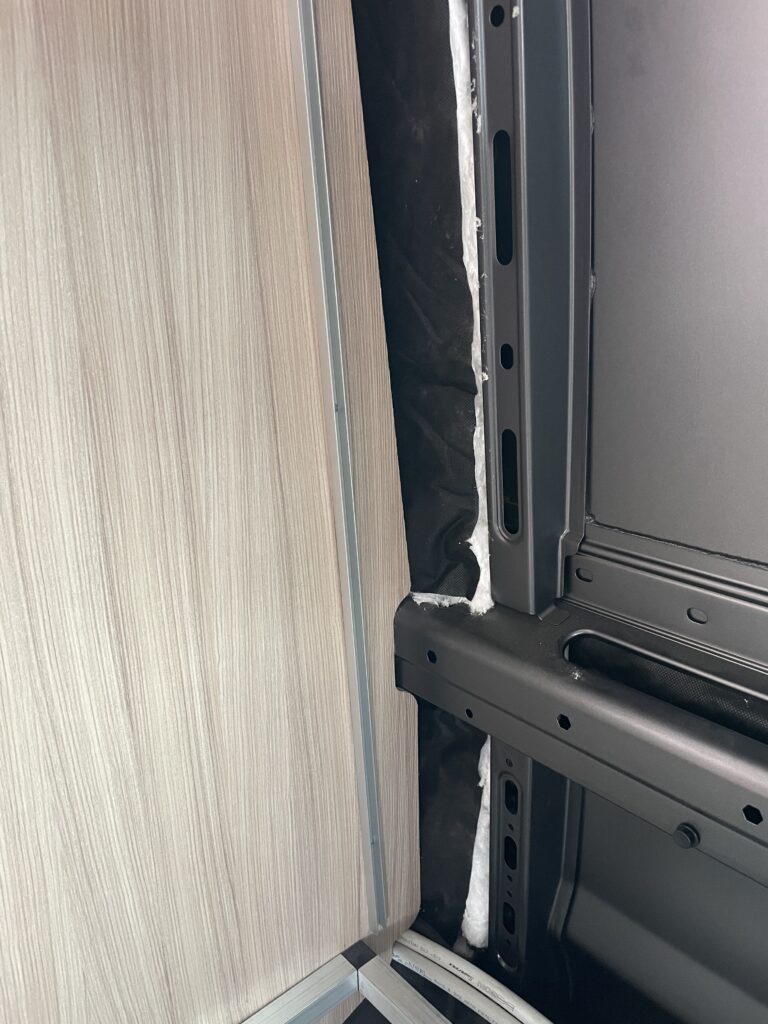
Add Thermal Insulation and Sound Dampening
This insulation project has been the largest, most expensive and most time-consuming one by far in the first seven months of owning the van. But it was also the most satisfying!
IMPROVED HEAT RETENTION AND COMFORT
You’re probably wondering how these materials have performed and if we are happy we invested the time and money into this project.
The unfortunate thing is that I can’t really compare our van with the insulation to the van without insulation because we didn’t do any cold weather camping before installing the insulation.
But I can tell you that since installing the insulation, we have stayed several nights in the van with temps in the mid-20s to high teens. Running a small electric space heater kept us comfortable. We slept well in 45-degree sleeping bags with a blanket on top.
We sometimes just run the propane heater for 10-15 minutes when we get up in the morning to knock the chill off, and that coupled with the heat from the propane stove burner to make our coffee keeps us comfy.
When we are off-grid and can’t run the electric space heater, the propane heater in the van keeps us even more toasty than the space heater. We usually set it at 62 degrees and sleep very soundly.
QUIETER RIDING AND CAMPING
We also feel like we have greater protection against outside sounds as well with the combination of the thermal insulation and the sound dampening material.
This is both while driving and when stopped and parked for the night at an RV park or other location.
Overall, I would definitely call this project a win and I would recommend adding these materials to any campervan without them if you plan to do 3 or 4-season RV camping like us.
Improve Access to Storage Areas
DRILL HOLES IN BENCH SEATS
It is great having tons of storage beneath the benches (beds) running down both sides of the van. But lifting the lids to access those storage areas started to become a real pain without any easy way to grab hold of them to lift.
Again, following the advice of van owners farther down the road than I am, I decided to drill 1/2 holes in the lids so that I could easily lift the lids with just one finger.
A very simple fix that has made a big difference in accessibility and convenience.
Reduce Water Infiltration Into Engine Compartment
This, my friend, was quite a chore. I worked for quite a while to address all of the different points at which water could (and already did) infiltrate the engine compartment. The concern when that happens is potential issues with electrical components under the hood.
Going into all of the details is kind of outside the scope of this post. However, I can point you to a great resource that I used to tackle this challenging problem.
RELIABLE RESOURCE
Some friends of ours own a very similar van that is built on a RAM Promaster chassis. Back Roads and Other Stories has a pretty comprehensive article that addresses potential engine compartment leaks in the Promaster.
This was a lifesaver for me. It helped me focus on where to seal things up before we hit the road. Will it ever be 100% “water tight”? Not likely. But I think I’ve done enough to avoid the electrical issues I feared. (Fingers crossed!)
Install Drawer Locks
BUNGEE CORDS WORK BUT ARE UNATTRACTIVE
When we bought the van, both the kitchen drawers and the bathroom drawers were held in place with several bungee cords while driving.
The bungee cords pretty much did the job of keeping drawers shut, but it was not an attractive or convenient solution at all. More than once, they snapped back and gave me a nasty surprise.
After putting up with them for about six months, I finally decided it was time for an upgrade. We needed more attractive and more effective drawer locks.
SAFETY LOCKS AND HOOKS
First, I ordered child safety locks with adhesive backing. Before even trying to install them, I decided the adhesive attachment was not going to be a very effective solution because of the uneven veneer surface of our drawers. Next!
Second, I tried a different type of lock that had a latch that pushed and locked close. That model required attaching it to the drawers with screws. Unfortunately, the size was not right. They were a little too wide and I could not get them to fit into the small space inside the cabinet. Strike two!
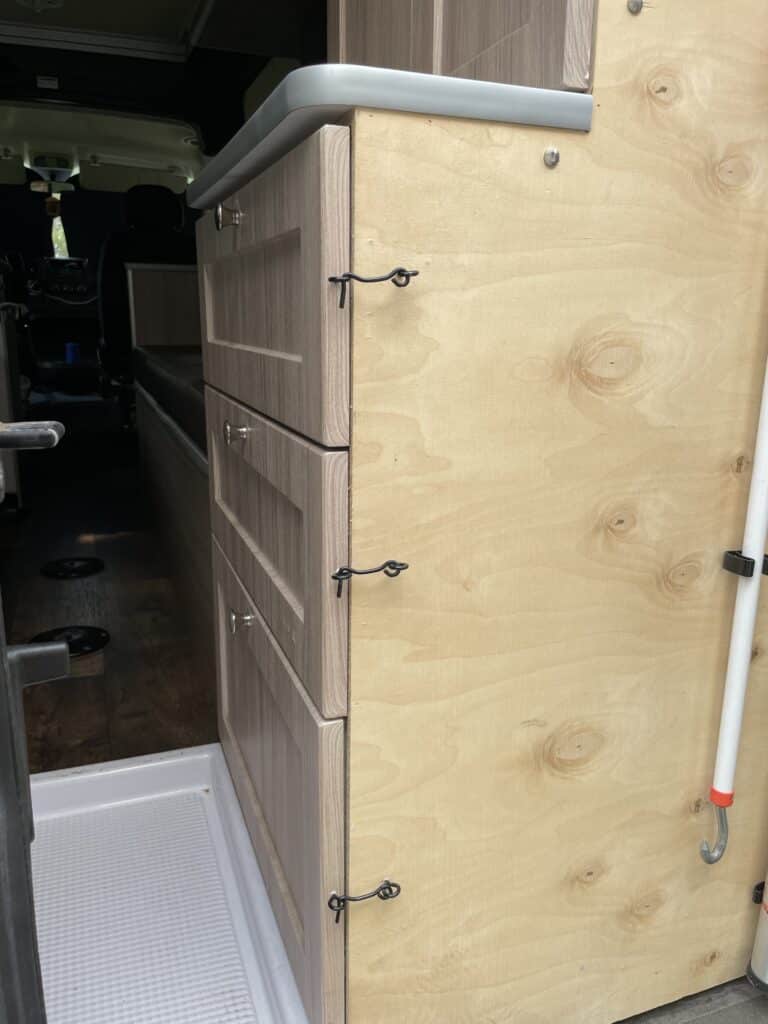
The third and winning recommendation? A simple “eye and hook” latch. This was so simple and it ended up working very nicely.
They are almost completely out of sight, even though they screw into the outside edges of the drawers, and they are ideal for keeping those drawers locked no matter how big a pothole you hit while driving.
If at first you don’t succeed…buy something else from Amazon! 🙂 That’s my new motto.
Purchase Select Van Life Accessories
ADHESIVE HOOKS
If you have any experience at all with RVing, you know the importance of adhesive strips for attaching things to the walls. When you are trying to maximize your small space, these little doohickeys come in very handy indeed.
Because we have a very small space in the campervan, we knew we had to make a few small additions in order to make the space as user-friendly as possible.
First, we added a couple of hooks in the bathroom for towels and washcloths. After more than a month on the road, those hooks are still holding strong! The towels haven’t even fallen off the hooks while driving, so that makes them even more impressive.

No drilling, strong hold hat hooks. 8-pack.
STORAGE CADDIES
Next, we also got a couple of small storage caddies to attach to the walls by our beds. We use these for ear plugs, ear buds, charging cables, glasses, etc.
Let me tell you, they have been extremely handy and have kept us from misplacing some of those essential items and wasting time searching for them. Definitely a no-brainer.

Includes 3M command adhesive strips that will not damage walls when removed.

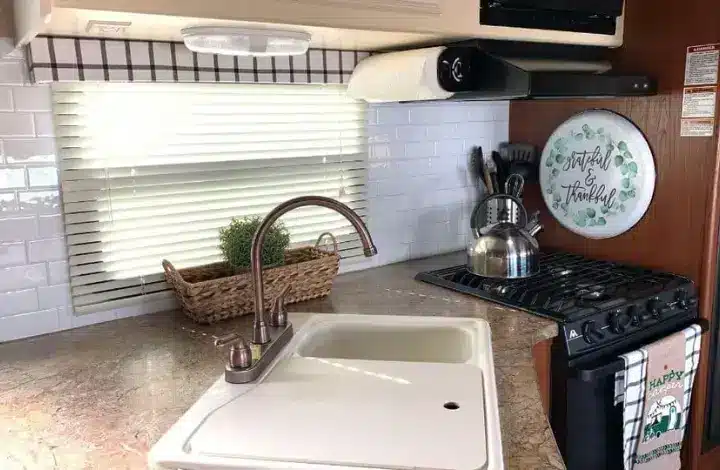
PAPER TOWEL HOLDER
And while we were at it, we also opted to attach an adhesive paper towel holder above the kitchen sink. This has also performed really well and seems to be a solid piece of hardware.
The only issue we have had is when we are driving with the windows down, the paper towels can begin to unroll since it is near the driver’s window. But in that case, we just pull the paper towels off the holder while driving or put a small piece of scotch tape on the towels. Easy fix.
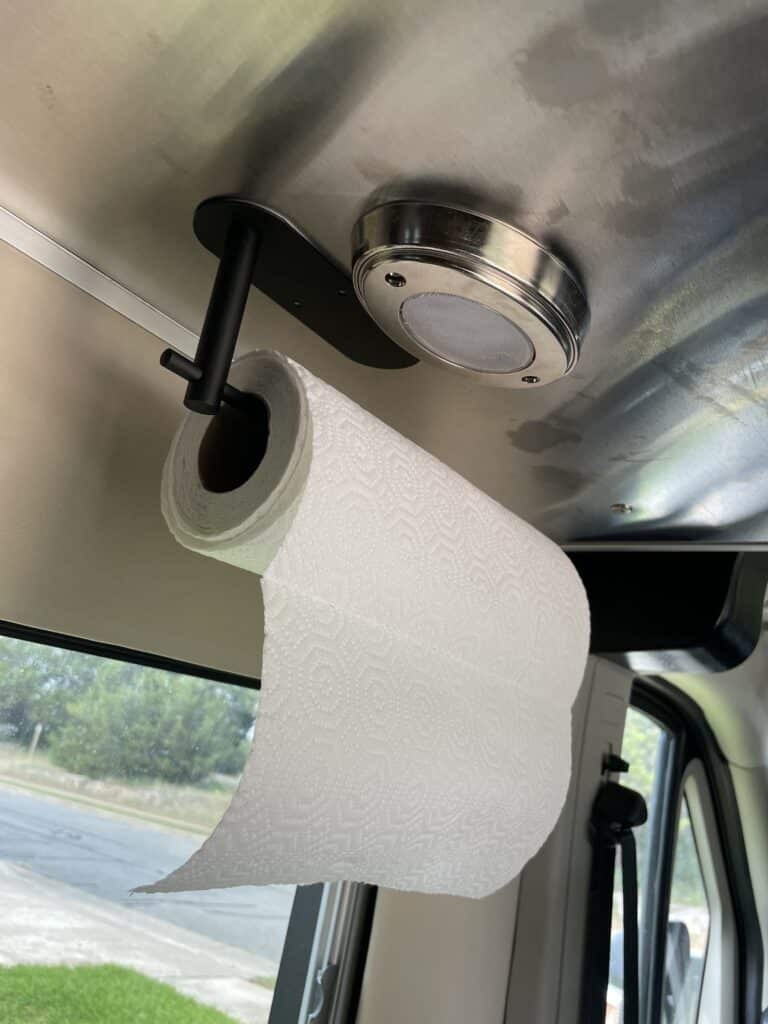
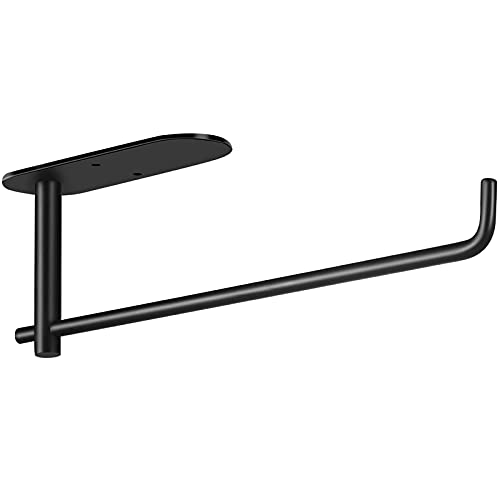
Self adhesive or screw install either horizontal or vertical. Black stainless steel.
FOOD PANTRY STORAGE CONTAINERS
If you’re new to RV or campervan life, you may not yet realize the importance of storage containers and bins in all areas of your rig. Trust me, they make a big difference!
Especially in our food pantry, which is located in overhead storage bins. Food containers are essential in order to avoid digging endlessly to find a small item.
We store food and pantry items that are similar in type and size together. That type of organization usually allows me to quickly find what we are looking for.
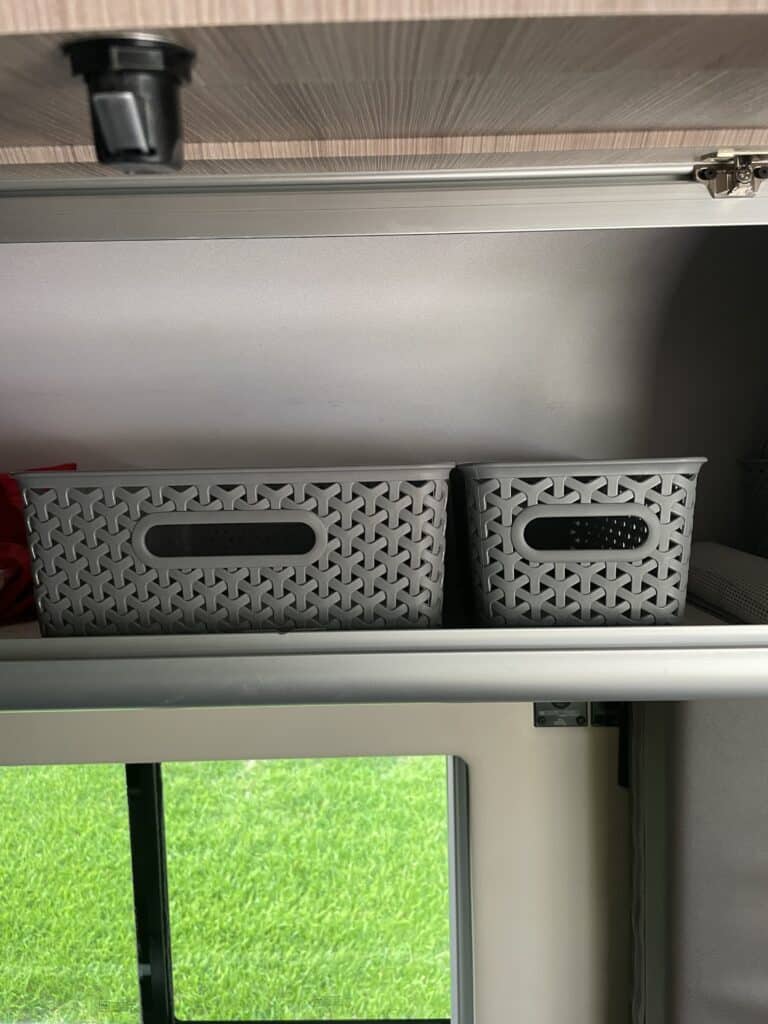
This type of basket or container is easy to find at Amazon, Target, or Walmart. We bought both the medium and the small containers and they mix together perfectly for an organized and accessible food pantry.
COLLAPSIBLE CANVAS BASKETS
One inescapable fact of van life is that you will always be juggling items around from one location to another as you move around inside your tiny home. If you allow those items to remain scattered around the van, you will more than likely loose something. It’s also guaranteed to drive you nuts in about 2.4 days. Approximately.
So one of the best purchases we made for organizing our campervan was a set of collapsible fabric baskets. They are ideal for holding the personal items such as laptops, slippers, headphones, and books that we use every day.
Since these items are for daily use, we don’t want them tucked away in a storage cabinet that will be a pain to access. We use these baskets to hold our important items. When it’s time to travel, we simply move them from the front seats (where they fit perfectly) to the back bench. At bed time, we simply move them back to the front seats.
Everything stays tidy and organized.
I was 100% satisfied with this. The baskets were an inexpensive solution to help us maintain our sanity through many hundreds of miles on the road. Don’t underestimate the importance of maintaining your sanity when traveling in a campervan!

16"x12"x12"
OUTDOOR ROCKING CHAIRS
In case you hadn’t heard yet, we are big fans of Zero Gravity outdoor chairs. But what we quickly discovered was that Zero Gravity chairs and campervans are not a great match.
With the limited space available in the van, we knew we had to have some chairs that we could fold up and hideaway in the storage area when they were not in use.
The hard part was that I was also not willing to go with a “minimalist” chair that wouldn’t allow us to actually relax. At the very least, I wanted chairs with a high back that allows us to put our heads back and doze off.
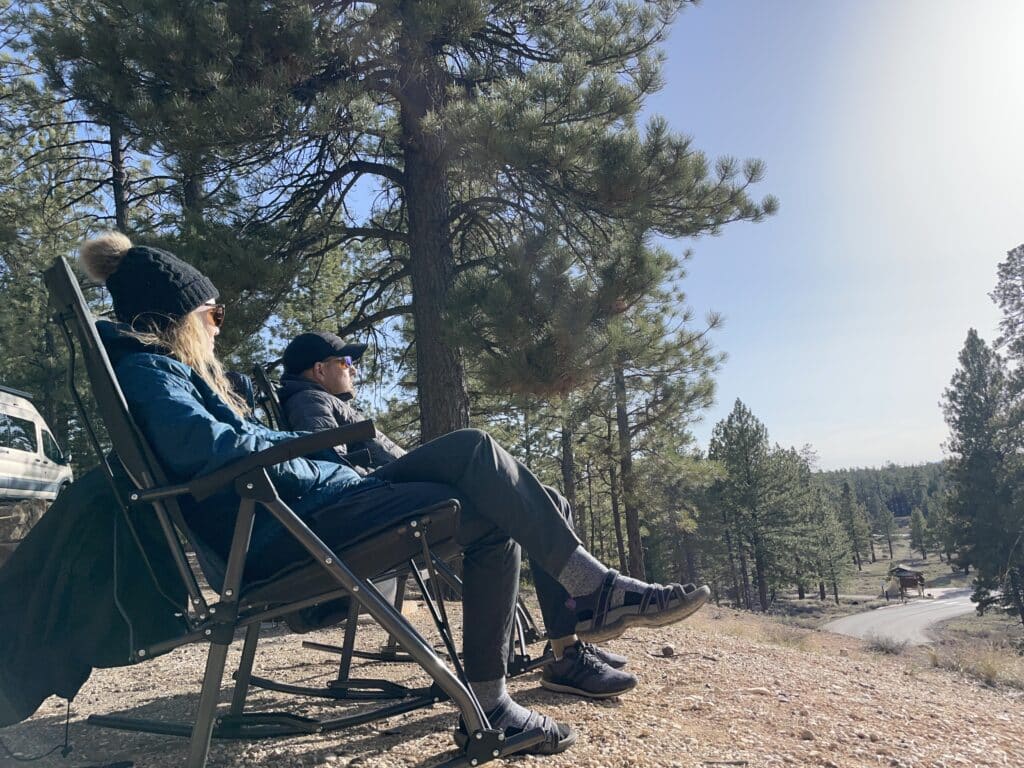
We decided to give these comfy collapsible rockers a shot, and they have worked out so great! They are big enough to allow us to completely relax, yet small enough to easily fold up and tuck away into the storage area under the bed.
These chairs might be too big for some campervan owners. They are approximately twice the size of a standard umbrella-style outdoor chair.
But since we have packed pretty light for our trip, we had the space. The outdoor rocking chairs worked out great and have given us plenty of enjoyable evenings by the campfire in amazingly beautiful locations.
Okay, let’s wrap this up with a quick rundown of our last three purchases I think you should consider if you are trekking in a campervan similar to ours.

BLUETOOTH SPEAKER
We didn’t buy this campervan for its “bells and whistles”. It doesn’t have fancy upgrades like a quality sound system, so we weren’t able to play podcasts via Bluetooth as we were used to doing.
Since the road noise in a campervan is pretty significant, we realized pretty quickly that we needed a small Bluetooth speaker that would allow us to hear the podcasts or music while we were driving.
We tried a very cheap one ($20) from a discount store, but it didn’t have the sound we needed to make listening on the road enjoyable or really even possible. Luckily for us, we have cool friends who sold us their small Bluetooth speaker they didn’t need any longer! (Thanks, friends!)
There are many options available on the market. The brand and model we have is Ultimate Ears Boom 3. It has worked great for us and made our travel days far more enjoyable.
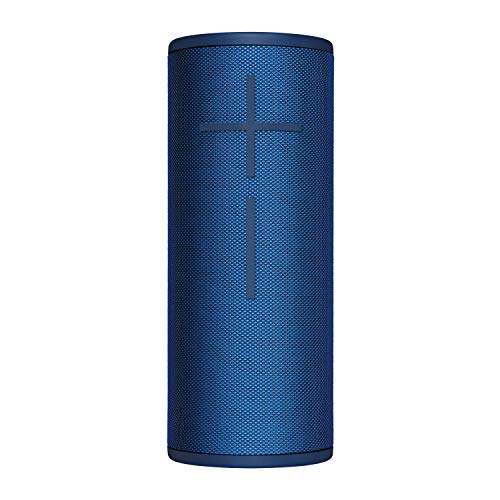
Portable and waterproof.

GRAY WATER TANK DRAIN ADAPTERS FOR WATER HOSE
This may seem like a pretty small thing to you, but I’m telling you that it has been SO nice to have this for our travels.
When I bought the campervan, I didn’t even realize this option existed out there. I just happened to stumble across a Facebook post (I think) that showed someone using these simple adapters, and I knew it would make life easier.
Couple the Valterra Gray Water Drain Adapter with a Valterra Waste Valve Termination Cap. This setup allows me to drain my gray tank without having to attach the large sewer hose to the tank.
Essentially, I can drain my black tank with the large sewer hose at the same time I’m draining my gray tank with a simple garden hose! This makes the waste dumping process go much faster and easier and is totally worth it.
For about the price of a pizza, you can simplify your dumping procedures and simplify your life. In my book, it’s another no-brainer.
VALTERRA GRAY WATER DRAIN ADAPTER

Model No. T1020-5VP. Allows you to hook up gray water sewer using 1/2" or 5/8" waste water hose.
VALTERRA WASTE VALVE TERMINATION CAP

Waste valve cap with bayonet hook. 3" cap size with capped 3/4" garden hose hookup.
ELECTRIC SPACE HEATER
It took me a little while to figure out the smartest way to keep us warm in our new campervan.
I made some assumptions that pointed me in the wrong direction, but friends in a Facebook group I am a part of set me straight and helped to get us all squared away.
This is how staying warm works for us, in temperatures down into the teens:
When we are plugged into shore power for electricity (via 20 amp or 30 amp connection, we are able to run this small electric space heater which does a fantastic job of keeping our little space cozy.
When we are dry camping (e.g., boondocking on BLM land, moochdocking in a friend’s driveway, or staying at a Harvest Hosts location) and don’t have an electrical connection, our 400 amp hours of battery life allows us to run our propane heater in the van all night long with no issues at all.
It uses very little electricity and does the job beautifully. Of course it’s important to ensure the heater is situated in a secure spot so that it doesn’t tip over and is away from any other material. That’s another reason I like the small size of this heater.

1500W/750W. Includes timer, and tip protection.
Upcoming Camper Van Upgrades
Now that we’ve returned from our big six-week outing in the van (6,000+ miles, 6 states, 9 national parks), we have a small handful of urgent issues we have to address before we head out again:
- Fix Dometic macerating toilet (that has a mind of its own and goes on strike when it wants to…no bueno)
- Fix hot water heater (no hot water for us on this trip!)
From the research I’ve done so far and the feedback I’ve gotten from other owners of this van (via Facebook group), it’s most likely that both of these issues can be solved by replacing the processor boards.
I feel more confident about the water heater being a “simple and cheap” fix like that, but the toilet I have some doubts about.
The toilet issues have just been all over the place, so I’m really wondering if it could require the replacement of the toilet. Sigh…
As far as upgrades?
I think the only thing we have discussed is getting “mosquito netting” for one or both doors (sliding and back door) so that we can enjoy cool breezes without having unwanted visitors.
If we buy them specifically for the van, they cost about $200 each! Yikes. But if we buy some “standard” walk-through door screens like we have used at home before, it will only be $30-$50 and will require some…adaptation.
I’ll let you know what we decide on that.
Get Your Camper Van Road Trip Ready
If you’re just getting started with navigating the ins and outs of campervan living or RV life in general, I really hope this information will help you get things squared away quickly so you can fully enjoy the amazing freedom that a campervan can offer.
Here’s to many more RV and campervan adventures for all of us!


Todd loves a competitive game of table tennis, a breathtaking hike, and exploring new places. He lived and traveled in an RV with his family as they traveled throughout much of the US and parts of Canada. Todd has extensive knowledge about RV travel, safety, and accessories and has shared many of his stories here on TREKKN. When he’s not busy launching and building small businesses, you may find him staring at pictures of Glacier National Park (probably his favorite spot on earth).


I am enjoying the articles you and your husband take to time to write. Thanks to your many articles, I am learning more about my pull travel trailer than my husband (LOL). Thanks so much and I am learning and enjoying so much of what is out there in this big world of ours.
That is so great to hear, Barbara! Thank you for letting us know, and we wish you many more great adventures out there in our amazing world. Peace…