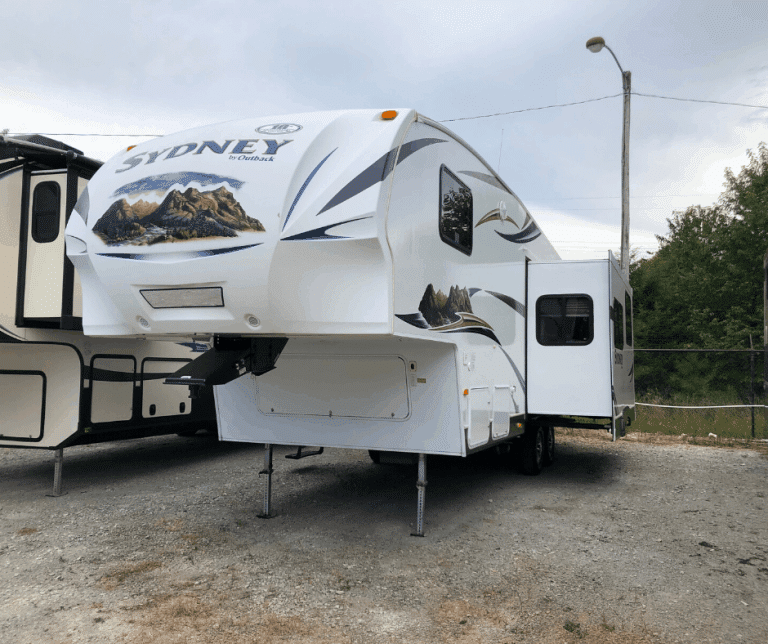
Top 4 Tips to Help You Avoid RV Awning Replacement
If you’ve ever ruined an expensive appliance or essential piece of gear while traveling, you know how frustrating (and expensive) it is to get it repaired within a tight timeline. The additional work to fix something while traveling can strip away the joy of adventure. This is true RV awning replacement. Here’s our top tips for proper care and maintenance of your RV awning!
An RV can be a fickle beast. Just when you start getting to know it and warming up to it, feeling that you’re becoming well-acquainted and comfortable with each other, it can turn on you in the blink of an eye.
A water pump goes out. Or freezes solid and blows apart. The master bedroom is flooded. And you’re camping off-grid, in Colorado, in December. Didn’t see that one coming…
A leak develops in the roof and drips into the master bedroom.
A p-trap fitting under the sink loosens and causes a leak into your cabinets. (Twice.)
A faucet starts leaking profusely and needs replacing…now.
I know, this is normalish stuff. It is to be expected to some degree. But when it comes out of nowhere, and especially all at the same time, it’s easy to feel betrayed by the new adventure buddy you’re towing behind your truck.
Why It’s Important to Take Care of the Awning
We Have Seen It All
Some form of all the issues above have reared their ugly heads at us during our year on the road.
We addressed them all with minimal consequences (as far as I know), but also with a bit too much drama and moaning (sorry family).
But of all the RV accessories and components to consider, there is one in particular that can unexpectedly turn on you faster than anything else.
It takes only the slightest bit of oversight on your part and the RV awning launches its revenge.
The Carnage We Have Witnessed
We saw more cases of RV awning destruction during our travels than any other type of RV damage or RV repairs.
Luckily, ours is still in one piece and in good condition. But it really is due to dumb luck more than my own proper care and maintenance.
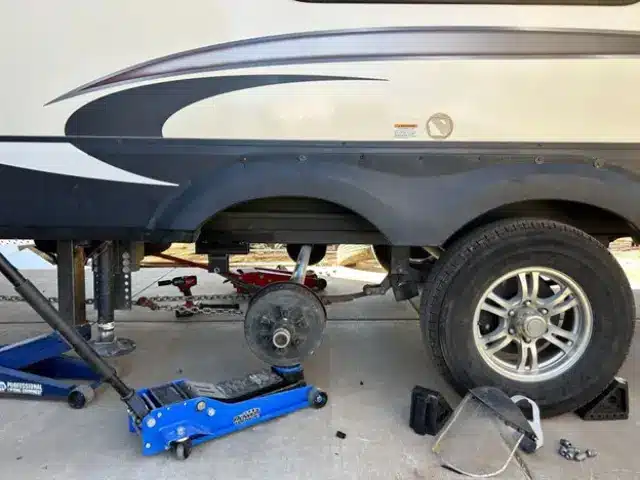
The cost of an RV awning replacement is enough to bring on instant nausea. The price range will of course differ depending on the size and type of rig, as well as the type of awning.
Estimated Costs of Replacing an RV Awning
However, I can say honestly and with a straight face that you would need to budget $500 to $3,500 or more for a complete RV awning replacement.
I certainly don’t want to find myself checking the RV sofa cushions for loose change trying to come up with the top of that range. Of course the total spend is dependent on many factors.
As with any home or vehicle repair, if you can handle the installation work yourself, you’ll save a lot of pennies. With RV awnings, size matters. So does functionality.
The cost of manual slide outs are of course less expensive to replace while motorized awnings will launch your total spend to the top of the range.
Overall, the estimates I have seen are around $6 – $9 per square foot.
The least expensive option is to avoid awning replacement altogether.
Our Top Tips for Care and Maintenance of RV Awning
I would like to save you from this potential reality by sharing four tips to properly protect and care for your RV awning during your outdoor adventures.
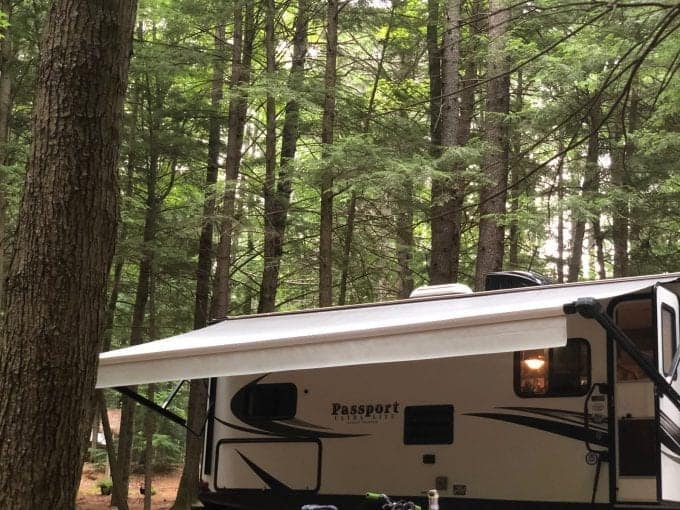
Tip #1 – Retract Awning Before Leaving RV
Now, this tip is a bit tricky and I think there are (possible) exceptions to it.
But it all boils down to this: Your awning is most likely to be destroyed by either (a) wind or (b) rain. These are the enemies.
Maybe that’s already pretty obvious to you. Maybe not.
When we were newbies, we had not caught on to this “obvious” point and it took a friendly RV neighbor pointing out the dangers of our actions to get us in line.
BEWARE OF THE WIND
The fact is, when your awning is extended, especially to its full capacity, it acts like a sail on a boat and can be highly effective at catching even the slightest breeze.
The big (potentially disastrous) difference is that unlike a sail, an awning is positioned parallel to the ground. That light breeze can start a violent “wave” action that will tear the awning away from the RV.
In short, the awning can be shredded to pieces in a few minutes if a breeze kicks up unexpectedly.
BEWARE OF THE RAIN
There’s a similar danger with the rain. When the rain starts pooling on your awning, it doesn’t take much at all for the weight to add up and become more than the awning can support.
Depending on the condition of the awning material, this could result in either a giant tear in the awning or, again, separation from the RV.
In either of these cases, the support arms for the awning can also be twisted and severely damaged. This potentially requires replacement of the entire awning mechanism and not just the RV awning fabric. A double wallet whammy.
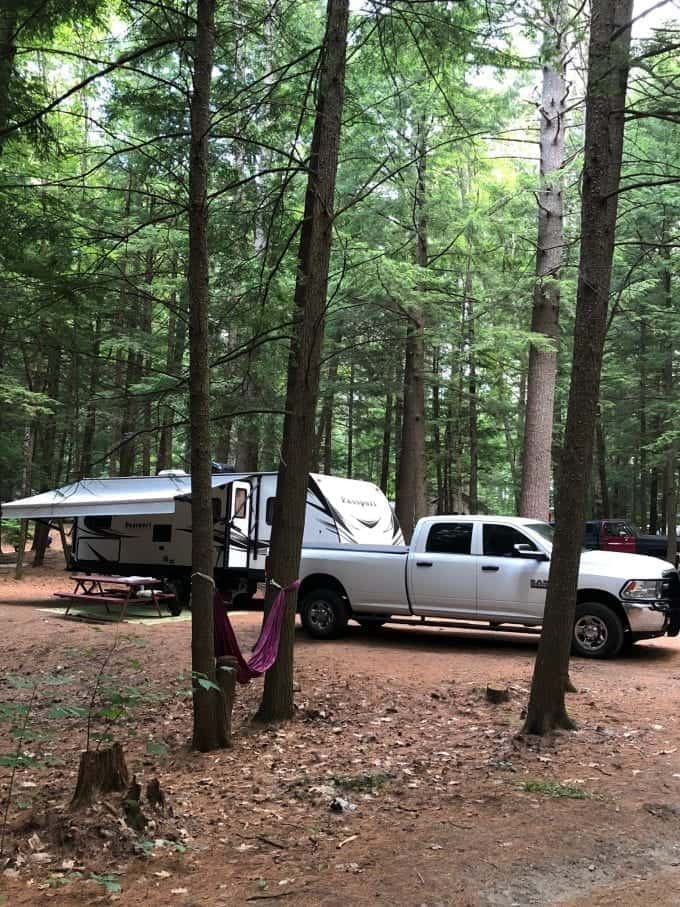
Now, there have been times when we camp at an RV park we have visited before. We know it well and as tuck into the trees, we know our gear is protected against the elements.
In certain circumstances, after we check and double check the weather forecast, we will sometimes leave the awning out.
I am not recommending you follow this practice. I just wanted to share how we have handled things in certain situations.
Tip #2 – Pitch Awning Downward
Sometimes, I’m a little slow at checking things out and finding solutions to simple problems. I admit it. When we moved into our RV, I knew from the stickers on the RV awning arms that the pitch of the awning was supposed to be easily adjustable “with one hand”.
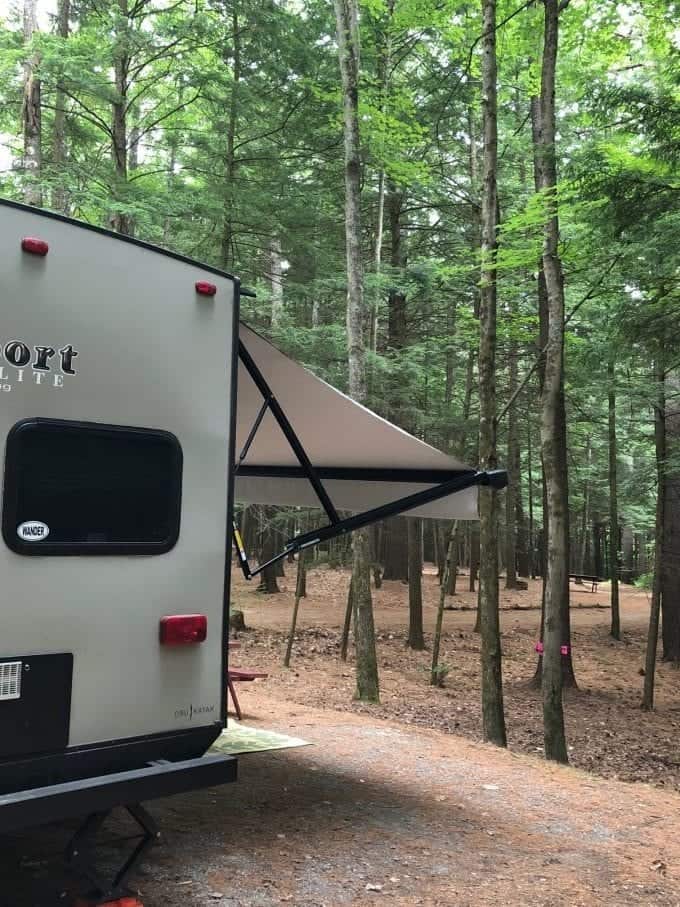
For some reason, it wasn’t adjusting easily for me and I was afraid of damaging the awning by pulling too hard. So I just left it as it was.
Ironically, that almost cost me an awning (and lots of cash).
During a rain storm one day, I started to hear the awning making a creaking sound. It was odd to hear any sounds like that, especially as I was inside the RV.
I was immediately concerned and jumped outside to check things out. The the awning fabric was sagging a little bit in the middle. Actually, it was sagging a lot.
I quickly realized that the rain was pooling in the awning and I had to act fast. I ran over to the support arm by our door and pulled down at the pivot point indicated by the stickers.
The pitch of the awning immediately adjusted and a flood of rain began pouring off the awning and onto the ground a few feet from me. I ran to the other support arm and did the same thing and more rain gushed to the ground. Thankfully, the sag disappeared.
Crisis averted!
Don’t let yourself be the victim of this same issue, my friend. Use the pitch feature wisely to help avoid the need to replace your own RV awning.
Tip #3 – TRIPLE Check Before Moving RV
I’ve seen one too many horror stories about this type of scenario playing out. Luckily, I have not had a close call with this potential danger.
I’m sure you’re thinking, “How in the world could someone drive off in their RV and NOT realize their awning was open??!!”
I get it. I would have thought the same thing when we launched our RV tour. But, I’ve been caught up in the “controlled chaos” of a rushed move enough times to realize that it is a realistic threat to us RVers.
A REALISTIC SCENARIO TO CONSIDER
Here’s a scenario for you: You’ve just finished with a long day of driving your RV down narrow and winding roads out to the middle of nowhere.
You’re exhausted, eyes and nerves are strained to the max. When you arrive at your RV park, your entire body, aching back, and foggy brain begs for a much needed rest.
So you back yourself into a spot that seems to be perfectly level. As you allow yourself to enjoy the idea of a simple camp setup, you put your slide and awning out. Then you drop your stabilizer jacks to settle in to your new home.
And just before you cork the chilled bottle of wine…
Related Reading: Top 5 Essential RV Accessories
A SINKING FEELING THE RV ISN’T QUITE RIGHT
But when you get into the RV, you realize that the bubble on your level must have been acting up a bit and you are actually not level at all. You need to get out those handy Andersen Levelers and adjust your rig so it’s perfectly leveled.
So in your frustration and exhaustion, you jump back outside to get this task accomplished as quickly as possible so you can kick back and relax.
Stabilizer jacks up: check. Slide in: check. Hitch coupler locked: check.
Now, roll forward 2 feet to position the rig on top of the levelers: DISASTER!
In your rush, the awning was left out a few feet and you crunched it right into the only tree on the site that was a bit too close.
Now the RV awning is hanging precariously from the side of your RV and you are left with just one question: “How much is this stupid mistake going to cost me?”
Don’t let yourself get caught in this situation. Slow down and always take an extra 30 seconds to do a quick walk-around of your RV before you move it even a little bit.
Your bank account (and remaining sanity) will thank you.
Tip #4 – Extend RV Awning Rain
I may have been lucky enough to avoid all of the disaster scenarios I’ve covered so far, but this particular tip comes straight from my own inconvenient experience.
We have had numerous occasions where the RV awning was out the night before a move to another park and we received some rain during the night.
In these instances, that awning does often save you some mess and hassle by keeping all of your stuff dry under its cover. That always makes move day a bit easier.
But when you’re packing up pretty early in the morning before that awning has had a chance to dry out at all, you are potentially creating a hidden mess that will definitely not make your life any easier.
COMPACT RV SITES CAN BE YOUR WORST ENEMY
If you happen to be in a tight RV site at the RV park you are relocating to, that wet awning could stay rolled up for several days, or weeks.
When this happens, mildew on your RV awning will be the inevitable result. Believe me, I know.
Dealing with the mildew down the road can truly be a headache. And the longer it is left untreated, the worse your situation will be.
If you catch the mildew pretty quickly, it can be pretty simple to clean it off with a mildew removal product. But, the longer it sits, the greater chance that it will permanently stain your RV awning fabric and leave it looking pretty worn and nasty.
Nobody wants that, especially when the time comes to sell that RV.
Do yourself a favor and get that RV awning dried out completely just as soon as you possibly can after the rain. It will absolutely mean less hassle and less money out of your pocket in the end.
You Do Not Want to Replace Your RV Awning
When you’ve got a slide or two, an AC unit or two, a refrigerator, and a dozen other expensive components on your RV, it can be easy to forget about the importance of your RV awning.
I hope this list of our top tips for avoiding RV awning replacement has helped you realize that your awning really does deserve just as much consideration when it comes to properly caring for your RV.
In the end, we all want a good-looking, fully operational RV that will meet our needs for years and fetch a good price when the time comes to sell.
PIN THIS TO SAVE FOR LATER
Keep on TREKKN!

Todd loves a competitive game of table tennis, a breathtaking hike, and exploring new places. He lived and traveled in an RV with his family as they traveled throughout much of the US and parts of Canada. Todd has extensive knowledge about RV travel, safety, and accessories and has shared many of his stories here on TREKKN. When he’s not busy launching and building small businesses, you may find him staring at pictures of Glacier National Park (probably his favorite spot on earth).