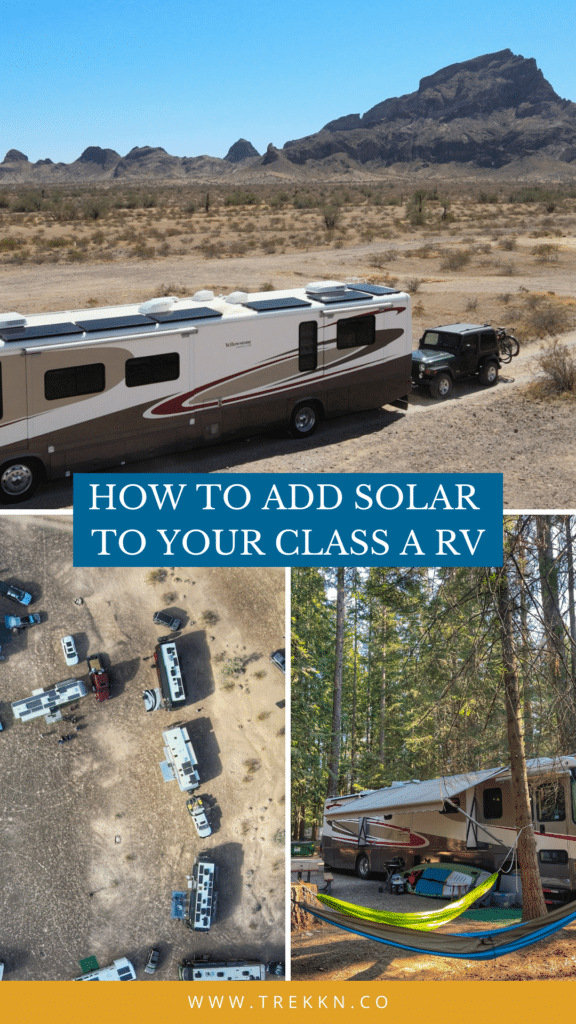
Our Class A Solar Setup for Boondocking Adventures
Are you curious about what a Class A solar setup looks like? Keep reading for tips on how you can install solar power for your RV and be ready for some amazing off-grid boondocking adventures.
It took us a while to figure out that we wanted to boondock in our Class A (you can do that?). It took even longer to install the solar setup in multiple phases.
We had a weekender campervan that was totally off-grid, with two solar panels and two batteries, it was a simple electrical system. We did it ourselves and it powered our remote weekend adventures for many years. During that time we lived in our Class A motorhome full-time at RV parks.
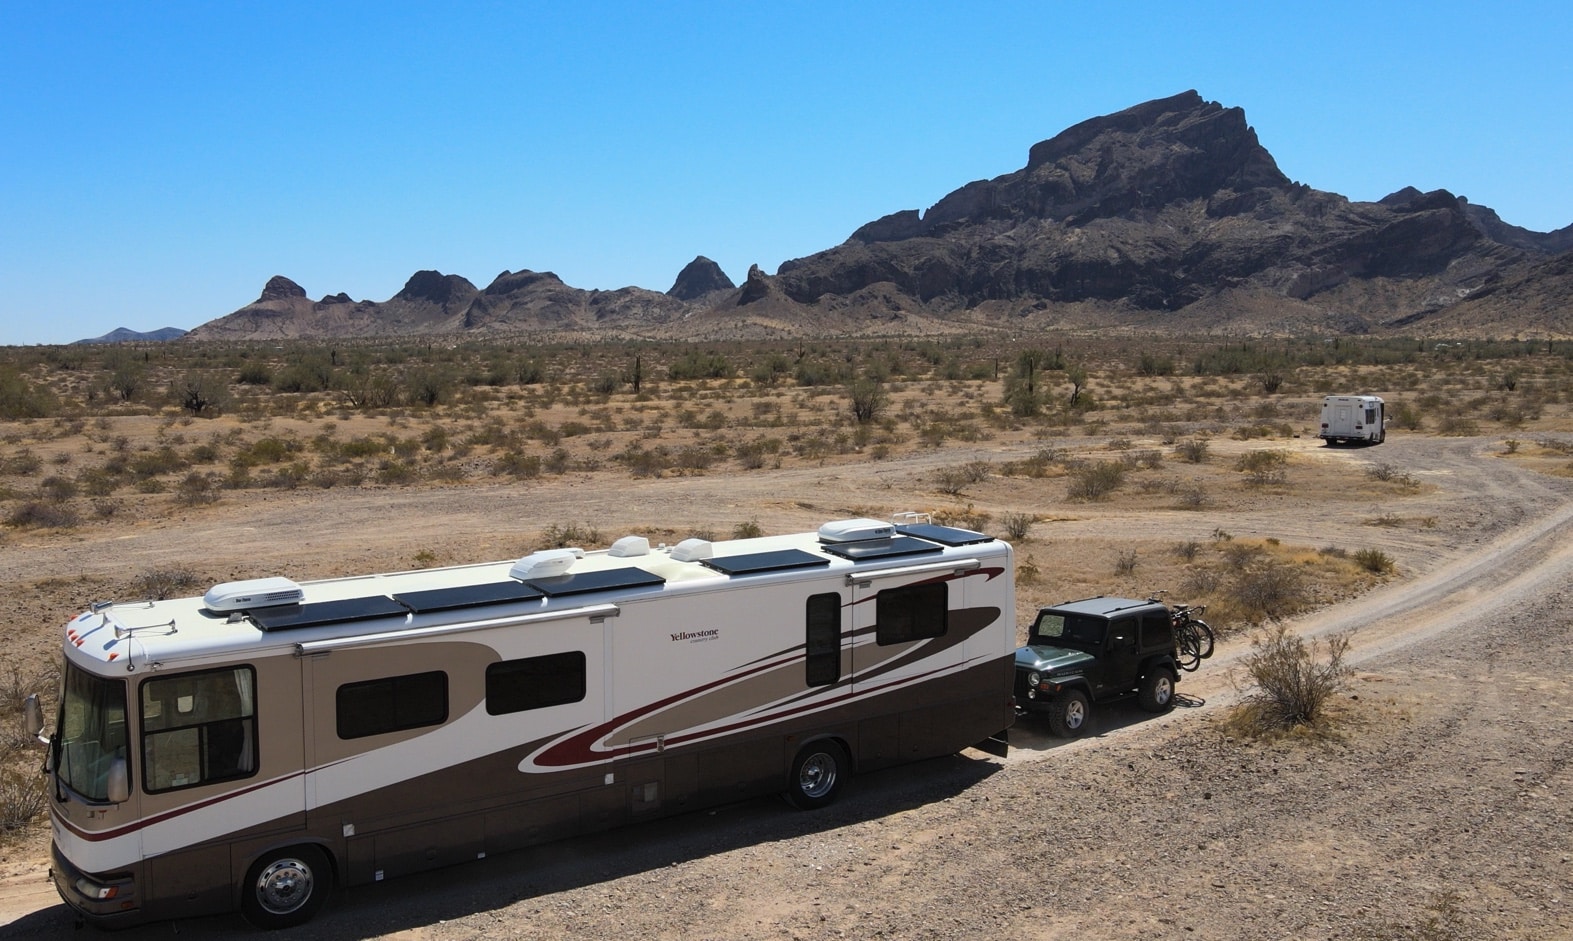
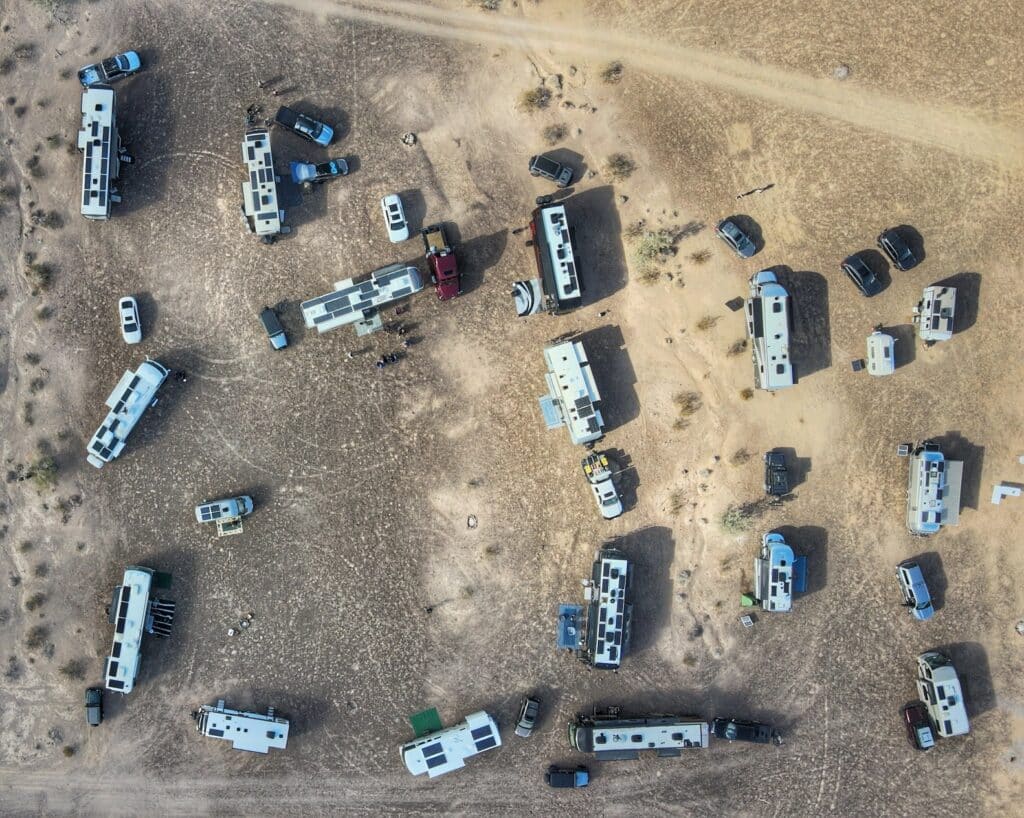
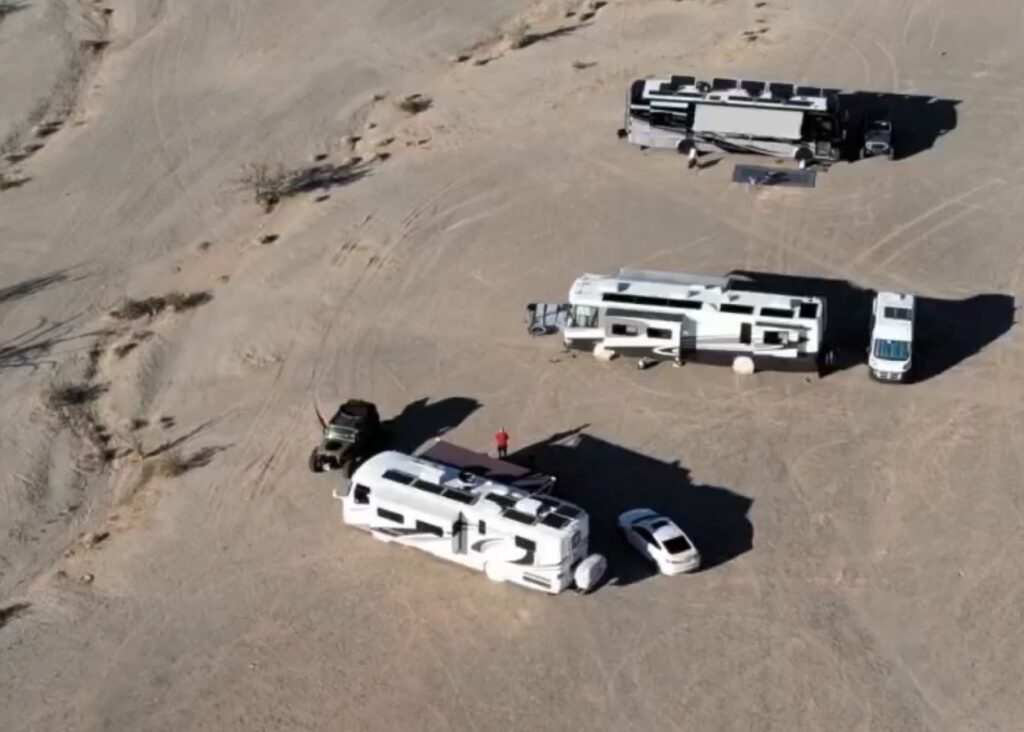
One Thanksgiving, we were invited to camp with a group of other full-time RVers out in the Arizona desert. We rolled up in our campervan to a pop-up neighborhood of huge 5th wheels, full-size motorhomes, and travel trailers with homemade truck campers on the tow vehicle.
Our lives were changed forever.
As silly as it sounds, it hadn’t occurred to us that we could outfit the motorhome for off-grid living. The people at that Thanksgiving dinner showed us the way. Not only was this off-grid community our inspiration, but they have also been our support system. We have called on them for help many times during this process.
Building a solar system that could power our entire mobile tiny home was a completely different animal from the campervan. At least we knew the basics, right?
With the help of an RV solar setup designer, we quickly realized we couldn’t do the job ourselves. So we got on the waitlist for an RV solar installation with PowerUp RV Solar.

What to Know About Installing Solar for Boondocking
If the idea of taking your RV to some wild and remote boondocking destinations excites you, we hope the details below will help you get off-grid. There are many parts and pieces to consider when building a solar system for full-time RV living.
We decided on a very average RV solar setup that can power most of what you need to live normally.
So, we’ll review our setup and the pros and cons of it, but know there are many options to do more or less than we did. Our best advice is to just get started and install what will work best for you.
In fact, we started with just two Battle Born batteries and no other changes to our factory RV system.
Lucky for us, it took about two months to get an installation date with the company we wanted to use. That gave us enough time to test out boondocking and be sure of our decision before the panels went on.
Okay, so what solar system did we end up installing? Continue reading below for an overview of our current RV setup. I also talk about the upgrades we have made along the way.
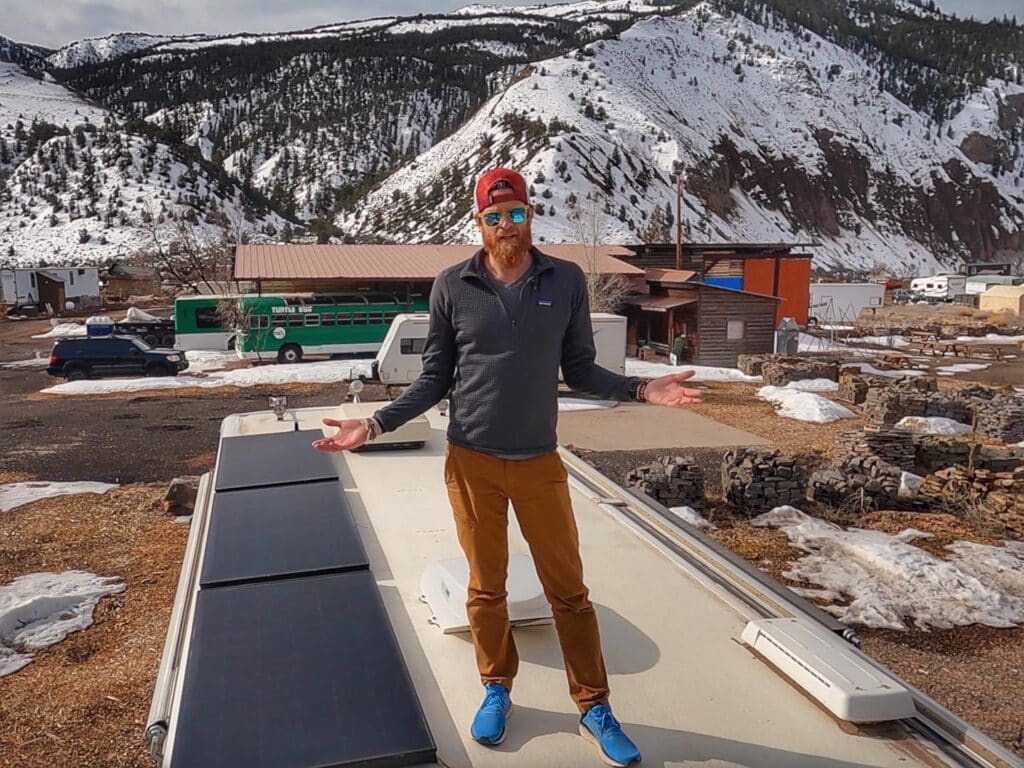
Solar Panels
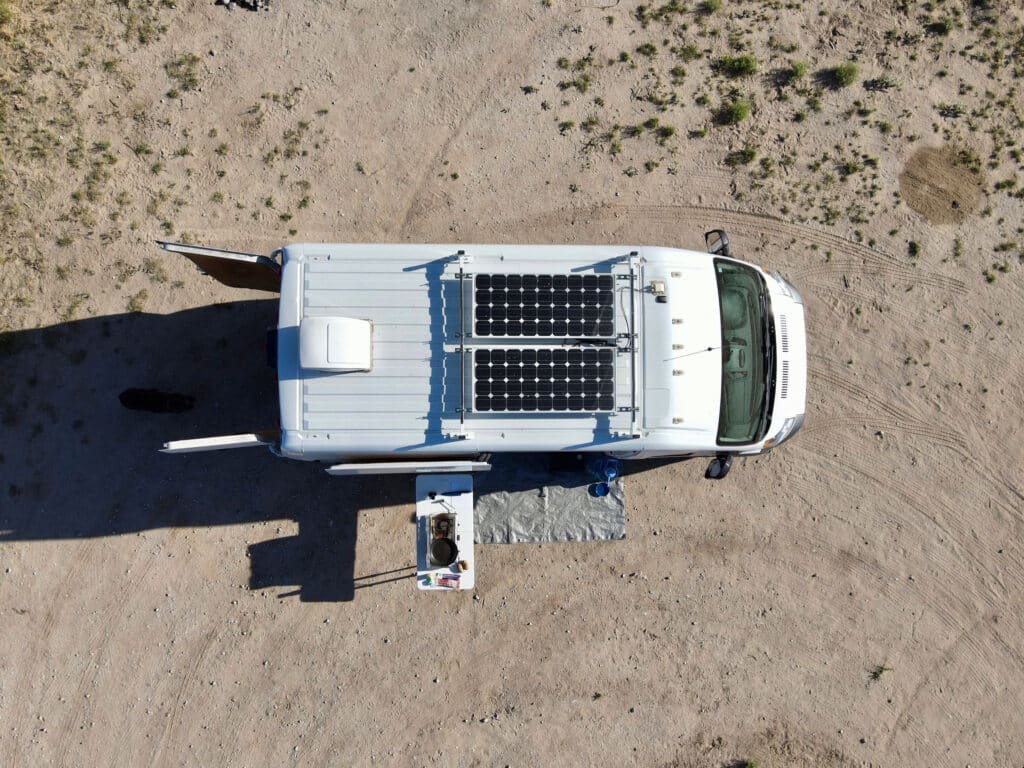
1440 WATTS IN SIX 240-WATT PANELS
We opted for used commercial panels that our installer was able to source for us. They were $125 each, for a total of $750.
This has worked out great for us because our fridge is on the passenger side so we often park so the solar panels get maximum sun, and fortunately, by doing so the fridge gets minimum sun. (You’re welcome for that little tip.)
CABLE COMBINER BOX
We have an Am Solar combiner box that combines all of the solar panel output cables. It also seals off the roof where the cables go down inside the bus.
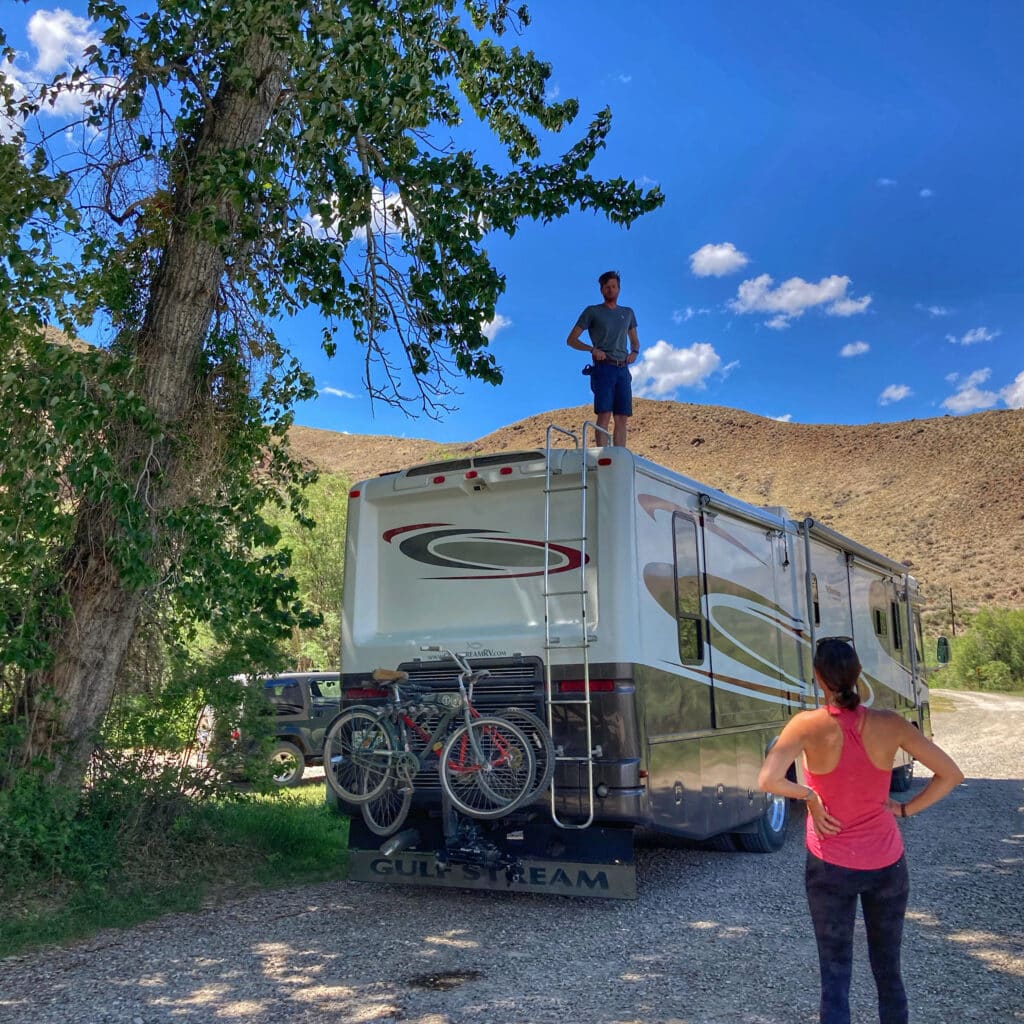
Our panels are installed primarily on the driver’s side of the motorhome so that we have a clear walkway and plenty of room to do work on our roof.
On our 40’ motorhome, we probably have enough real estate on the roof to install twice as many panels. However, our Victron 150/100 MPPT solar charge controller has a limit of 1440w of power that it can make. Adding any more panels would require a second solar charge controller.
Our specific controller cost $780, which means it cost more than the panels themselves. You would basically need to double the system for it to be worth it.
Batteries
500AH LITHIUM-ION BATTLE BORN BATTERIES
Your battery bank is something that’s relatively easy to expand over time, and that’s exactly what we did. We started by replacing the existing lead-acid batteries with two Battle Born batteries.
While waiting for our place in line with the solar installer, we got a third battery to help us with boondocking. Then, once the solar was installed, we added a fourth Battle Born battery.
At the time when we were buying lithium, it was still relatively new and thus quite expensive. At nearly $1,000 a piece, you might see why we bought these bad boys one at a time. The price has come down a little over time.
Considering you will likely need to install multiple batteries for a Class A, even a $50 or $100 reduction in price can add up to a tidy savings. All that said, a single 100ah battery is still a sizeable investment for which you may want to budget and start saving.
When we upgraded our inverter, which we talk about below, we added one more 100ah battery to complete our battery bank at 500ah. That would allow us to install and run a residential fridge.
Until then, without a residential fridge (which runs only on electricity), 400ah has been sufficient to fully power our lives.
There was a significant amount of rewiring to be done when we upgraded our inverter, so we also used this opportunity to move our batteries from an outside bay to inside the RV under our bed.
We moved them inside to have greater control over the temperature of the batteries. That’s important because battery performance decreases in cold temperatures.
BATTERY MONITOR
The last, but potentially most important, part of our battery system is the Victron SmartShunt all-in-one battery monitor. This part monitors the flow of power in and out of the batteries and reads out an accurate state of charge.
We paid $165 for our battery monitor. It looks like they’re still approximately the same price today.

Inverter
After all this, something still needs to convert the solar power (DC electricity) into something the RV can use (AC electricity). That’s where the inverter comes in.
VICTRON MULTIPLUS II
We currently have the new Victron MultiPlus II. That wasn’t always the case so let’s go back to the beginning for a moment.
When we had our solar installed, we chose to save on costs by keeping our existing inverter. Our Class A motorhome came with a Xantrex Freedom 458 (modified sine wave) 2,000-watt inverter.
Amazingly, that original inverter, which was 19 years old, lasted until we could upgrade to a new inverter. We waited for a specific reason.
We had heard rumors about a new Victron inverter that was going to be available in the near future. So we decided to use the Xantrex until it died, or until the new one was released.
We were interested specifically in the MultiPlus-II because it’s the first inverter designed for 50amp RVs with two hot legs in and out. What that means is we can power our entire coach with one inverter. Plus, this new inverter is a pure sine wave output, providing us with safer, more efficient power.
As an added bonus, it came with a 1000w increase in capacity over our old one.
When it first came out, the Victron MultiPlus-II cost about $1,700. You can see the current price (from Amazon) later in this post.
What Can We Do on Our Solar System?
With the new inverter installed, we can live a lot more normally than we could before.
POWER SUPPLY
Our new inverter can supply 3000w of continuous power and up to 6000w of surge power. Some appliances, like the air conditioning units, surge when they’re starting. So now we can run a hairdryer (1875 watts), which was too much-sustained demand for our old 2000w inverter.
Living off-grid you become very aware of how much power it takes to run your favorite appliances.
RUN MULTIPLE APPLIANCES
With our old 2000w inverter we had to be very careful to only run one appliance at a time. With our 1000w additional load capacity, we rarely have to think about it, and that has been a big upgrade for us.
We can now run any normal household appliance. We use our toaster oven (1200w), tea kettle (1500w), and blender (300w) every day with free power from the sun.
And even better, we can run our air conditioning, because the new inverter can handle the start-up surge. That said, we don’t have enough solar or batteries to run the A/C for more than a couple of hours a day.
What Can We Not Do With Our Solar System?
AIR CONDITIONING
While we can operate our air conditioning units, we can’t run A/C all day like we might if we were plugged into the grid (shore power). If we ran the A/C for too many hours continuously, it would likely overheat the inverter and deplete all our battery power.
We do have friends with solar systems robust enough to run A/C all day. For us, it hasn’t seemed worth it to make the giant leap in increasing the solar system just for continuous use of our air conditioning. Our home has wheels, so if it’s too hot, we move!
CLOUDY DAYS
When it’s winter and there aren’t as many hours of daylight, when it’s a cloudy day, or when we’re parked somewhere that’s tree-covered, we do have to watch our power consumption.
When the sun is shining bright, anything is possible, but when that’s not the case we adjust our usage.
For example, we may not bake cookies on a cloudy day. We have most of our outlets on timers, and during winter months, we will adjust the schedule to have them turn off earlier and turn on later each day.
REFRIGERATOR AND HOT WATER HEATER
The final appliances that we cannot run entirely on solar are our fridge and hot water heater. When it’s a sunny day and our batteries are fully charged, we can turn on our electric hot water heater and switch our fridge from propane to electric.
But these are both too high of a draw for us to run off our solar set up all the time. We still have our original RV propane-electric fridge, which is horribly inefficient on electricity.
We love the option to run the fridge on propane when we’re camping in bad weather, but a new residential fridge would be a lot more efficient on electricity.
So we’re in the same boat as we were with our old inverter: we’re waiting for the fridge to die or for a new 12V fridge to come out.
Solar System to Power Off-Grid Adventures
To summarize, here is the equipment we have in our Class A solar setup:

Bluetooth enabled.


Bluetooth enabled.

2X 120V, 3000VA 12-Volt Pure Sine Wave Inverter and 120 amp Battery Charger
Where Will You Go Boondocking?
A solar setup can be a large upfront investment, but the ability to camp off-grid makes it all worth it for us.
This solar setup has opened up so many more options for where we get to park our Class A. We love boondocking in National Forests, State Parks, BLM, and State Trust land.
Having a Class A means you can enjoy all the comforts of home and now you can take it (almost) anywhere!

Kristen Bates lives & works from her RV, primarily boondocking off-grid. She owns and operates a women-led travel company, Legit Trips. Kristen loves to explore new places and inspire others to do the same. If she’s not typing away on her laptop, she’s off on an adventure- hiking, biking, or SUP boarding. You can follow her RV adventures @PerpetualMoves and learn more about her travel company at LegitTrips.com.


Hi! First time boondocker here, in the process of setting up our solar system. We have 8, 100 watt panels fixed on the roof of our 31 foot airstream currently but haven’t purchased any of the other gear yet. Planning on doing a 12V fridge. Any hot tips? Suggestions? Think it’s a beefy enough set up for full-time?