What You Should Do Before Selling Your Travel Trailer
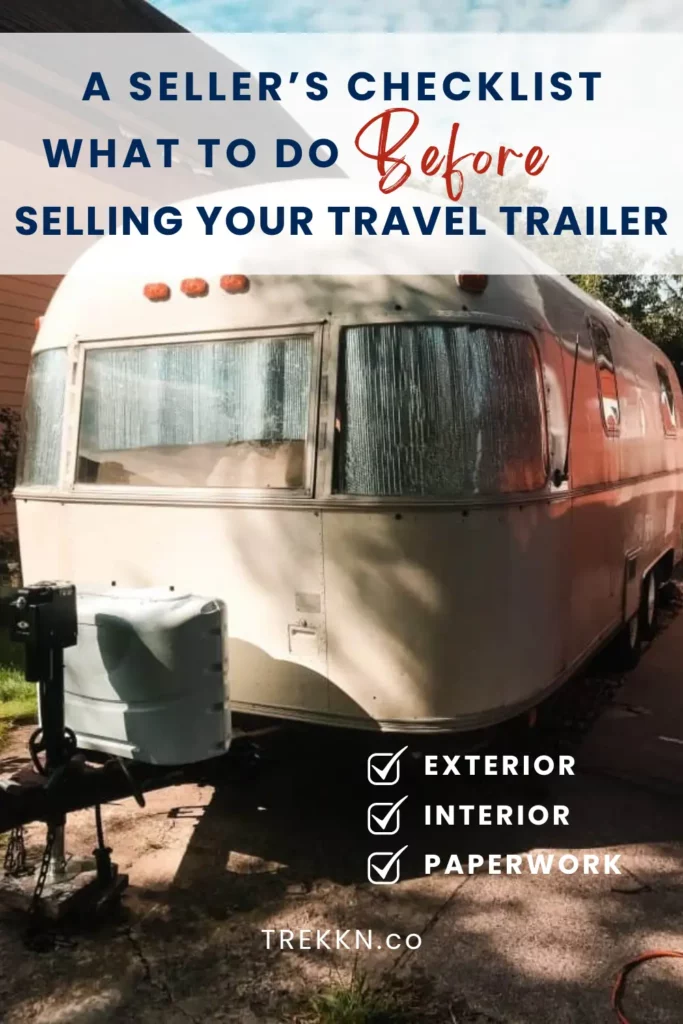
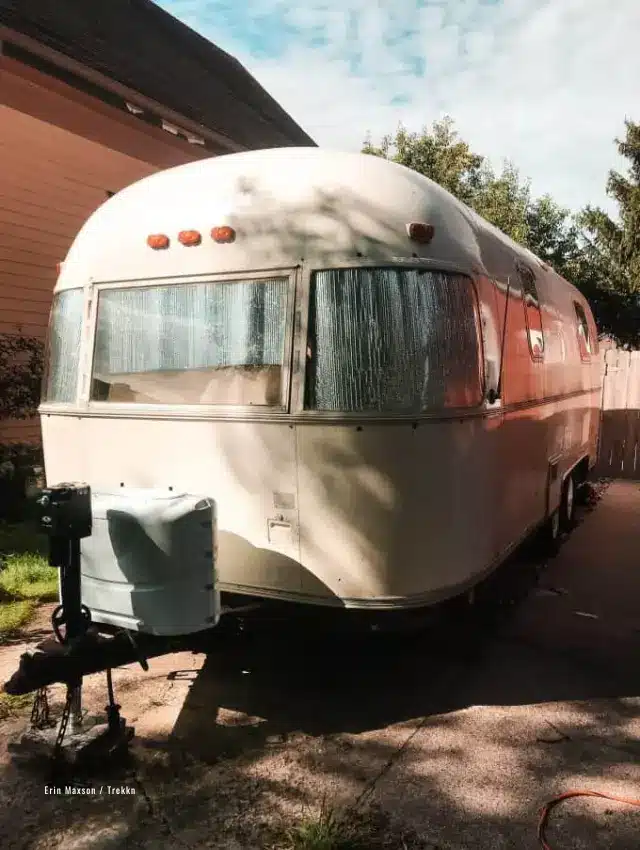
As we prepare to sell our Airstream in the coming months, we have a long list of to-do’s that need to be checked off before handing her over to another owner.
From simple aesthetic upgrades items to essential fixes, we need to have all our ducks in a row before we list the travel trailer for sale.
Here are the ways we’re prepping our trailer for sale and a quick seller’s checklist to help you check and prepare all the important areas of your travel trailer before listing.
Our Pre-Sale To-Do List
When you get ready to sell your trailer, you probably feel like you don’t have much to do. I know I did. But, as we got closer to actually putting the RV on the market, we realized our to-do list was a little longer than we anticipated.
After living in our trailer for two years on and off, there were certain things we learned to live with that others may not enjoy. We needed to bring those things up to a highers standard to attract buyers for our Airstream.
We did a walk through and tested all the cabinets, accessories, and thinga-majigs in the RV as if we weren’t the people calling it home. While doing so, we noticed little chips in the paint, a finicky wooden drawer, and other items that may hamper the price, or even detract others from buying it.
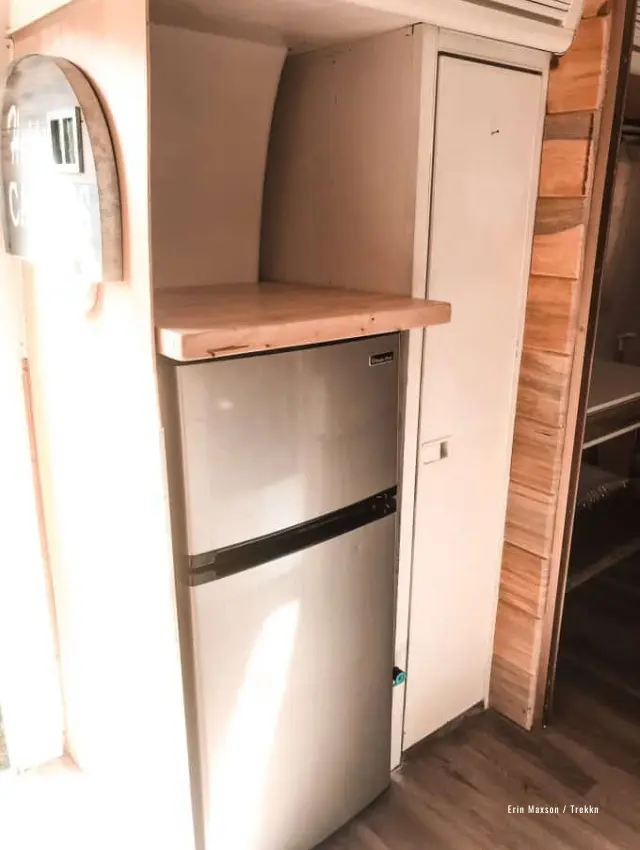
Our trailer isn’t in bad shape by any means. Small things like a drawer getting stuck here and there is easy for me to ignore. For a prospective buyer, however, it may introduce just enough doubt into their mind that they decide to look elsewhere.
Because of this, we knew we had a few more things to finesse before we listed it for sale. As we got close to selling the trailer, these were our biggest projects to tackle.
Water Heater Tank
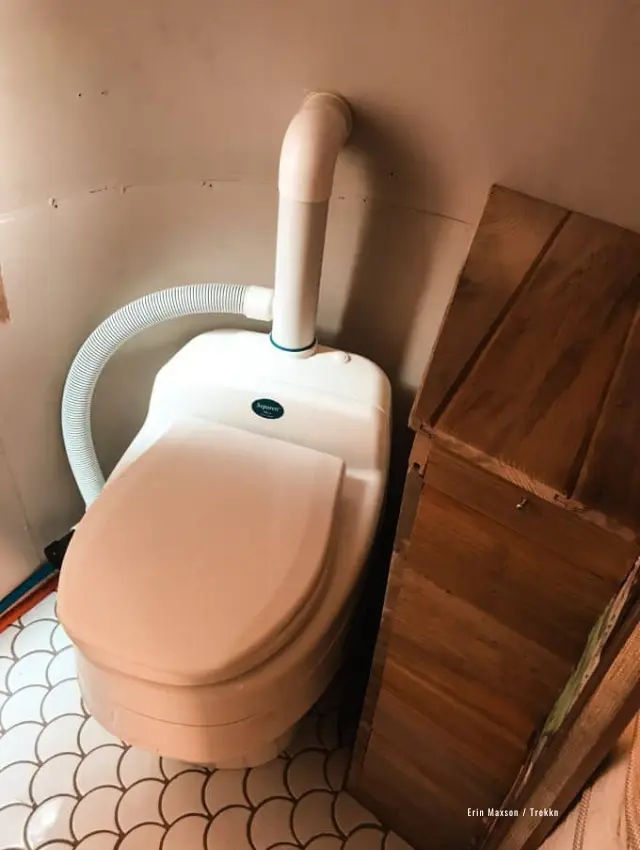
In one of my latest blog posts, I talked about buying a tankless water heater for my trailer since my old tank split across the bottom. This was the biggest project on our list to take care of because we knew that a trailer without a water heater wouldn’t be sold at its best price.
And again, it could raise questions about overall the overall quality of the rig.
Taking the old water heater tank out was a process that took us at least an hour if not more and some additional time for cleanup as we had sprung a leak when we tested it. Eventually, with the water heater tank and its propane set up out of the trailer, we had to cover it up and wait for its replacement before finishing up the project.
Wood Trimming & Shaping
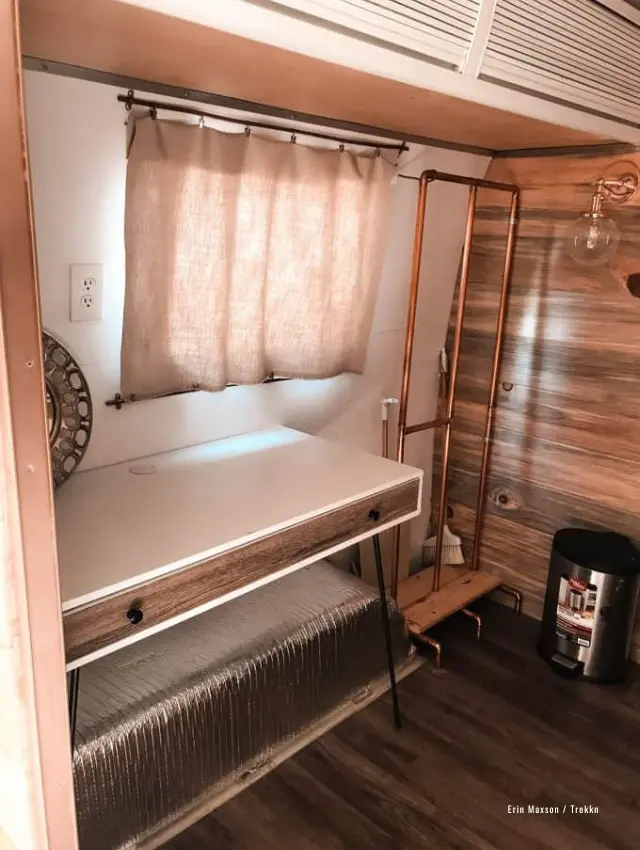
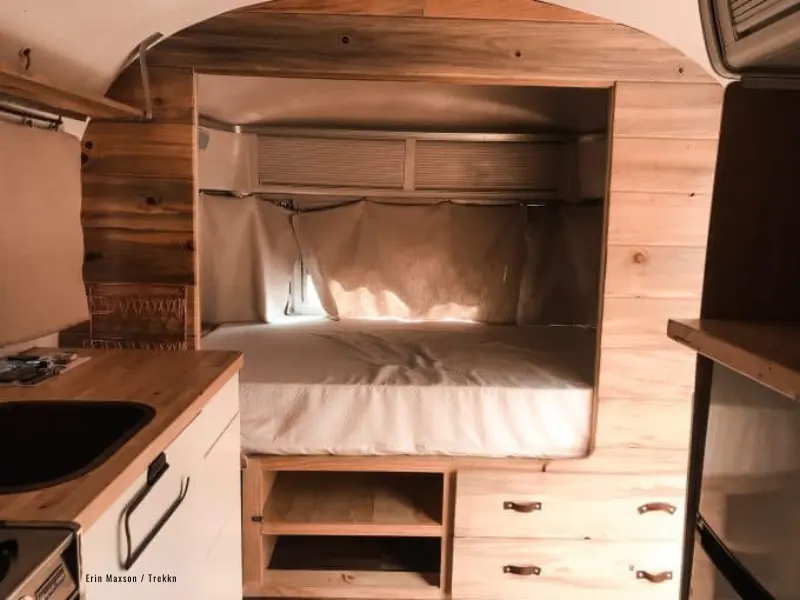
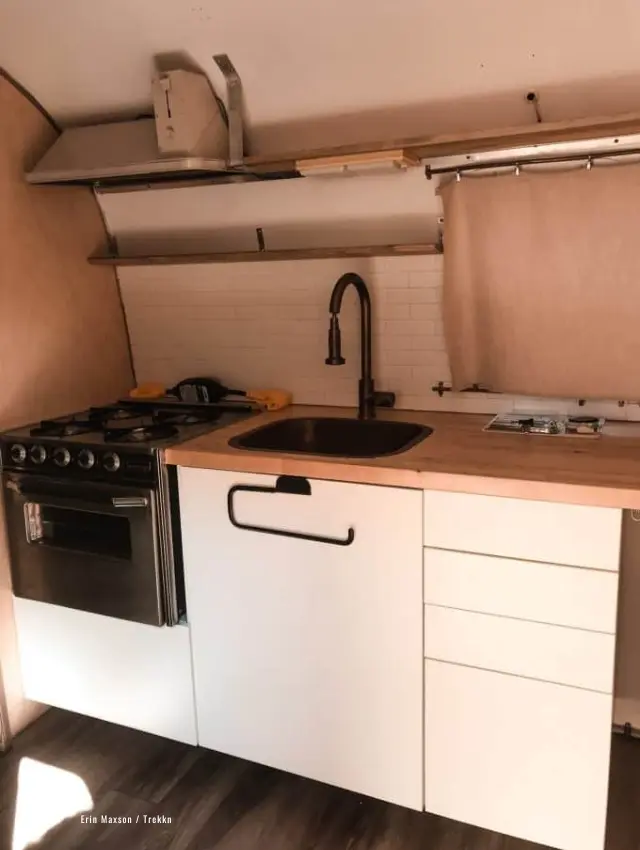
We used quite a bit of shiplap inside my trailer, not only for aesthetic purposes but also for my drawers. I love my shiplap, and I still to this day wouldn’t change it, but it did add an extra project or two to our list.
The Airstream went from living in the desert to spending 9 months in the Midwest, which for wood is a difficult transition.
The humidity and temperature change caused the wood to grow in some places throughout the trailer which meant that we had to trim, sand, and replace some pieces that no longer fit on the walls or alongside my storage areas.
It was pretty easy to take care of, but we realized that this time around we would use nails to hold our pieces in places while also adding wood glue in some areas that we thought would hold up without it before.

Laminate Floor Fixes
All the bouncing of highway roads led to a few laminate floor pieces popping out of place. This was one of our easiest fixes as we popped them back into place and nail gunned them to the subfloor to prevent it from happening again.
Easy peasy!
Tile Problems
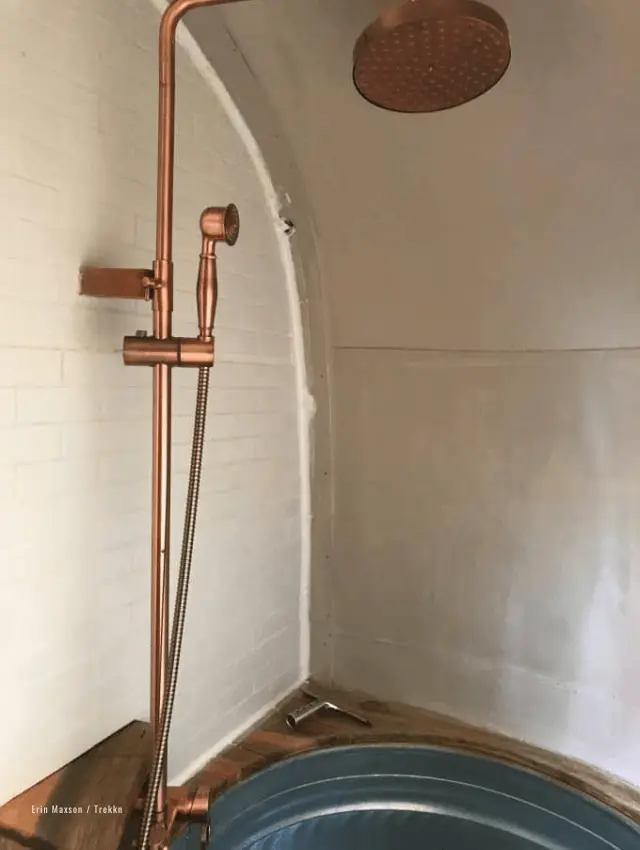
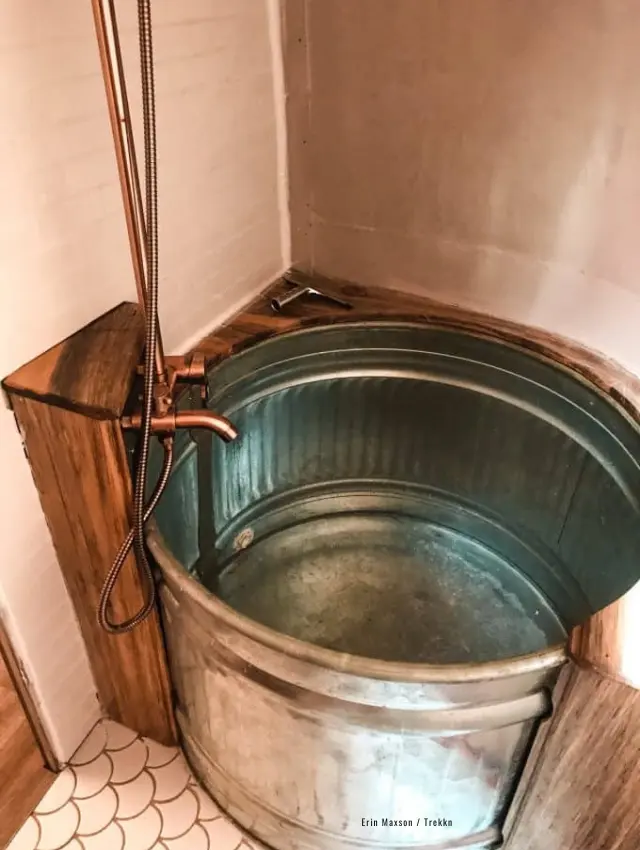
I knew when we put the tile in our bathroom that it would be a risky choice. Not many travel trailers use real tile and for good reason.
Thankfully, we didn’t have any tiles break or come loose over the last two years, but I knew that I wasn’t happy with how the tile had turned out using standard grout and caulk.
In some places, the grout cracked. I wanted to update the bathroom to improve the value.
We decided to stick with tile, but we switched to silicone instead of grout and traditional caulking. Silicone is more flexible than grout, but still offers stability. It made more sense for our Airstream that bumps up and down the road.
The tile project and the water heater tank were our two biggest projects. It was worth the effort, time, and expense. Without these upgrades our trailer wouldn’t have held the original value.
The Travel Trailer Seller’s Checklist
After we completed these small projects, it was time to review and check for anything we missed. Here’s the checklist we used to review the Airstream before listing it for sale.
Exterior Checklist
Interior Checklist
How to Check for Leaks & Clean Your Tanks
Checking for leaks may seem like a daunting task, but it’s pretty simple!
We always run water through our lines to check for leaks in our plumbing after de-winterizing for the year.
Usually, you’ll know immediately if something is leaking in your trailer. However, it’s best for two people to manage this process. One person can turn on the water while the other person investigates lines, corners, and floors for leaks.
Don’t forget to check the propane lines, too. Use a sponge to squeeze a mixture of dish soap and water over the connections and lines.
Any bubbles that appear in the soapy water indicate a leak. Check again. If needed, replace the hose to prevent a hazardous situation.
You should always run some kind of cleaner through your pipes after sitting through a winter season, too. It’s important to knock out any buildup or grime in your tanks and pipes.
Even though we only have a grey water tank with the composting toilet, we always thoroughly cleaned our tanks with a mixture of Dawn, Calgon, and water!

Other Things You Should Do Before the Sale
Clean Her Up
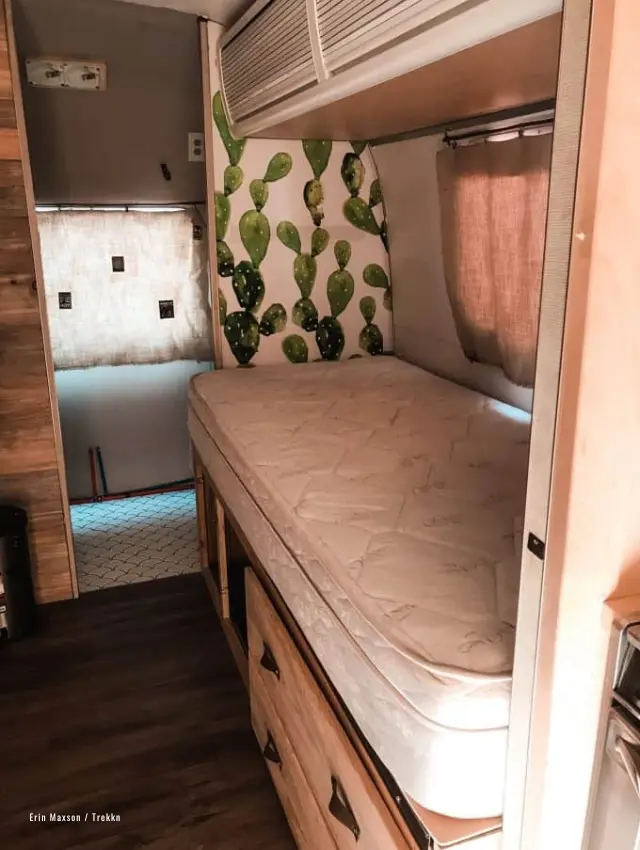
Once the repairs and upgrades are complete, it’s best to deep clean your travel trailer from top to bottom.
We have always traveled with my dog, Rory, so there was more to check than the usual wear and tear. It was important that our trailer looked like Rory hadn’t lived there at all.
Potential buyers may peek into nooks and crannies you have grown accustomed to overlooking. Be purposeful and diligent to ensure you don’t miss any corners or underneath a cabinet.
Make your travel trailer shine in the sales listing. This RV will be someone’s full-time or part-time home.
Buyers will not take the time to pursue a trailer with listing photos that portray a messy and dirty interior. It gives the impression that the RV has not been well maintained.
Have Your Travel Trailer Appraised
Take the time to get your travel trailer appraised. This will require a list of upgrades you’ve completed over the years during ownership. Ensure that the appraiser you hire is licensed in the state.
Because our travel trailer was older than 1980, the appraisal was a critical part of the process.
By getting our trailer appraised in advance, we were confident in our sales price based on a value confirmed a professional.
Prepare the Proper Paperwork
In order to sell your travel trailer, you should have the proper paperwork ready. Depending on the state where the RV is listed for sale, certain documents (e.g., vehicle title) may need to be notarized.
Prepare a Bill of Sale with the vehicle information, purchase and sale terms, date, and space for signatures from both parties.
Requirements vary by state so check with the DMV to confirm what’s needed. Having the proper paperwork in advance can help avoid unnecessary delays when you find the right buyer.
Give It a Little Extra Effort If You’re After Top Dollar
Take the time to do a once over on your travel trailer before selling it. You will be in a better position to ask for the best price and avoid any pitfalls down the road. Fix easy problems and make simple repairs to avoid losing a potential a deal.
A few hours of work may save several weeks or months of waiting for the right buyer to come along. Moreover, extra touch ups can improve your chances of maximizing the sales price.

Erin is rooted in South Dakota, but wanders every chance she gets to see the beauty that nature holds. From hiking to climbing, there’s not an adventure she’ll turn down. After renovating her 1976 Airstream Argosy, Erin knows the ins and outs of living life on the road and trailer maintenance. Whether she’s on the road with her dog and partner or at home curled up with a good book, Erin is always planning her next adventure because life is meant to be lived outdoors.


