Backpacking Tips for Beginners: Advice from an Expert
On my first backpacking trip at 16, I was ready to quit about 50 steps in. Why would I want to trudge uphill with a load that dug into my shoulders and hips?
Wouldn’t our group be just as happy camping in the woods by the van? Luckily, pride kept my lips sealed, and as I planted one foot in front of the other on repeat, my body adjusted to the weight, and a sense of purpose settled in.
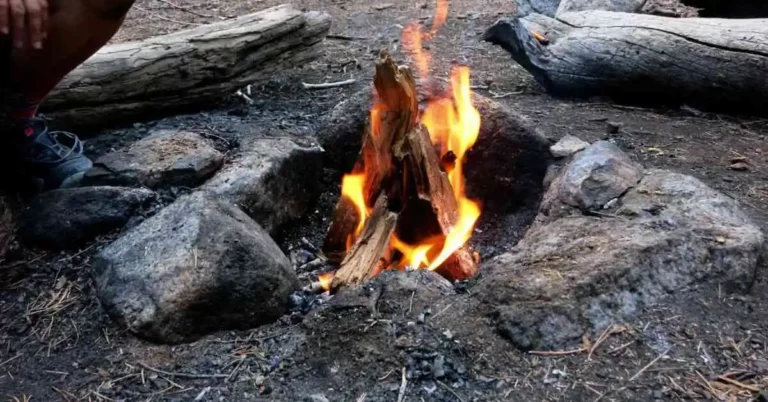
By the time we arrived at our first night’s campsite, my grin was wider than the moon. I was carrying everything I needed to survive on my back!
And we were deep in the mountains, the sounds of highways and civilization far behind us.
Which is all to say that the challenge of backpacking is 100% worth the joy of spending time in the wilderness with only what you can carry. The hundreds of nights that I’ve since spent sleeping in a trailside tent have confirmed this first impression.
Backpacking has also given me some wisdom to pass on so that your early backpacking experiences can be as smooth and enjoyable as possible.
Expert Backpacking Tips for Beginners
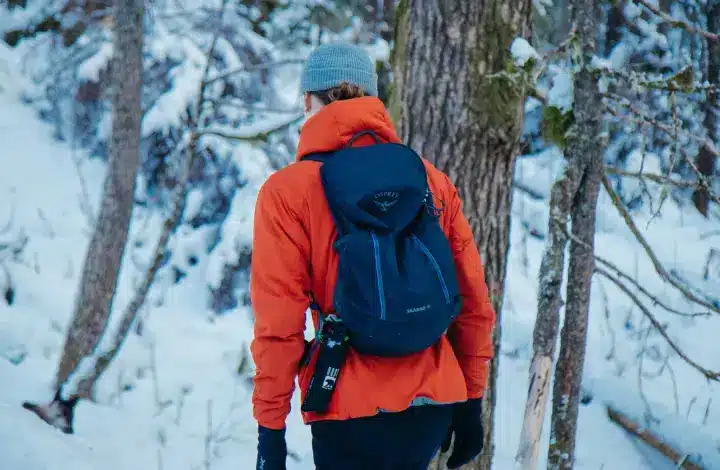
Get a Pack That Fits You Well
This is an important backpacking tip for beginners. Make sure you outfit yourself with a backpack that fits you well.
A well-fitted pack goes a long way to ensuring the load you’re carrying is distributed well for your body.
Getting the right pack was an absolute game changer for me.
Try Before You Buy
If possible, go to a gear store, like REI, and try the packs on. They usually have weighted sacs you can insert to get a sense for how it feels when the pack is loaded with gear.
Two of the most important areas of the pack to look at in terms of finding the perfect fit are torso length and waist belt size.
Backpack Torso Length
The torso length of a pack is the distance between where the shoulder straps and the waist belt hit your body. Some packs have adjustable torso lengths, which allows for more customization. Others are fixed, in which case it’s extra important to size it to your actual torso length.
You can measure your torso length by having a friend measure from the base of your neck to a line along the top of your hips.
I’ve had backpacks with both adjustable and fixed types. I prefer the fixed-length option because if you get the right one, it’s one less thing to fiddle around with on the pack.
Highly Rated Backpacks
Unfortunately, my absolute favorite backpack is no longer made and it’s only available to buy at times through eBay. That said, there are many high quality packs out there. Here are a few that are especially well-rated:
Backpack Waist Belt
The waist belt should sit just above your hip bones. Check to make sure it’s got the right amount of webbing to reach around your hips and tighten for a secure fit.
In some cases, you may be able to sub in a different waist belt if the rest of the pack is a good fit. With a backpack that balances the load well, you’ll be able to power through your trek with more comfort and ease.
TREKKN is ready-supported. We may earn a small commission for qualifying purchases, at no additional cost to you. Please read our disclosure for more information.
Keep it Light and Comfortable
When it comes to packing for a backpacking trip, it can be tempting to go one of two routes. The first is stuffing in everything but the kitchen sink. The second temptation is to streamline your packing down to the absolute minimum.
In my opinion, unless you are aiming for aggressive daily distance goals, a middle ground is best. You don’t want to be lugging around extraneous items, but having some items for comfort can keep you energized and happy.
For me, I maintain a balance between lightweight and comfort by always packing the following items:
Yes, by only packing one hiking tee shirt, it means I will get smelly. It’s ok, that will be overpowered by the scent of the pine needles surrounding me.
With trial and error, you will also discover which items will keep you happy on trail and are worth the weight, and which can be jettisoned for a lighter pack.
Stuff It!
To get all my gear into my pack, I often rely on the magic of the eVac stuff sacks. You may be adding a few more ounces onto your back, but compressing those downy materials means they take up less room. Plus, it helps to keep things organized.
One of the great benefits of using compression is that you’re more likely to be able to fit everything inside your pack.
It’s important to fit everything into your sack for the following three reasons:
Make Sure It’s Watertight
One thing about living outdoors is that there’s no controlling for weather. You can, however, control how well you’re prepared. Always check the weather forecast for the area you’re traveling in advance of departing for your hike.
It’s never a bad idea to have a pack waterproofed using the following two methods:
Making sure your warm layers stay dry and your food doesn’t get unintentionally re-hydrated by the rain will make for a much more pleasant backpack, even if the weather unleashes its fury during your trek.
Plan Wisely for Food and Water
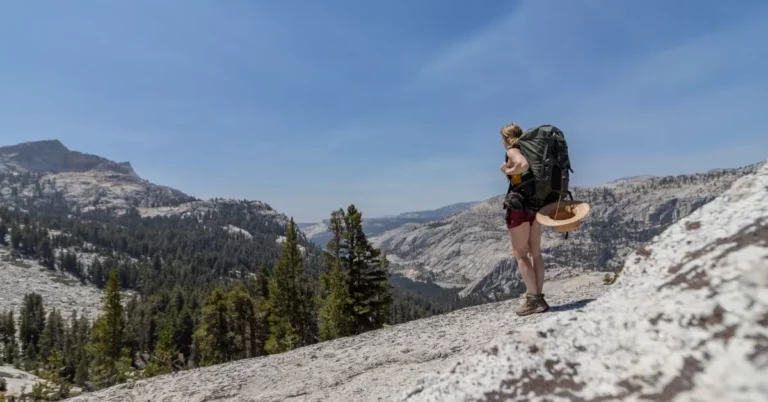
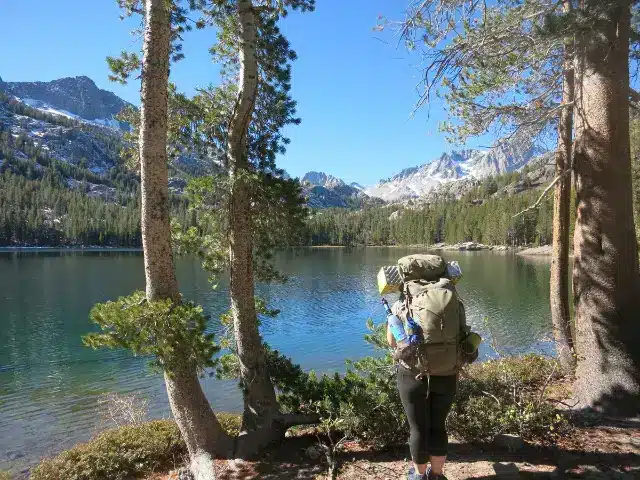
This is a lesson that I learned the hard way—and not because I was starving. No, in fact, my friend and I brought so much food on our seven-day backpack in the High Sierras that we could have fed five more people the entire trip.
This fact didn’t become clear until the second night, when we had leftovers—yet again. Maybe backcountry BLTs weren’t the best call.
But the pain of carrying all that extra food—including an avocado that never ripened!—seared the following tips into my mind.
How Much Food to Carry on a Hike
Calculate food quantities based on recommended serving sizes and then pack exactly that. The easiest way to do this is to use the prepackaged backpackers meals.
There are many varieties to choose from and they eliminate the need for more complex meal planning or even bringing a bowl, as you can eat straight from the packaging. Plus they are fast to prepare (usually you just boil water, pour into the bag, and let it rehydrate for 20 minutes).
Dehydrated Backpack Meals
There are many options on the market and your dietary needs will dictate which ones work best for you, but here are a few brands that I’ve enjoyed:
The downside is that they can be pricey and if, like me, you enjoy the process of backcountry cooking, you miss out on that nightly ritual.
Whichever route you take, pack meals and snacks that will help you stay fueled and motivated.
Carry Water and a Filter on Your Hike
In most cases, the amount of water is more about your carrying and filtering capacity than actually transporting every ounce of water you’ll be consuming on the trip.
It is vital to carry a filtration system to ensure you’ll have safe drinking water on trail. Pack along a lightweight, reliable water filter such as the Sawyer Squeeze Water Filtration System and a 2-3L water bladder like the Osprey Reservoir so you can sip while you step.
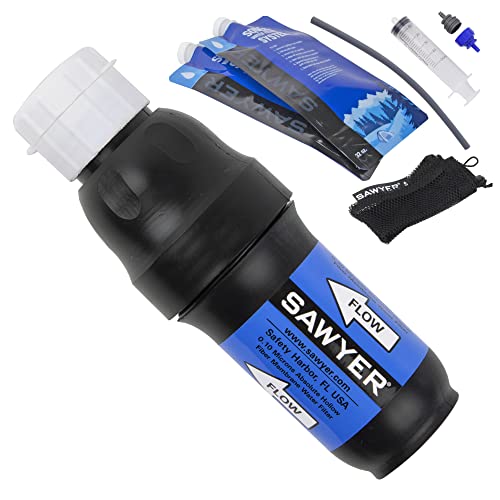
A water filtration system is a must-have when hiking. We like the small Sawyer squeeze filter because it's compact and easy to use.
- Lightweight (3 oz) and portable
- 0.1 Micron inline filter removes bacteria, protozoa and microplastics
- 2 reusable BPA-free collapsible pouches

Reusable water reservoir with 2 Liter capacity.
Know It Will Be Hard But Worth It
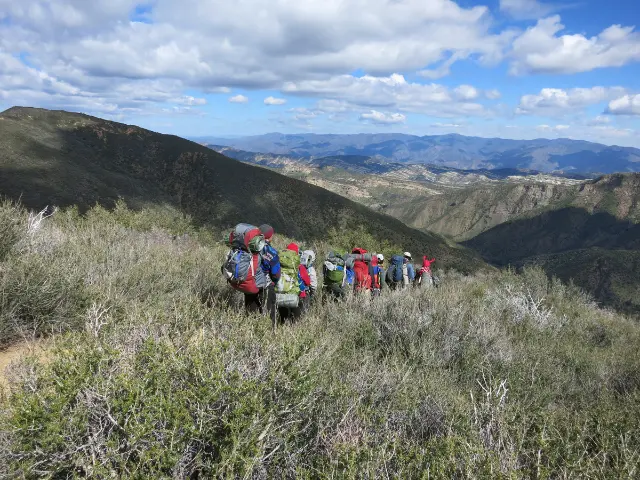
Embrace the challenge! Backpacking isn’t easy: you’re (often) walking up a hill under a heavy load at the mercy of the weather.
But also, backpacking is magnificent! You’re outside, enmeshed in the natural world. There’s a good chance you’re alongside your favorite people.
Or maybe you’re with new people who are about to become your favorites. And you’re pushing your body’s limits and discovering what it’s capable of.
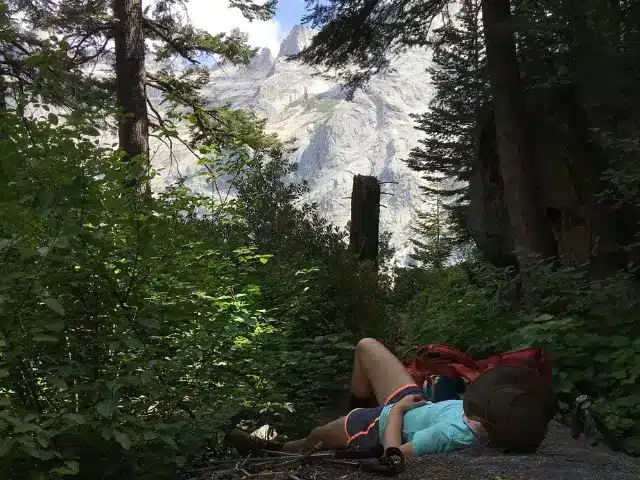
Even so, the going can get tough. In those instances, the number one thing I do to maintain a positive mindset is I let myself take breaks. I am not a backpacker that’s going for speed records. I want to enjoy the day as it unfolds.
Of course, I stay aware of the mileage I still have to cover before dark descends. Building in regular packs-off breaks gives me an opportunity to stretch, snack, and sink into the beauty of the moment.
My 16-year-old self would be proud of the distance that I’ve traveled since that first trip. I’m grateful she was willing to stick with it and discover the joy that’s revealed over the journey.
I hope these six backpacking tips for beginners will help you feel inspired and prepared to hit the trail for an outdoor adventure soon!
Jane Cullina is based in Santa Barbara, California, where she draws inspiration from the juxtaposition of sea and mountains that frame her surroundings. Her experiences as an outdoor educator on both coasts cemented Jane’s belief that time spent in nature leads to extraordinary moments of growth and connection. Today, whether at work as a project manager, educator, and writer, or at play in the wilderness of the U.S., Canada, and beyond, Jane seeks to weave together the practical with the profound.