Learn How to Start, Control, and Put Out a Campfire
Building and sitting by a campfire is one of the quintessential experiences of outdoor living, whether at a campground or in the backcountry. The glow of a campfire beckons us to gather, share meals, stories, and songs, and warm our fingers and toes. In this article, I’ll share the essential elements to successfully start a campfire. I will also cover how to control a campfire and how to put the fire out properly when you are out of doors.
When I was an outdoor instructor, building campfires was a part of my daily routine. If we weren’t successful in getting the flames going, there’d be no dinner! Needless to say, we were very motivated to get it right!
Here are some of the crucial things I learned about the process from building fires twice a day.
TREKKN is ready-supported. We may earn a small commission for qualifying purchases, at no additional cost to you. Please read our disclosure for more information.
Get the Campfire Set Up Safely
Fires are lively, dynamic, and have great potential for danger. It’s important to take safety seriously. No one wants to injure themselves or others with fire or be the next person to start a wildfire!
Check Campsite Regulations
The first thing you want to check is that the regulations of the area you’re in allow for fires. Campfire regulations often change depending on the season. Checking the website of the agency that manages the land should let you know what’s allowed and if any permits are needed.
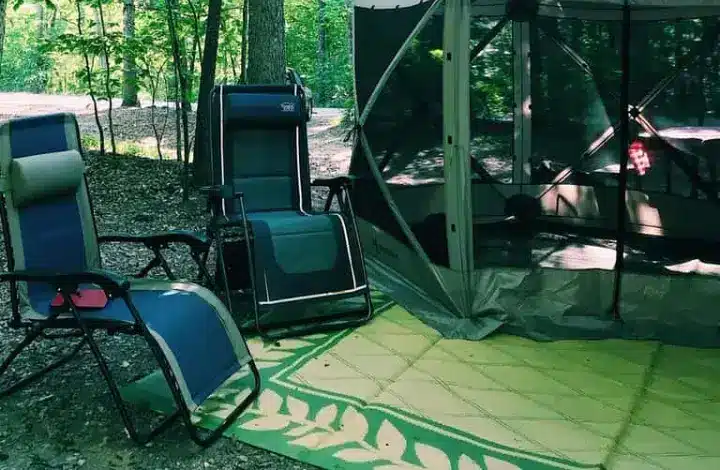
Where you set the fire up will depend on where you’re camping. In most cases, established campgrounds will have fire pits and will require that you use them for any fires.
Use Established Fire Pit at the Campground
Using a fire pit at the campground offers the following benefits:
Portable Fire Pit
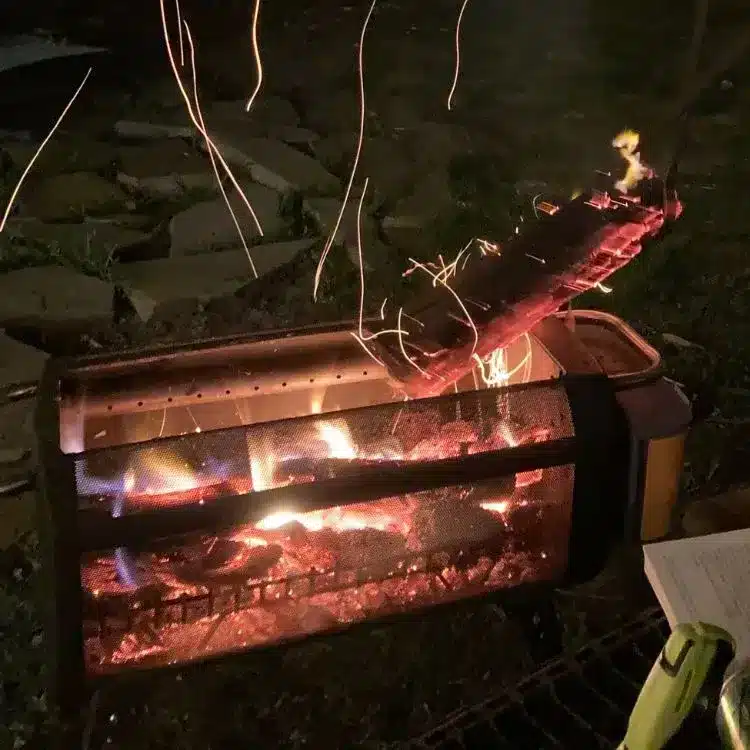
If campfires are allowed, but you’re not at an established campsite, you can bring your own transportable fire pit. I personally like the BioLite FirePit+ because it’s both light and easy to set up.
Plus, it has a built-in fan that promotes air circulation so it produces relatively little smoke.
The one downside is that it doesn’t have capacity for especially large logs. You’ll want to be sure to have a hatchet or something to help you cut your firewood into smaller pieces.
Temporary Fire Pit
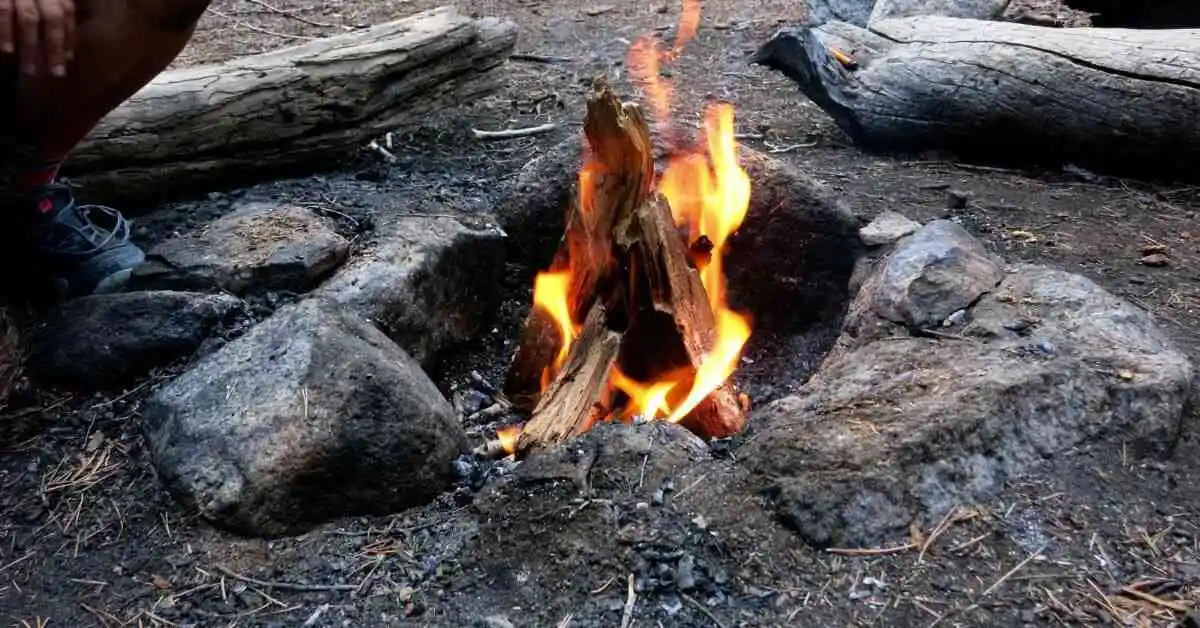
Another option is to build a temporary fire pit. Find an open, level spot away from branches overhead. Brush away any debris so that you’re down to bare soil. Find some stones to encircle the zone. If you choose this method, be sure to dismantle your fire pit before you leave the area.
Gather Your Materials
There are four key materials that you need to build a fire:
- Tinder
- Kindling
- Firewood
- Fire Starter
Let’s look at them in more detail.
Thanks to the eponymous dating app, most of us now know that tinder is a key element of getting a fire started. Campfire tinder refers to the small, dry components that will catch quickly and burn fast.
Materials to Use for Campfire Tinder
Materials that make great tinder include:
- birch bark
- pine cones
- pine needles
- dry leaves
- wood shavings
- cardboard or paper ripped into small pieces
- dryer lint
- commercial fire starter
In most cases, you can find these around your campsite. Collect bark, needles, and leaves from the ground. Never pull branches or leaves off of the trees themselves.
It can be helpful to pack and bring some dryer lint or a commercial fire starter along in case you can’t find enough tinder, or if the conditions are especially wet. Products like the Masterbuilt or Grill Trade fire starters are compact and can make sure your fire starts.
In addition to tinder, kindling is necessary for building a fire outside. Kindling is like tinder’s big brother. If it were an app, it would be for 3-month flings. It’s still not a long term relationship, but the flame lasts longer than a one-night stand.
What to Use for Great Kindling
Things that make great kindling are:
- small, thin, dry branches
- small pieces of wood splintered off a log with a hatchet
Again, be sure that you’re only taking downed materials. Leave the live branches happy on their tree home. If you have a hatchet or ax, you can splinter thin slices of wood off of your firewood logs.
The key is that you’re looking for something that will catch easily from the tinder then burn a bit longer so that it can generate enough heat to ignite the larger logs. Those logs will generally be wood that you’ve procured from the campground itself or a nearby convenience store.
If you’re traveling more than 50 miles, don’t bring your own firewood. Transporting firewood may carry invasive insects that can harm the habitat where you’re camping.
Type of Wood to Use in Outdoor Fire Pit
Soft wood, like pine and cedar, will burn more easily but also more quickly. Harder woods, like oak or maple, will burn longer. The most important characteristic of good firewood is that it’s dry. Store your firewood under a tarp when possible, especially if you’re in a rainy area.
Lighter or Matches
Finally, you’ll need a way to light the fire! My preference is for a long-handled lighter because I feel more confident that I won’t accidentally singe my fingers. Matches also work great, especially waterproof ones like UCO’s Titan Stormproof Match Kit.
Build the Campfire
Now you’re ready to build your fire! This is the part I find most enjoyable because I think of it as making a temporary work of art.
The chief principle in the build is leaving room for oxygen. Similar to when camp counselors encourage space for God between adolescents slow dancing, you want to leave room for air around the kindling and logs. The oxygen will keep the fire burning bright.
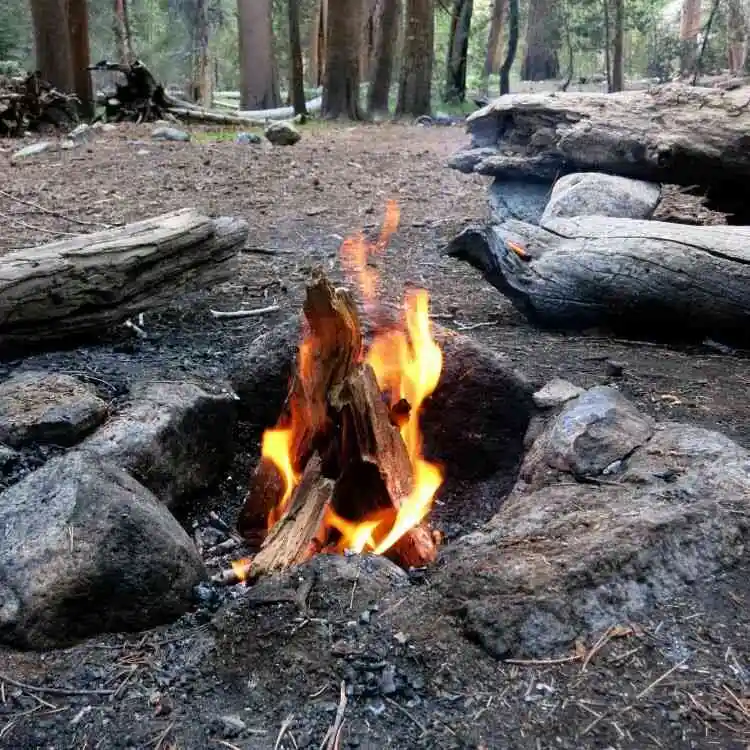
Ensure that the base of your fire pit is cleared and flattened out. Then decide what shape you want to build. A cone shape will get a fire started quickly because of the extensive room for air. A log cabin will make a secure base for a long-lasting fire.
Cone Shape Campfire
To build a cone shape, loose pack the tinder in the center of the fire ring. Add the kindling in a circle around the tinder, with the ends leaning together at the top. Once the kindling has caught fire, add the larger logs in the same shape.
Log Cabin Shape Campfire
To build a log cabin shape, place two logs parallel to each other in the fire ring about a forearm’s width part. Then place two logs on top of them perpendicularly. Continue building the structure up in that pattern for a few levels. Place the tinder and kindling loosely in the center.
There are other formations you can try, but in my experience, the two I list above are the most straightforward and easiest to get going.
Light the Fire
Now comes the moment of truth: will your fire start, and even more importantly, will it last? It’s a good idea to have some extra tinder and kindling ready by the edge of the fire in case your first efforts don’t endure.
Use your lighter or match to ignite the tinder and watch it closely to see that it subsequently ignites the kindling. You may need to add more tinder along the way. Once the small branches are burning, you can begin to add the firewood if it’s not already in place.
If the flames are struggling, you can encourage them by blowing low into the fire. Beware to inhale only when facing away from the fire so that you’re not getting a lungful of smoke.

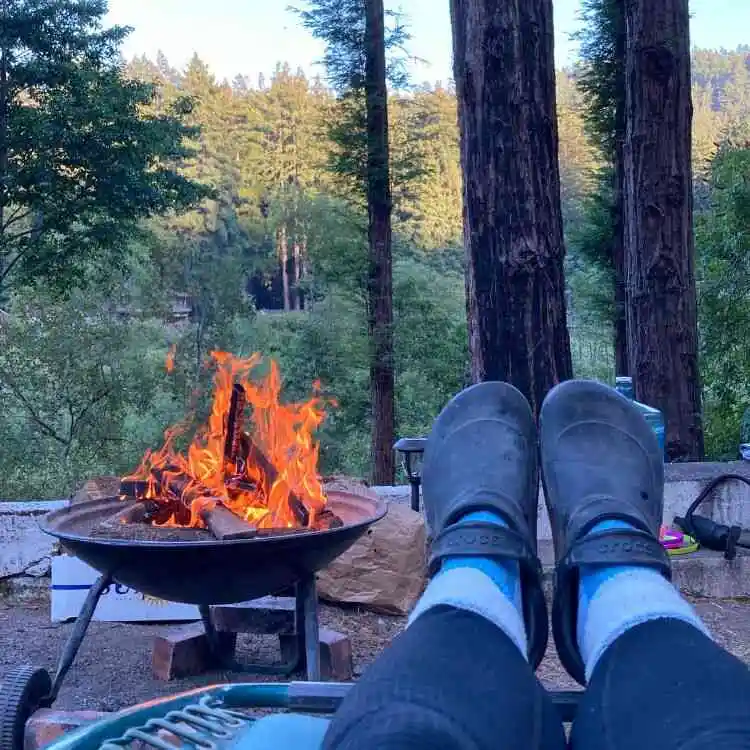
Enjoy the Campfire
Once you’ve got your fire burning, you can enjoy its warmth, mesmerizing dance of flames, and cooking capacity.
To cook, it’s best to wait until the fire has turned some of the logs into coals, which will continue delivering high heat without singeing your dishes. Campgrounds will often have grills installed at the site. If so, you can lower the grill over the fire pit to use with a cast iron skillet.
Or, if you want to try my favorite campfire treat, slice a sweet potato down the center, add a pad of butter, then wrap it into tin foil and set it on the coals.
More Campfire Cooking Ideas:
Depending how long you want to enjoy the fire, you can keep adding logs as the original ones get burned through. About 45 minutes before bedtime is a good time to stop adding new logs and allow the existing ones to burn down fully to ash.
Extinguish the Fire
At the close of the night, it’s time to ensure your fire is out completely before heading to bed. To completely put out a fire, use water.
Use Water to Put Out Your Fire
Once the logs have burned to coals and the coals have burned to ash, douse those ashes with water, stir, add more water, and stir some more.
Look to see if there are any orange embers still burning. Test the area by touching the wet ash with your hand to measure if it’s cool enough to leave.
If you’re unsure, keep adding water. It’s better to be overly cautious than to have a remaining ember spark a wildfire in the night.
Campfire Etiquette Review
Let’s review a quick summary for how to build, control, and put out a fire safely.
I hope that these tips will help you feel confident as you head into the woods to enjoy a peaceful adventure in the great outdoors.
Here’s to many future happy memories by the glow of the campfire!
Jane Cullina is based in Santa Barbara, California, where she draws inspiration from the juxtaposition of sea and mountains that frame her surroundings. Her experiences as an outdoor educator on both coasts cemented Jane’s belief that time spent in nature leads to extraordinary moments of growth and connection. Today, whether at work as a project manager, educator, and writer, or at play in the wilderness of the U.S., Canada, and beyond, Jane seeks to weave together the practical with the profound.