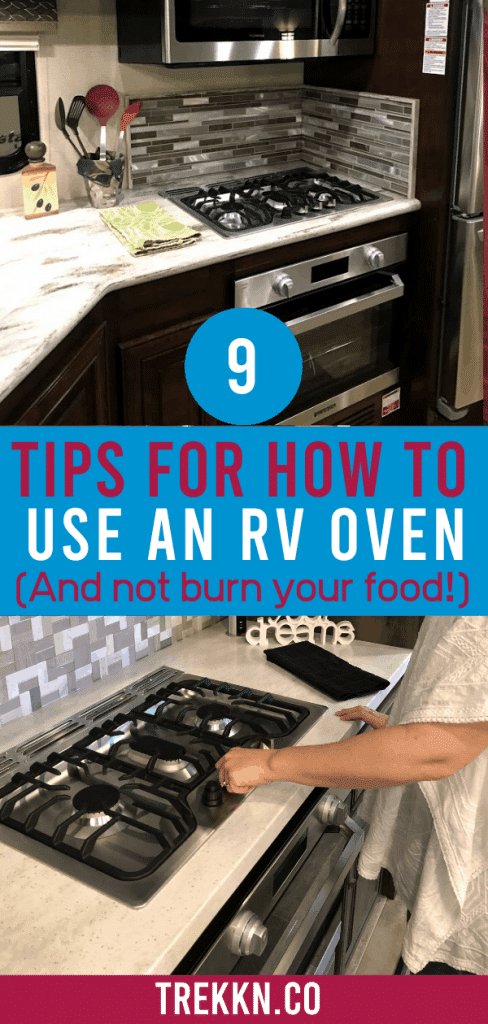
9 Tips for How to Use an RV Oven And Not Burn Dinner
If you’re new to RVing and you want to whip up some amazing meals in your RV kitchen, it’s good to know a few basics on how to use an RV oven. It’s incredibly easy to burn food in your RV oven, as well as bake items that don’t get done in the middle. Just ask me how, I know.
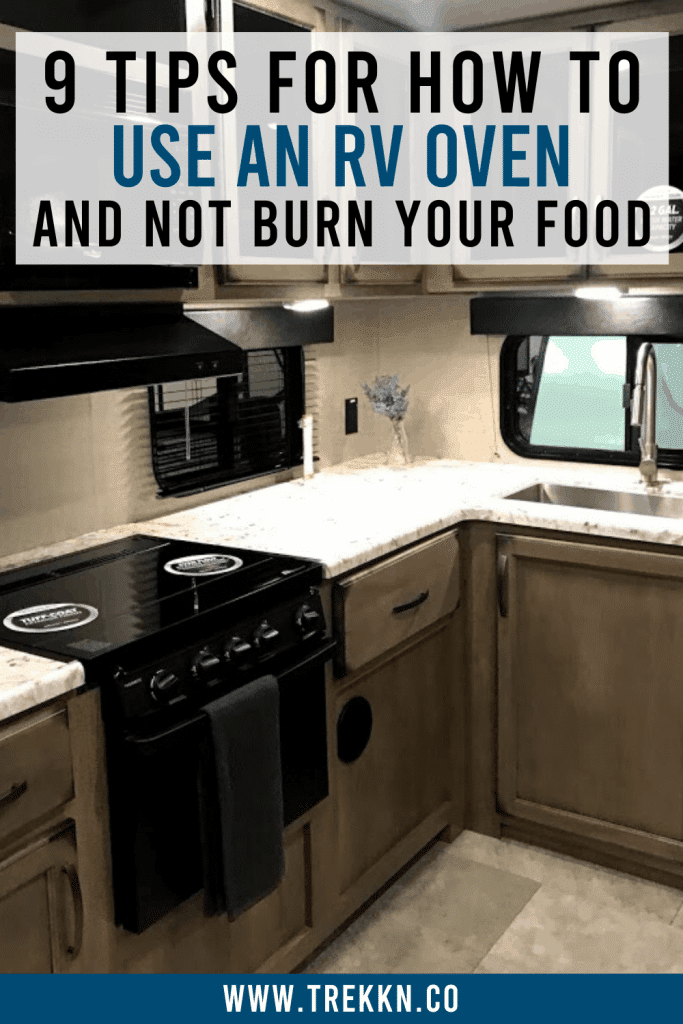
The Best RV Oven Baking Tip I Know
The best tip I was given when it came to using my RV oven, was to place a baking stone on the bottom rack to disperse the heat. This one simple tip helped me bake up some delicious muffins, bread, casseroles and more.
To make sure this tip was legit, I did a little experiment and baked a pan of muffins without the stone. What happened? The tops burnt and the inside didn’t get done.
I wrote this article to expand on this tip in hopes to help you with your meal planning and cooking while on the road. Plus, I share a few more tips and tricks to help you bake with confidence in your RV.
How to Use an RV Oven
When we first started RVing, I scoured Facebook groups, RV blogs and YouTube channels looking for every RV oven tip under the sun. You see, I love to bake and I didn’t want moving into an RV to travel full-time to stop me from doing so.
I also had very little experience cooking with gas. We’ve moved a ton, but I can only think of two places we lived that had gas. All the others were electric.
Through my research, I found so many differing opinions and tips. Some ended up being very helpful, but some people said you’re better off using a microwave oven than your RV oven.
You Learn Best Through Trial and Error
Through some trial and error, I learned what tricks worked for me, as well as what I could cook and what I shouldn’t cook in the RV oven.
For example…muffins turn out great. I have a cinnamon bread recipe I love to make, but instead of baking it in a loaf pan which takes about an hour (and uses tons of propane), I made it into muffins which took only minutes.
What about roast chicken? I did that in the Instant Pot instead. Again, it takes over an hour and I didn’t want to use up a ton of propane.
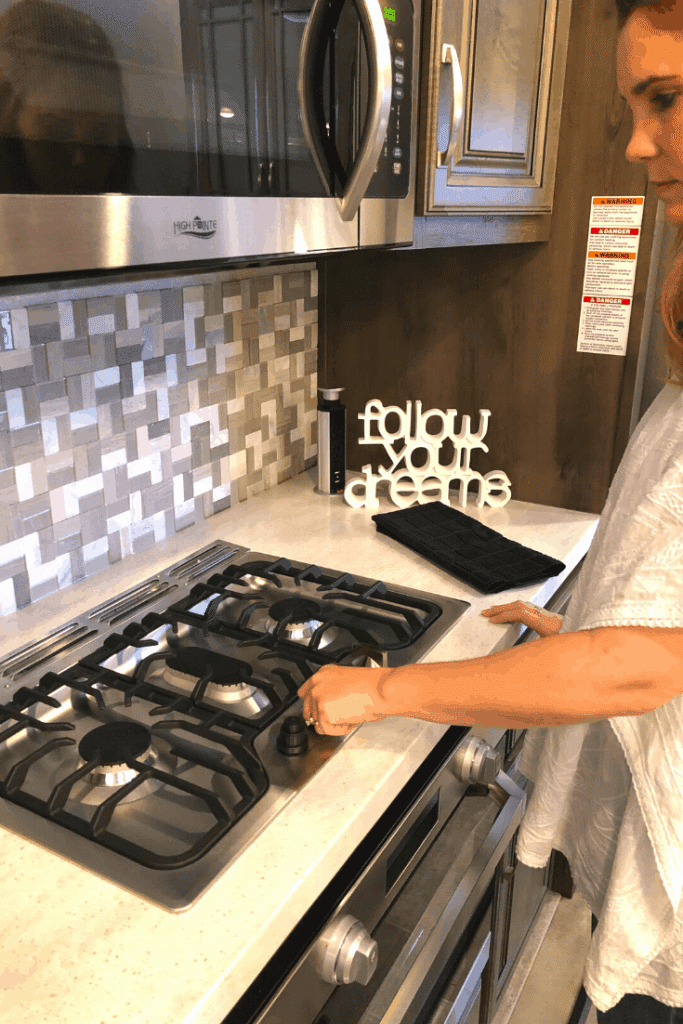
Side note: For tips on using an Instant Pot in your RV, check out this post I wrote featuring all the tips I could think of.
Although I hope (and think) the following tips will help, a lot of cooking in your RV oven is through trial and error. Just know you might have some disasters and that’s OK. It’s a good idea to have a backup plan in case dinner has to be thrown in the trash. Hey, it happens.
9 Top Tips for Using Your RV Oven
These are the nine best tips for how to use an RV oven:
- Preheat Your Oven
- Use an Oven Thermometer
- Use a Baking Stone
- Size of Baking Ware Matters
- Place Rack at the Right Height
- Rotate Meal Midway Through the Bake
- Ensure Your RV is Level
- Know That RV Cooking Times are Different
- Double Check Propane Level
That’s the list! Now let me take a little more time to dig a big deeper into each tip and make sure the point is clear and helpful.
1. Preheat Your Oven
When I first heard this tip, I didn’t think anything of it. I mean, don’t you always have to preheat an oven?
But when we started traveling in our RV and I wanted to use the oven, my first thought was the fact that I was wasting propane. Propane is gold when you’re RVing! So I didn’t preheat the oven and guess what? Yep, it was a disaster. I was making cornbread muffins and they didn’t get done in the middle, but the bottoms were black.
Although it feels like a waste of propane, take the few extra minutes and preheat your oven. Why? Because it’s important to have your oven at the right temperature so the food cooks more efficiently. It’s also important because preheating an oven ensures the center of the food is cooked before the outside is overcooked.
How do you know if your RV oven has reached the desired temperature without a standard oven beep or timer? My next tip gives you an answer.
2. Use an Oven Thermometer
There is absolutely no way for you to know if your oven is actually at the right temperature without using an oven thermometer. RV oven temps on the dial are not to be trusted! Trust me. 😉
If you already have one you use at home, bring it with you. It does not need to be an RV-specific tool. I brought one from our house and it worked like a charm. It didn’t take long to confirm the temperature indicated by the dial was not the actual temp of the oven.
After you’ve used it a few times, you’ll figure out where to set the dial for the temp you need.
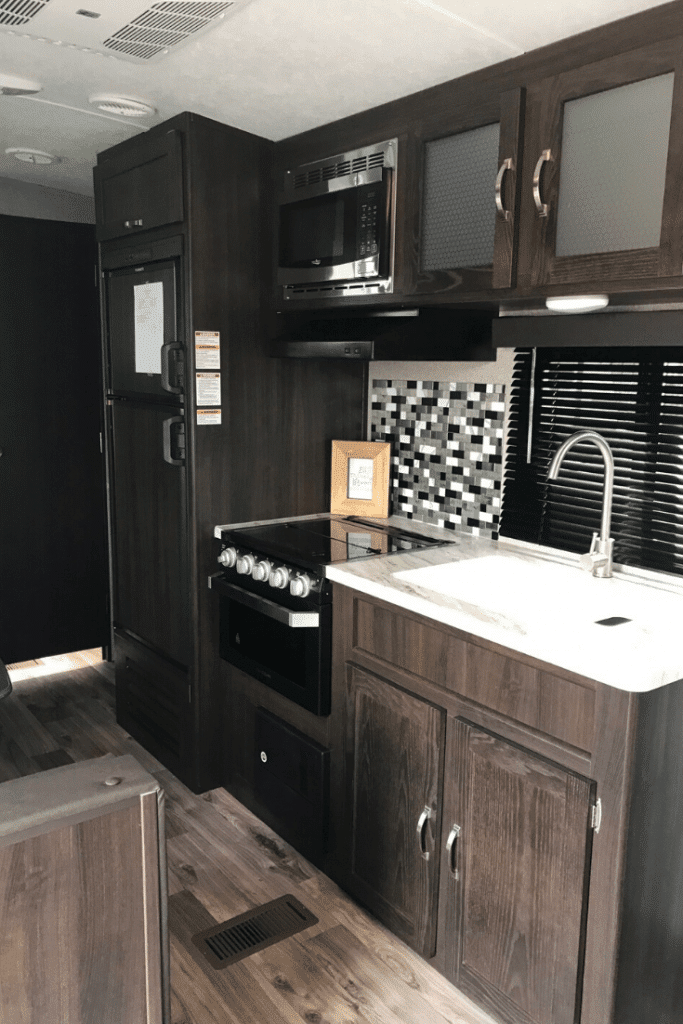
3. Use a Baking Stone
As I mentioned above, this was the best tip I received and I found it in a Facebook group.
If you’re an RV beginner or are about to move into an RV for full-time travel, I highly recommend joining a Facebook group or two. Check out the Full-Time Families group. You can use the search function and find a lot of opinions, suggestions, and recommendations to nearly any question.
I already had several baking stones that I loved. Thankfully I checked to see which ones fit best before bringing it with me. Always check the size of your supplies before packing your RV. Come to find out, my large pizza stone wouldn’t fit in the tiny RV oven, but my small one did. It’s a 15″ ceramic stone.
Rectangular oven stone with wire frame. 15” x 12.1”.
Just make sure you either know the measurements of your oven or try out the baking stone you have before departing on your travels.
Related Reading: Comprehensive List of RV Kitchen Accessories I Use
4. Use the Right Size Bakeware
Have I mentioned RV ovens are small? It’s true.
My favorite casserole dish, paella pan, and pizza stone didn’t fit in my RV oven. I didn’t bring any of those with me.
If you can park your RV at your house, I recommend rounding up the bakeware you want to bring. Place each one in the oven to see if it will fit. You don’t want to bring a heavy baking dish that you’re not able to use?
5. Raise the Wire Rack to the Middle
Unless you like the bottoms of your food blackened, you’ll probably want to raise the rack in your oven to the middle. When I first started baking in the RV, I had it on the lowest point and although I had the pizza stone in there, the bottoms still burnt.
Through trial and error (are you seeing a pattern here) I learned that the middle section was just right.
6. Rotate Your Dish Half Way Through Cooking Time
One thing I learned about the oven in my travel trailer, is that no matter what I did or how many tips I followed, the temperature was never distributed evenly. For some reason, the left side of the oven was hotter than the right side.
But one little tip helped me navigate around that problem. Whenever I bake in that little oven, I set a timer to go off midway through the cooking time. When it beeps, I rotate the dish.
Each side of the dish will spend time cooking in the hotter and the cooler portion of the oven.
7. Make Sure Your RV Is Level
This tip makes me laugh because only would ‘make sure your house is level for baking’ apply to RVers.
I remember very well the first time I baked something when our travel trailer was just a bit off. I made muffins and they were slightly sloped to the right…just like our travel trailer was. They tasted fine, but man did they look funny.
8. Know That Cooking Times Will Be Different
You’ll quickly find out that your RV oven will either cook slower or faster than the oven in your stationary home. Most likely, cooking times will not be the same.
I kept a notes section on my phone with cooking times for the meals I made most often. Taking that one little step helped alleviate any stress and problems when baking.
9. Make Sure You Have Propane
I know, duh, right? But hear me out. When you’re RVing, especially full-time, there are a lot of things to keep up with.
And when you’re first starting out, you’re not used to keeping an eye on things like your propane levels. Our travel trailer didn’t show propane levels on a panel anywhere, unfortunately.
So sometimes, you might run out of propane in the middle of the night when you’re camping somewhere cold. Or you might want to take a hot shower and guess what? No propane. Or you’re wanting to bake something in your nice little RV oven and…no propane.
It happens. So always make sure you have propane.
Recipes to Make in an RV Oven
Here are a couple of my favorite recipes you may want to try out.

Related Reading: Mouth-Watering RV Oven Recipes
How to Light an Oven in a Travel Trailer
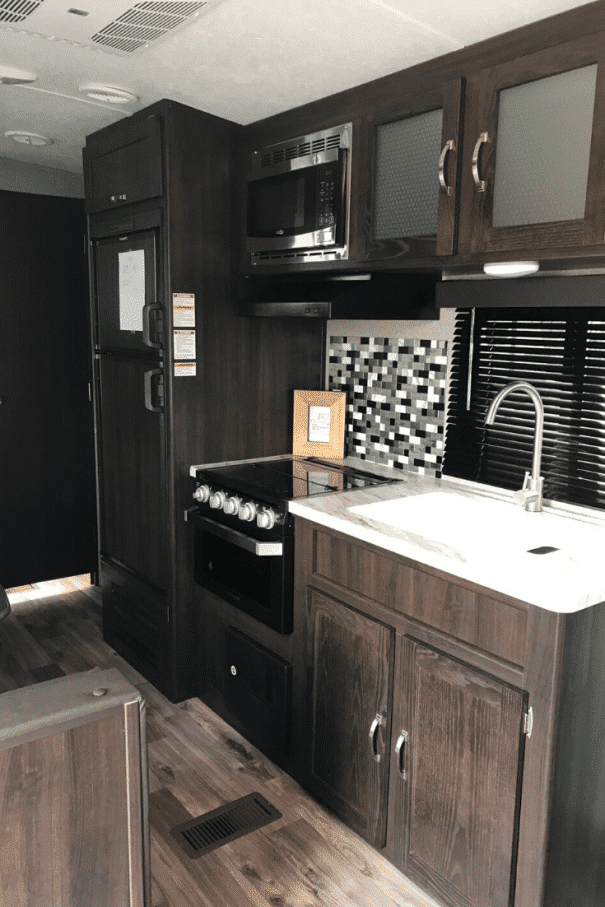
If you have no clue how to light your RV oven, no worries, I didn’t either.
Here’s a handy video that shows you how to light it and it just so happens to look exactly like the one in our travel trailer.
Are You Ready to Use Your RV Oven?
I hope these 9 tips help give you the confidence to start using your RV oven. When we first started RVing I felt like there were a hundred things to learn and I would never get the hang of it all. But we did and I know you will too.
Have fun whipping up some yummy meals in your home on wheels!
PIN THIS

Julie specializes in helping you whip up delicious meals in your tiny RV kitchen, as well as RV organization tips and helping fellow RVers make their RV feel like home. Her favorite RVing spot is in Banff National Park in Canada where yes, the water really is that blue and the people really are that nice.






Good tips. Thank you!
Thank you for the tips. I especially loved reading about the tips for cooking in an RV oven.
I have burnt things as well.
I love to shop at the dollar stores. They have items that are perfect for camping without spending a lot of money. Dishes, utensils, etc. can all be purchased from the dollar stores.
The hooks that attached to walls and doors are a great help also as you can use those spaces to hang measuring cups/spoons, etc.
Hi Judy, so glad to hear those oven tips were helpful. It can be a crazy maker. 🙂
Definitely plenty of options at the dollar stores, no doubt about that!
Happy travels!
We just bought a travel trailer with an oven. You mentioned using the baking stone. I only have one shelf. Where do I put the baking stone? I know it’s a dumb question but I want to do things right.
Thank you,
Rhonda
That is a good question, Rhonda. Without the second shelf there, and the stone on the bottom shelf to help disperse the heat rising from the bottom, it’s really hard to say!
It is possible that with some items you need to bake, they may do alright just placed directly on the stone. But you might also try to find a way to hang the stone a few inches underneath the single rack, if there is enough space there so that the stone is not too close to the flame.
Hope that makes sense! It’s our best guess not having had to deal with the situation personally. Wish you the best in your experimentation! Let us know how it goes.
@Rhonda, if it is dumb, we both want to know!🤣
My RV oven is only 7 1/2 inches tall and you can’t move the rack; it has space for just one. Surely I am not alone in this? It is also too narrow for a regular sized pizza. For the record then, my main adaptation is to oven temperature: since everything you cook is close to a wall, the temp has to go down, or you’ll burn it.
Hi Kathryn, I guess we have not come across one that small! But I’m sure it’s not too uncommon.
Thanks for sharing the tip of how to adapt the temp to avoid torching everything. 🙂
Happy camping!
Thanks for these great oven tips. My concern is how NOT to set off the fire alarm. Yep it went off while preheating. Then again while cooking. So loud and embarrassing. Even if we open the door, all windows and fans, we still might set it off. Any ideas?
Hi Marie, when food isn’t burning while cooking the alarm may be triggered from oils or other residue causing smoke. Some smoke alarms are more sensitive and in these small kitchens, the heat alone without smoke can set it off. You could try changing out the batteries (low battery can make alarms more sensitive). Perhaps a deep clean could help. One RVer told me that she removed the alarm and turned the oven on its highest heat to burn off residue, then replaced the alarm after it cooled and gave the oven another general cleaning. That worked for her. Good luck! Let us know how it goes.