Even with 4+ years of full-time RVing under my belt, travel days can still stress me out. I think this is partly because I travel solo in a 33-foot fifth wheel with two high-energy dogs. But, it’s also because, no matter what your family size or rig looks like, there’s a lot to think about. One way to alleviate the stress is to use a comprehensive RV departure checklist.
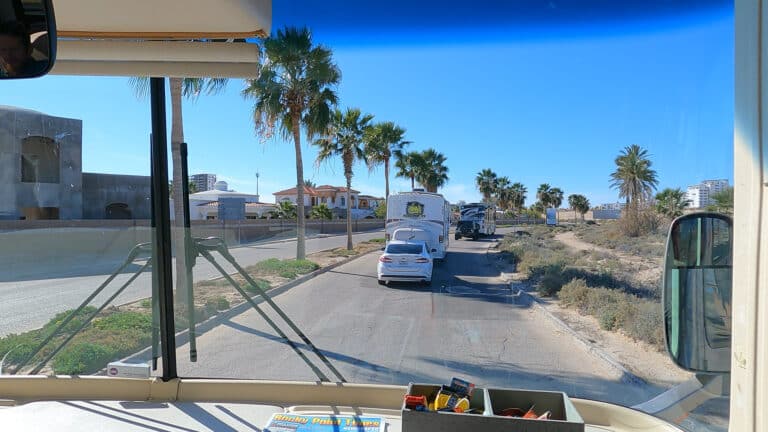
Travel days can be one of the most stressful parts of RV travel, but they’re also some of the most exciting. After all, the whole purpose of RVing is to visit new places and see new things, and travel days get us from where we’ve been to the next stop on our journey.
One of the biggest game-changers I’ve found to de-stress departure days is a simple yet comprehensive checklist.
Full disclosure: I don’t always use my checklist anymore, but I strongly urge even experienced RVers to refer to a checklist if they’re at all distracted—talking to other campers, listening to a podcast, etc. It’s worth the extra few moments of caution to ensure that everything gets done, and in the right order.
You’ll make sure you have everything you need, protect your rig (and everything inside it), and enjoy smoother travel days if you follow your checklist before you hit the road.
Did I mention that departure day can be stressful? Do Future You a favor and get a few tasks done the day before so you aren’t rushing on departure day morning. This is especially important when you’re new to RVing and still getting the hang of travel days. (It probably took me six months to really get a feel for it!)
Completing as many tasks as possible before your RV travel day can reduce your departure day stress. The following is a great checklist of key items to complete on the day before you leave the campsite.
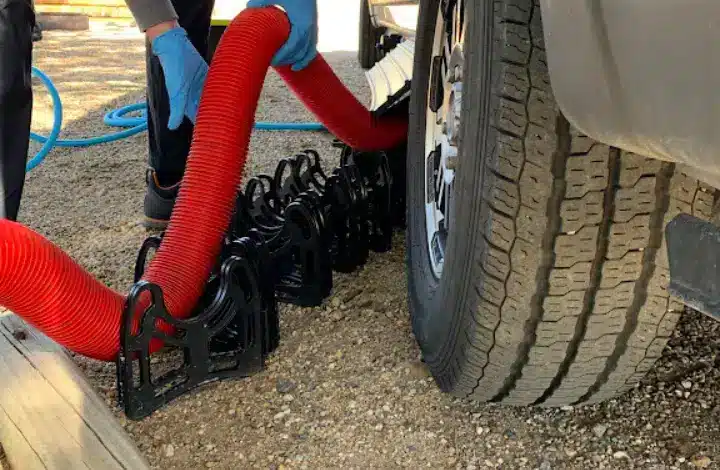
DUMP AND FLUSH TANKS. This depends on tank usage and the number of people in your household. But if you can swing it without filling up your tanks too much in between, dump and flush out your black and gray tanks so you can disconnect your sewer hose before departure day. This will save a lot of time—and believe me when I say that you do NOT want to dump your tanks in a rush. That’s when mistakes happen.
TREAT TANKS. Treat your black and gray tanks so they’re ready to use. (The only exception would be if you’re about to put your RV in storage, in which case you want your tanks to be empty.)
FUEL TRUCK or TOAD. It’s much easier to get fuel when you aren’t towing (or being towed), so fuel up the day before you hit the road.
CHECK YOUR TIRES. Do a general inspection and check the pressure on all of your RV and vehicle tires. There’s nothing worse than discovering at check-out time, when campground staff are already hovering near your site, that you need to fill a low tire. You can check your tires with a manual pressure gauge or just turn on your TPMS. Try to do this in the morning to simulate your travel day conditions as closely as possible. Your tires should be within 3 PSI of your target inflation pressure.
CHECK CONNECTION POINTS. If you’re towing, you’ll likely have hitch bolts, connectors, and pins. The day before departure is the perfect time to do a visual inspection and also check the torque at every connection point to ensure that your hitch is tight before towing.
INSPECT RV WHEELS and SUSPENSION. Do a quick visual inspection of the leaf springs and attachment points, looking for anything that’s obviously amiss. Now is a good time to torque your lug nuts, too (once a month or so).
SWEEP SLIDES. If you’re in an area with a lot of flying leaves or pine needles, you may want to do this on the morning of departure. But if there isn’t too much to sweep off your slides, it’s best to get this chore done the day before. While you’re at it, take a peek on top of your roof and look for any cracks, tears, or peeling.
Here is a tip for creating a proper place for the TV, computer, or other items that are tough to store in cabinets. Wrap fragile items or electronics in a light blanket and place in a plastic bin. Use heavy velcro strips on the bottom of the bin to secure it to the floor and prevent it from sliding back and forth during your road trip. It’s a particularly good idea for longer trips and windy roads.
FILL FRESH WATER TANK. I usually like to keep about 10 gallons of water in my fresh tank on travel days, just in case. I’ve been forced to pull over and spend an unplanned overnight on the side of the road more than once, and it’s much more fun to do that with water than without. If you’re traveling to a boondocking spot, use your discretion. Traveling with a full fresh water tank isn’t great for your RV, but if water is in short supply where you’re headed, you may want to fill up before you leave.
READY THE TRUCK or CAB. If you have pets who travel in crates, carriers, or anything else that requires assembly, consider getting their travel space set up a day ahead. The day before departure is also a good day to top off your DEF and washer fluid as needed.
BUY GROCERIES. One of the things that surprised me most about full-time travel is how much energy it takes to go grocery shopping. When you arrive in a new place, you don’t know where the store—or anything else—is located.
And when you do find a store, you often have to search for the items you want to buy, because things aren’t where you’re used to seeing them. Give yourself a bit of a cushion on this experience by buying the essentials before you go. This is another helpful measure in case you get stuck spending the night somewhere you hadn’t planned.
READY THE INTERIOR. If you’re in a van, you may need to do much of this. But in my fifth wheel, there’s plenty of stuff that has to move before I can pull the slides in and hitch up. Whatever makes sense to move before travel day, I do it.
For example, I take everything off the walls and tabletops that might fall during transit. I also wash dishes and put protective matting between my dishes, unplug and stow the air purifier, etc.
Be sure to secure the TV, put large items on the floor or in baskets, and stow the coffee maker.
STOW OUTDOOR ITEMS.If you won’t be using them in the morning, stow any loose items like outdoor camp chairs, outdoor mats, tablecloths, bug lanterns, etc.
PLAN YOUR ROUTE. Look ahead at the route you’ll be taking the next day, especially if you rely on Google Maps. Check out the satellite view and double-check any suspicious-looking areas.
PACK A LUNCH. Fast food gets unhealthy and expensive, fast! Plan ahead and make a travel-ready lunch the night before.
TOSS THE TRASH. Unless it’s a long drive to dumpsters that are on your way out, dispose of your trash the day before departure. You’ll have one less thing to do on travel day.
Take your time with the final walk around. After a few days, you may get so used to seeing certain items in their place around the campsite that it becomes easy to overlook them when it’s time to pack up. Don’t leave your surge protector!
RV Checklist: Departure Day
The first rule of RV set-up or tear-down is this: take your time. You might have other vehicles waiting on you to back out of a spot. You might have an audience looking on, or you might just be in a hurry to get out before check-out time.
No matter what is going on around you, remember that old saying, “When in a hurry, slow down.” In other words, whatever you do, don’t rush! Rushing leads to mistakes, and mistakes can be expensive.
Departure Checklist for Fifth Wheels and Travel Trailers
Here is a comprehensive checklist specifically for Fifth Wheels and Travel Trailers to help you ensure you don’t leave anything undone or behind on travel day. It’s broken out by things to do for the trailer interior and the exterior.
Inside the Trailer
Retract awning
Sweep floors (especially in front of the slideouts)
Turn off control panel items: water pump, water heater, generator, interior thermostat, etc.
Close and latch all doors, fans and vents
Secure all interior items
Insert tension rods and check that fridge and cabinet doors are securely latched (I bungee cord my cabinets closed)
Switch refrigerator to auto or gas mode
Double check that nothing is left on countertops that could fall and break during travel
Raise window coverings and close and latch windows
Turn off interior lights
Check inside and outside slideouts for potential obstacles
Retract slides
Close and lock doors, stow stairs, and secure handrail
PRO TIP
Save those heavy duty rubber bands used by grocery stores on vegetables. You can use them as a type of simple lock by wrapping them around cabinet knobs to secure the doors before traveling.
Outside the Trailer
Stow remaining loose outdoor items (camp chairs, dog bowls, etc.)
Empty and flush tanks, if you didn’t do it yesterday
Disconnect and stow sewer hose and elbow
Take down antenna (if needed) and unhook from cable
Fill fresh water tank (if needed)
Disconnect from fresh water
Shut off shore power at the pedestal, then disconnect from electrical
Retract stabilizer jacks (this should usually be done after slides are retracted and everyone is out of the rig, but check your RV owner’s manual)
Connect tow vehicle (this process will depend on your hitch and towable type)
Remove wheel chocks: first on, last off
Do a 360-degree walk-around, checking the tires, axles, lug nuts, awnings, hitch connections, etc. to ensure everything is stowed or attached correctly
Tow Vehicle Checklist
Check brake lights and turn signal lights on the tow vehicle and trailer
Check trailer brakes: on level ground, take your foot off the tow vehicle brake and squeeze the trailer brake; everything should come to a stop
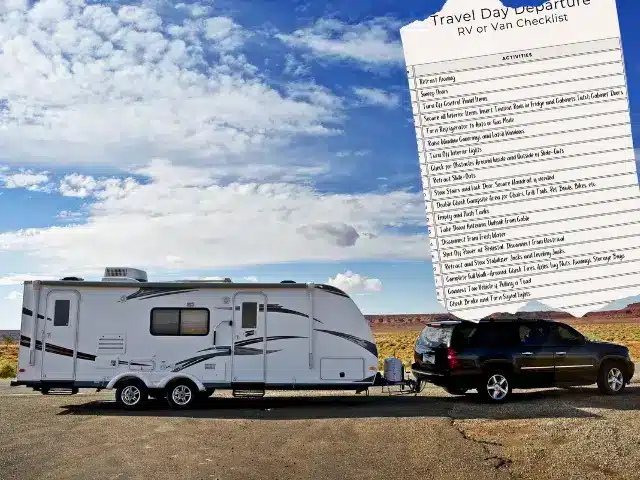
We have also created printable copies of our RV departure checklists. Each one includes blank spaces so that you can customize it and add any items that are specific to your rig and RV lifestyle. For example, if you have additional pet gear or water toys, be sure to add a line to pack those items in your storage bay before departure.
Use the blank travel day checklist (which is part of the checklist bundle) to create your own printable RV checklists. You can use any of the checklists we have created as a good starting point. Then create your own list tailored to your preferred departure process.
We all have our own individual travel style and unique rigs. You may prefer a different tear-down process or have additional necessary steps to complete before hitting the open road.
Here are some additional ideas that RV owners may want to include on their customized checklist:
Satellite dishes
Secure TV and store cables
Secure Computer and stow power cord
Store Water Filter, depending on your type of RV Water Filtration System
Don’t forget to drain and store the fresh water hose
If you’re a physical checklist person, you can print it out, laminate it, and check things off with dry-erase markers as you complete them. Or, you can keep a list on your phone and tick electronic boxes as items are complete.
Sarah Kuiken has been a full-time solo traveler for 4 years and counting, but she’s been a solo adventurer for decades. She owns her own copywriting business, Flourish Writing, which she operates from the road. Sarah loves to explore state and national parks with her two dogs, Orion and Piper—wherever they’re allowed, of course. When she’s not whipping up web copy for fellow entrepreneurs, she’s probably out hiking or paddle boarding with the dogs in tow. Learn more about her freelance writing business at FlourishWriting.com.