Wireless RV Backup Camera: Honest Review & Top Picks
Apparently, I am a gambler at heart. I have owned two RVs without the safety and peace of mind that a wireless RV backup camera provides.
When you stop and think about it, not having a backup camera on your rig is a gamble. There are too many blind spots. Without backup systems, even the best drivers must rely on hope and inching backward to avoid an accident.
I have to admit that I have had some close calls over the years. One little backing accident would have introduced too many headaches into my life. I don’t like headaches.
So I finally decided to get the easy-to-install Auto Vox Solar 4 Truly Wireless Backup Camera Kit. No headaches now and no headaches later. Perfect.
Today I will show you how simple it is to install this high-quality wireless backup camera system on your travel trailer or RV. I believe you will love using it as much as I have. I also provide our top picks of other great cameras on the market today so you can find the best option for your situation.
Disclaimer: We received a promotional sample of the camera in order to test and provide an honest review of the product. This review is the honest opinion of the author after installing, using, and evaluating the camera.
Auto Vox Solar 4 Truly Wireless Camera Kit: Honest Review
First off, let’s take a quick look at everything that is included in this kit, and an additional accessory I opted for to make installation as quick and easy as possible.

Wireless, 7" Monitor, rechargeable battery, split-screen camera can be used for simultaneous truck and trailer backup views.
Important Features
There are just a few things I want to point out about this backup camera kit before I dive into the particulars of the components included and installation procedures.
DUAL-CHANNEL SUPPORT ENABLES DUAL VIEW
If you have a situation with your RV setup that warrants it, you can add a second camera and monitor both views via its dual-channel functionality.
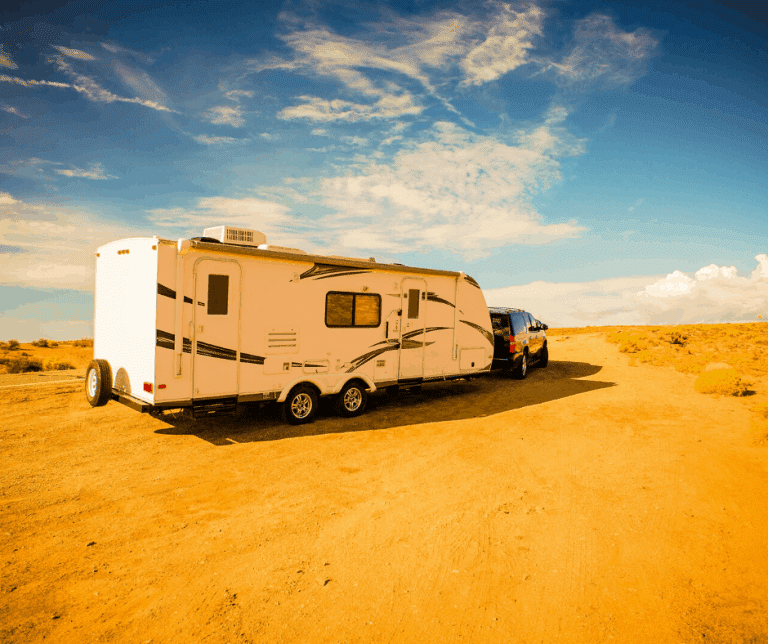
For instance, let’s say you are towing a fifth wheel and you want to have visibility from your truck looking backward toward the fifth wheel and also from the back of the fifth wheel.
In this case, install a second Auto-Vox camera on the roof of your truck and pair that second camera to your in-cab monitor. In this example, the magnetic base I describe below would work nicely.
Then you can easily switch back and forth between views for the two cameras, or choose to have a split screen that allows you to see both camera views simultaneously. This is a great feature that adds flexibility to your setup, allowing it to work for just about every RV setup.
DAY AND NIGHT VISIBILITY
We’ve all been there, right? You arrive at an RV park much later than you planned and the daylight is long gone. Nothing adds a bit of stress to the travel day like backing into a campsite in pitch dark!
The Auto Vox Backup Camera Kit can help. This camera automatically switches to night mode in low light conditions. This means the infrared feature turns on (black and white image), and enables you to see all obstacles in the campsite as you back into the campsite.
Less stress. Less risk. Less headache.
EXCEPTIONAL HYDROPHOBICITY
Hydrophowhatchimacallit?? I know, big and impressive word. What does it mean?
It simply means the glass on the camera lens is special. Water drops flow quickly and smoothly off the glass. Your image on the display monitor will therefore be far less distorted or obstructed, helping you avoid that unwanted mishap. And that’s what we’re all interested in, right?
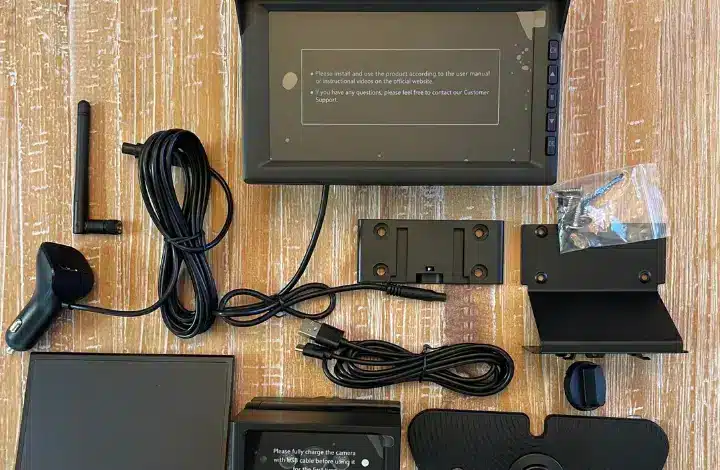
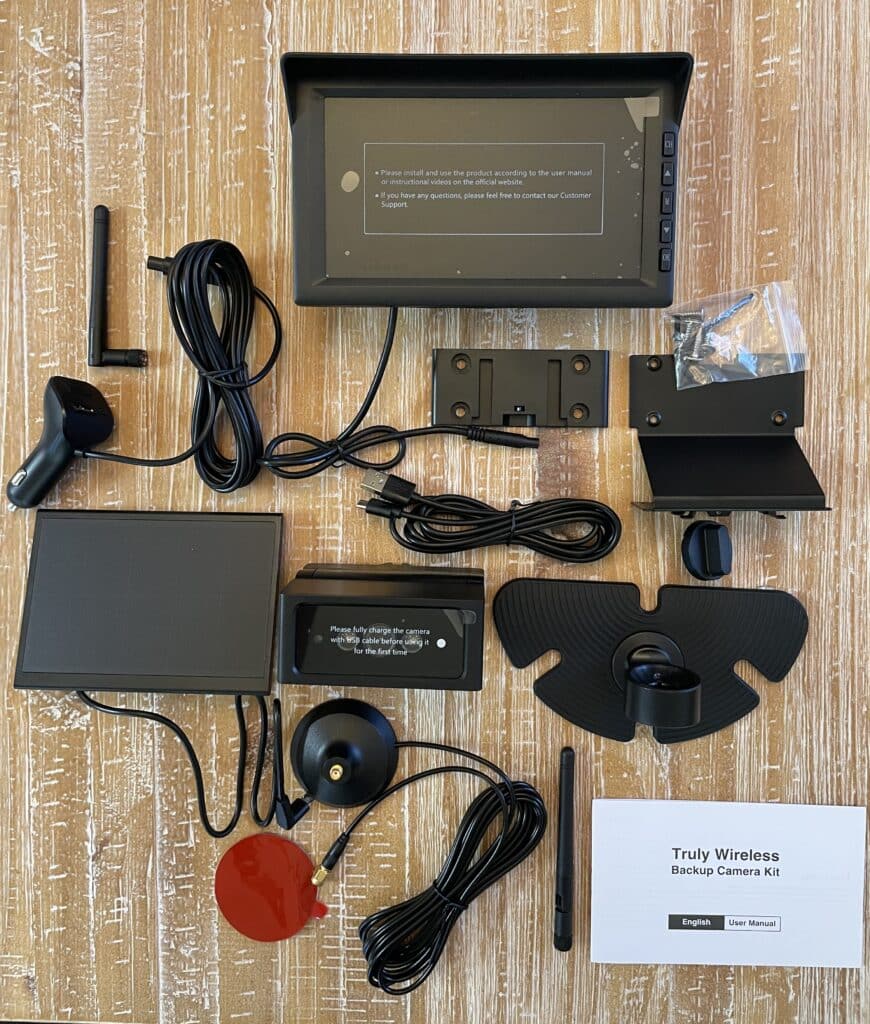
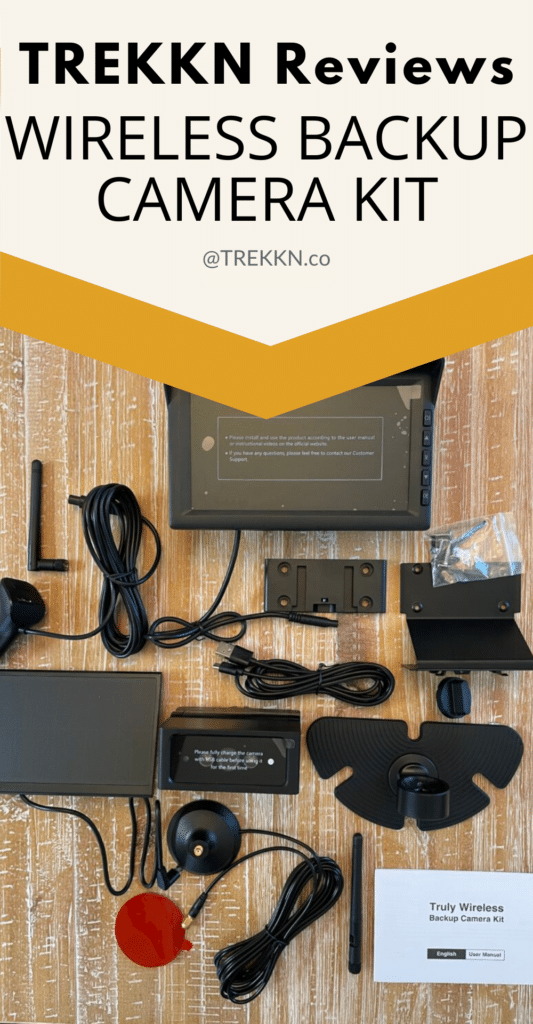
What’s Included in the Box?
This wireless RV backup camera system includes everything you need for a standard installation on your travel trailer, RV, or van. Here is what’s included in the box:
- 7-inch display monitor
- Display monitor mount for dashboard
- Wireless backup camera with mounting base and bracket
- Solar panel to power camera, with double-sided adhesive tape for secure placement
- Car charger with camera activation button
- 1.5 meter charging cable for camera
- Extended antenna for strong signal (ideal for longer, larger RVs)
- All required hardware
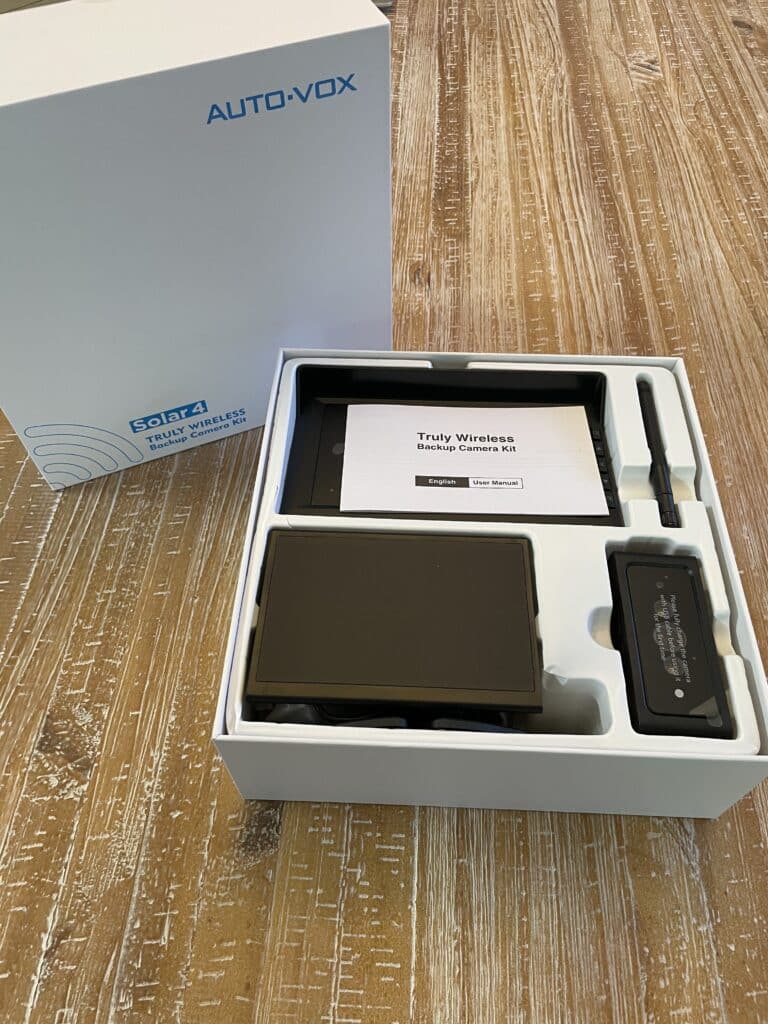
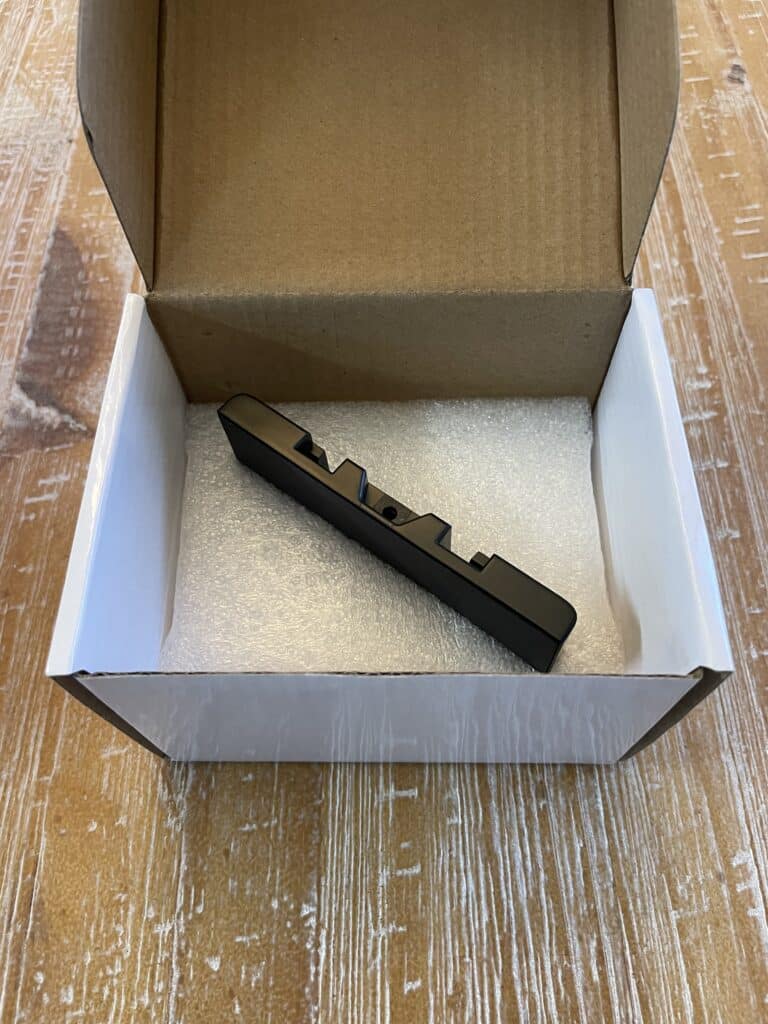
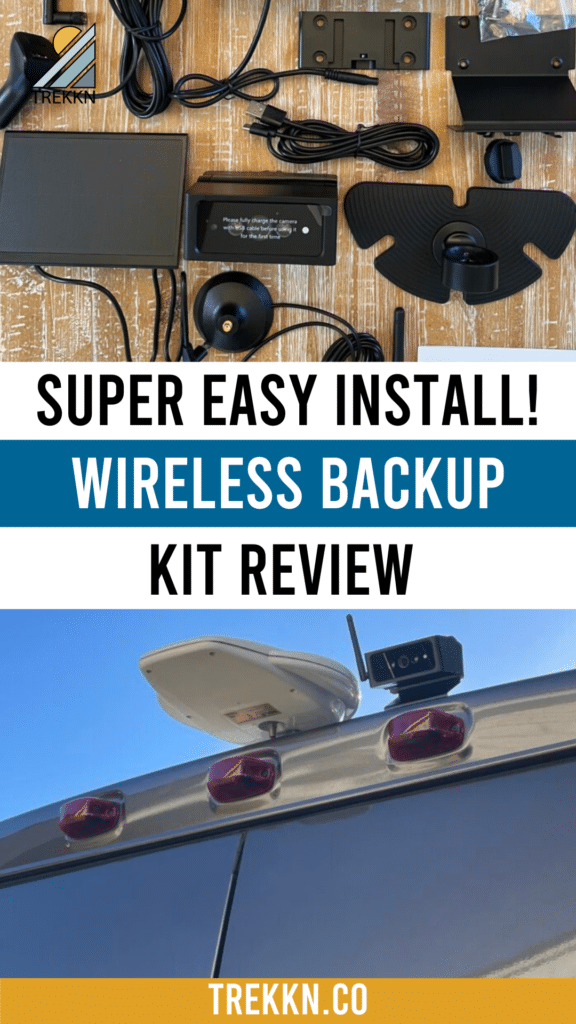
In addition to everything in the standard kit, I also opted for the magnetic base for the camera. This allowed me to install the camera without drilling any holes in the roof of my campervan. (I don’t like holes in my RV any more than I like headaches.)
Now that we see everything we are working with here, let’s jump into the easy installation process.
Wireless Camera Installation
First things first: Please be sure to fully charge your rearview camera using the USB charging cable before starting the camera installation process. This can take up to 6.5 hours, but more likely it will be partially charged and will take less time than that.
While that camera is charging, you can still get the display monitor mounted and ready to go!
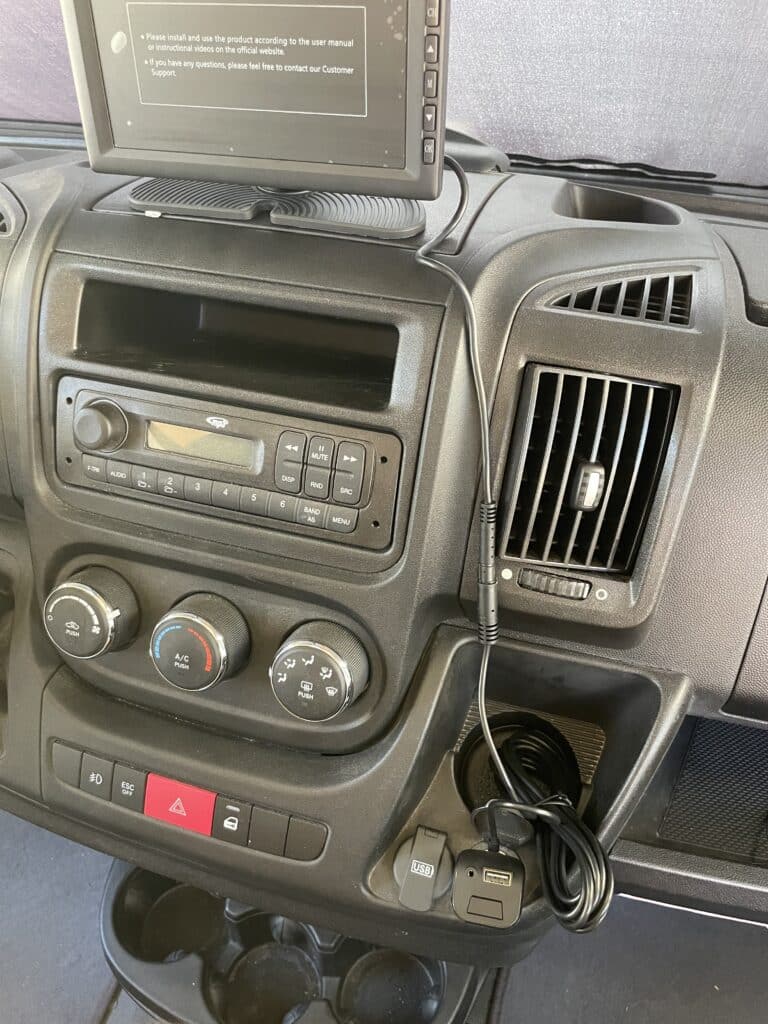
Install Display Monitor
Auto Vox designed this camera with ease of installation in mind. I could simply write this section as “clean, peel, and stick,” which is how you will install the monitor. While this may be a more semi-permanent install, I believe it’s a more secure install than models that use a suction cup.
That said, let me provide a few more tips.
Install Wireless Backup Camera
You have a few different options for installing the backup camera at the rear of your RV.
INSTALL PROCESS FOR FIBERGLASS SHELL RVs
If your RV has a fiberglass shell, you will most likely have to drill holes in the shell to install the camera mounting bracket.
You can mount the camera on the back of your RV or on the roof; for reduced chance of water intrusion due to drilled holes, the back of the vehicle is probably the optimal choice. *Follow instructions provided with the backup camera kit since I am not able to show the process here.*
Whichever location you choose, be sure to apply appropriate sealant around mounting screws once installed.
INSTALL PROCESS FOR METAL SHELL RVs and VANs
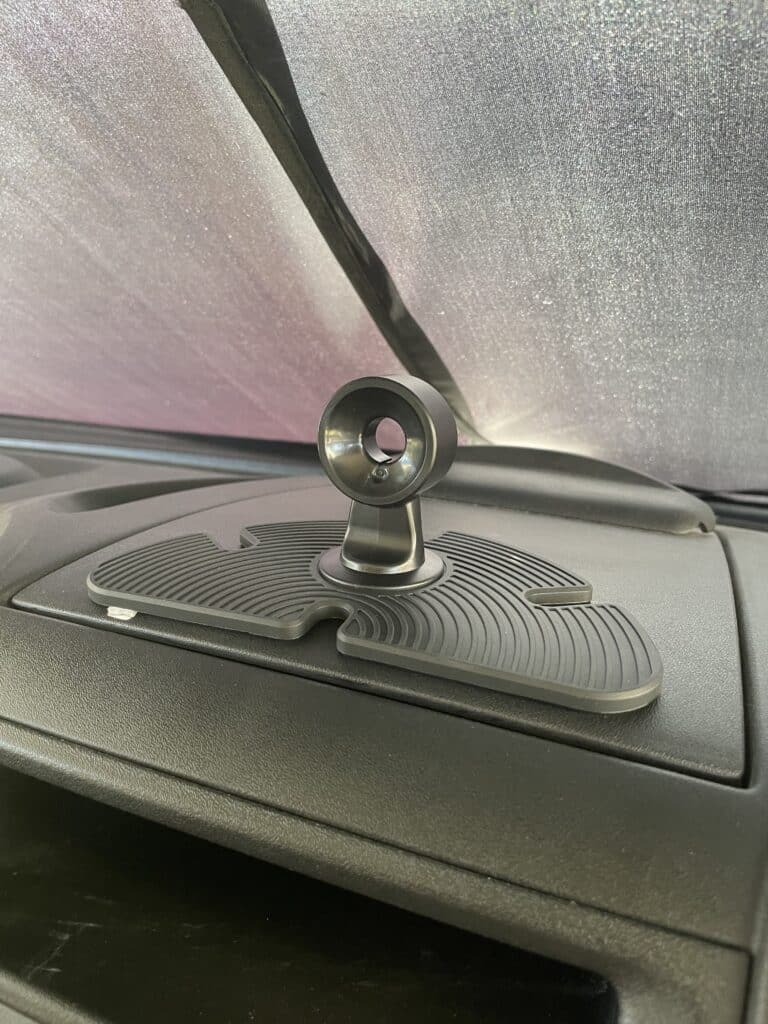
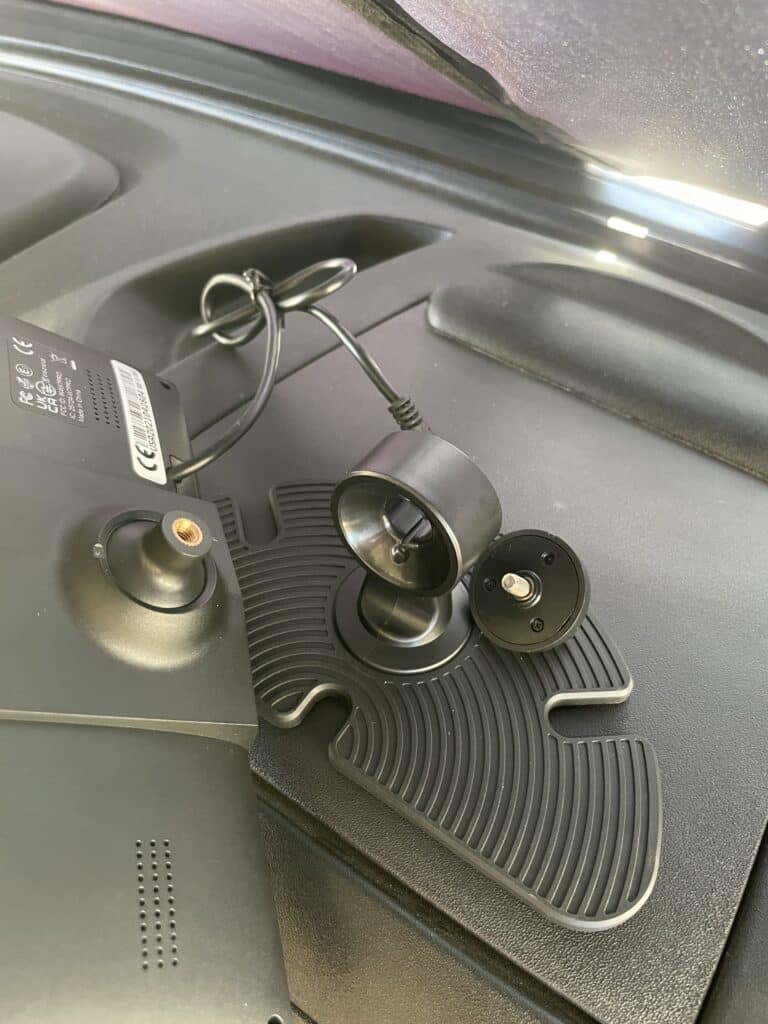
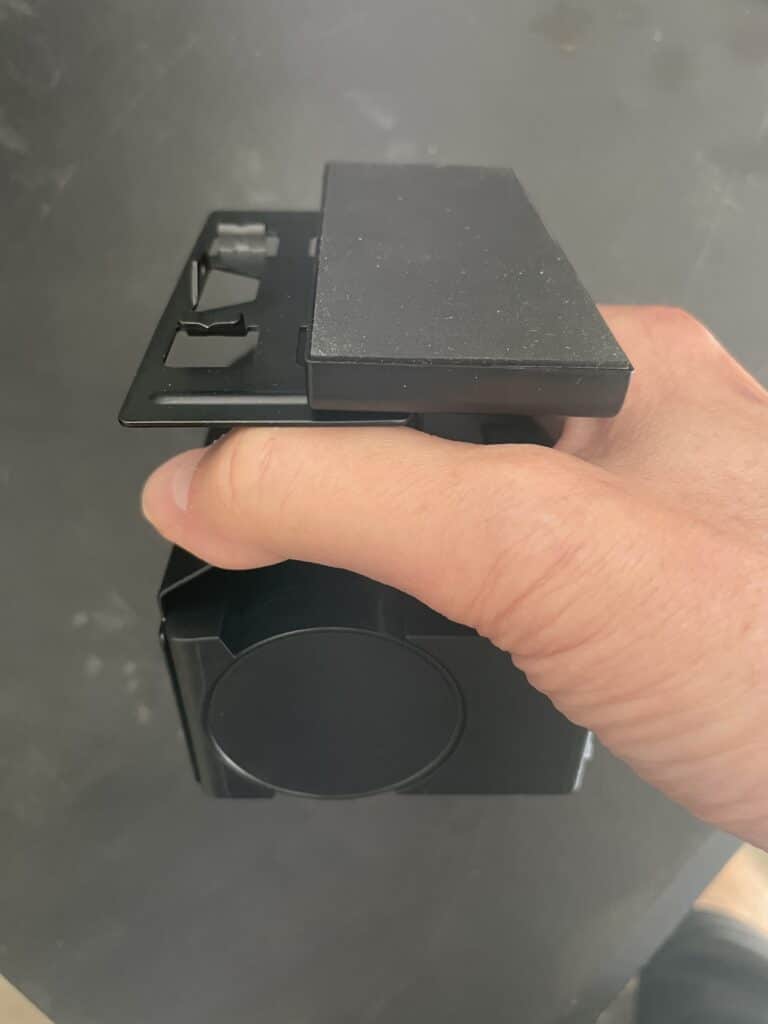
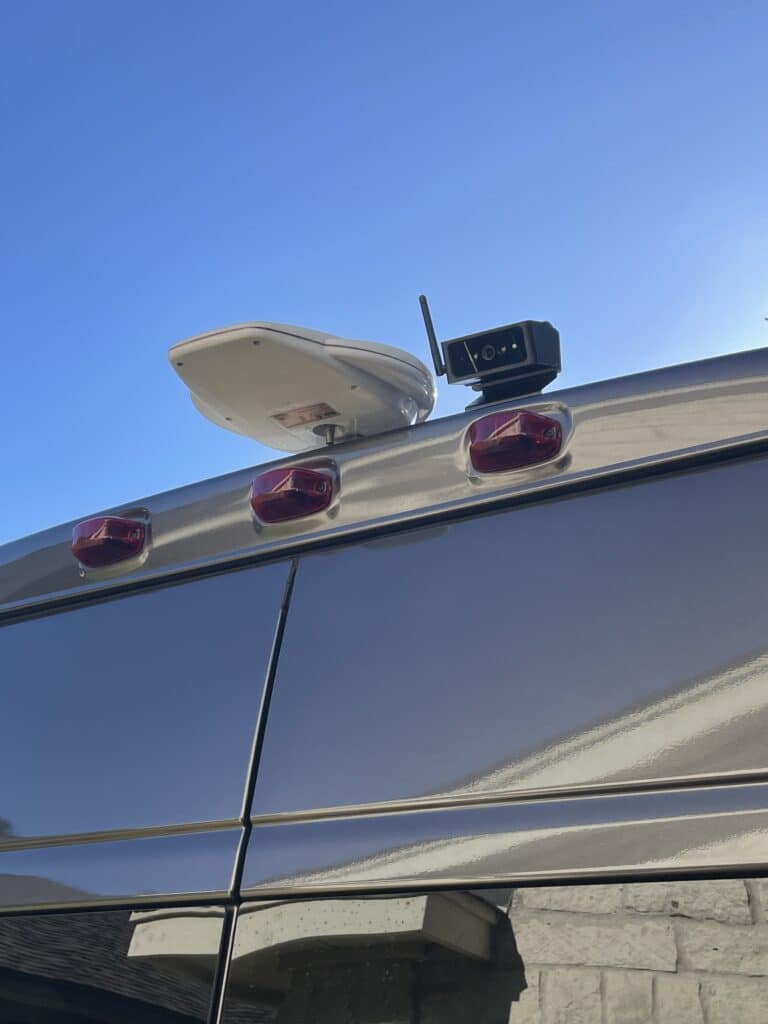
Since I have a metal shell RV, I used the optional magnetic base to install the camera on the roof of my vehicle.
Here are the easy installation steps for installing the wireless camera on the roof:
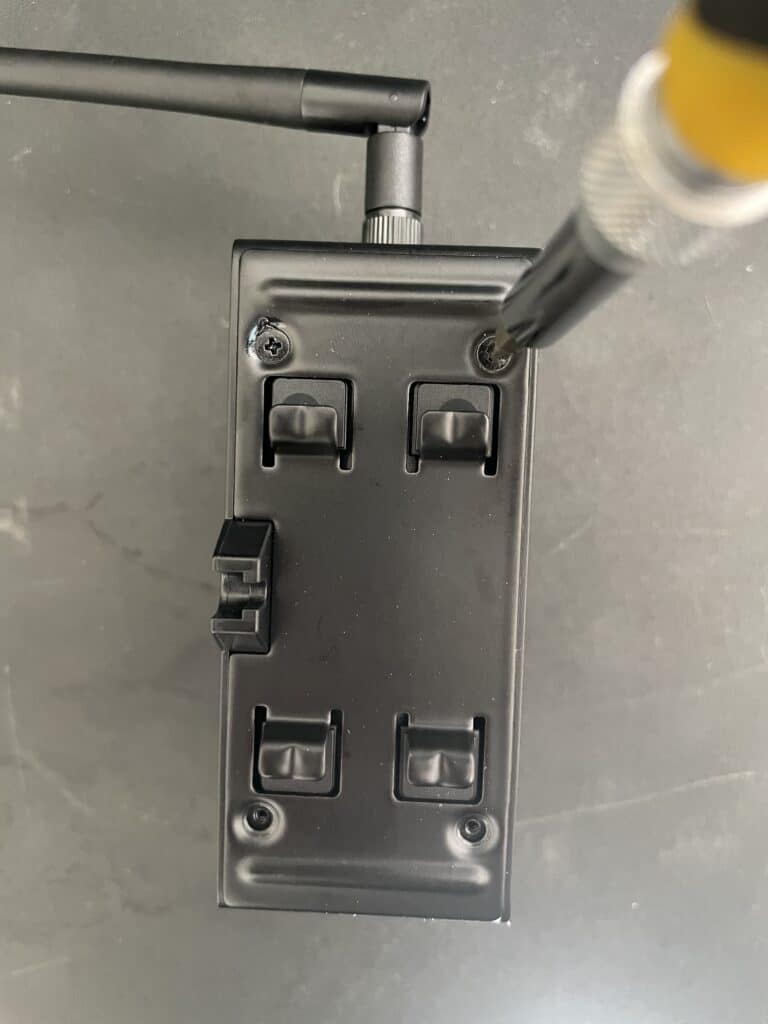
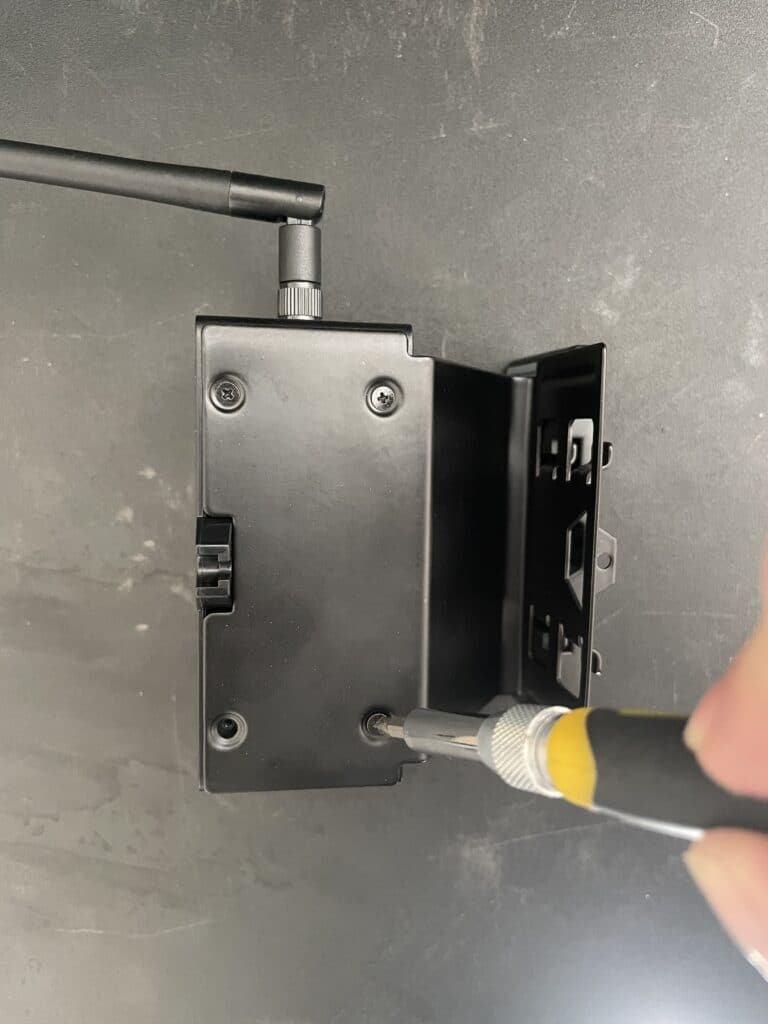
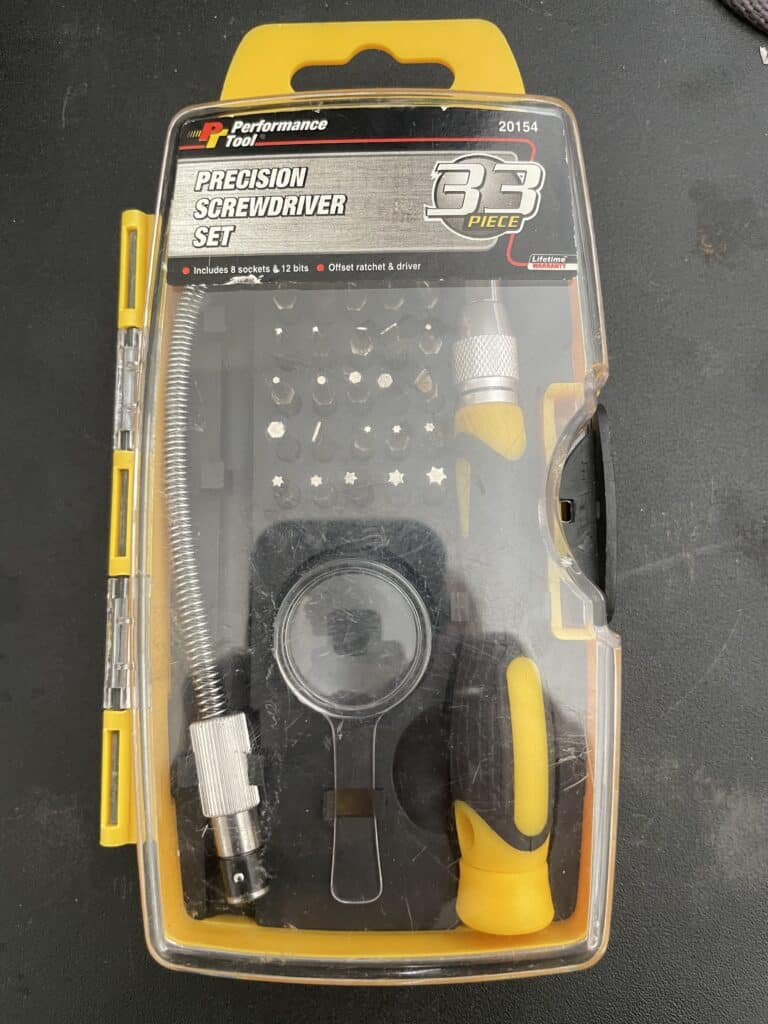
You might be able to make a larger screwdriver work, but I didn’t want to run the risk of stripping the screws.

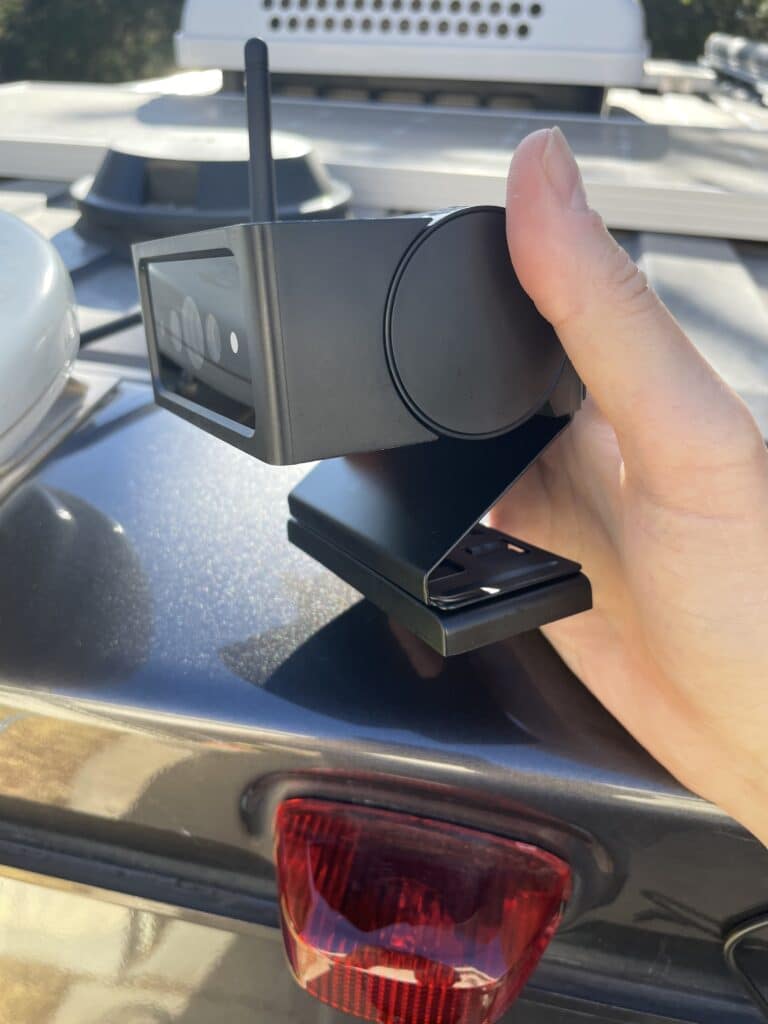
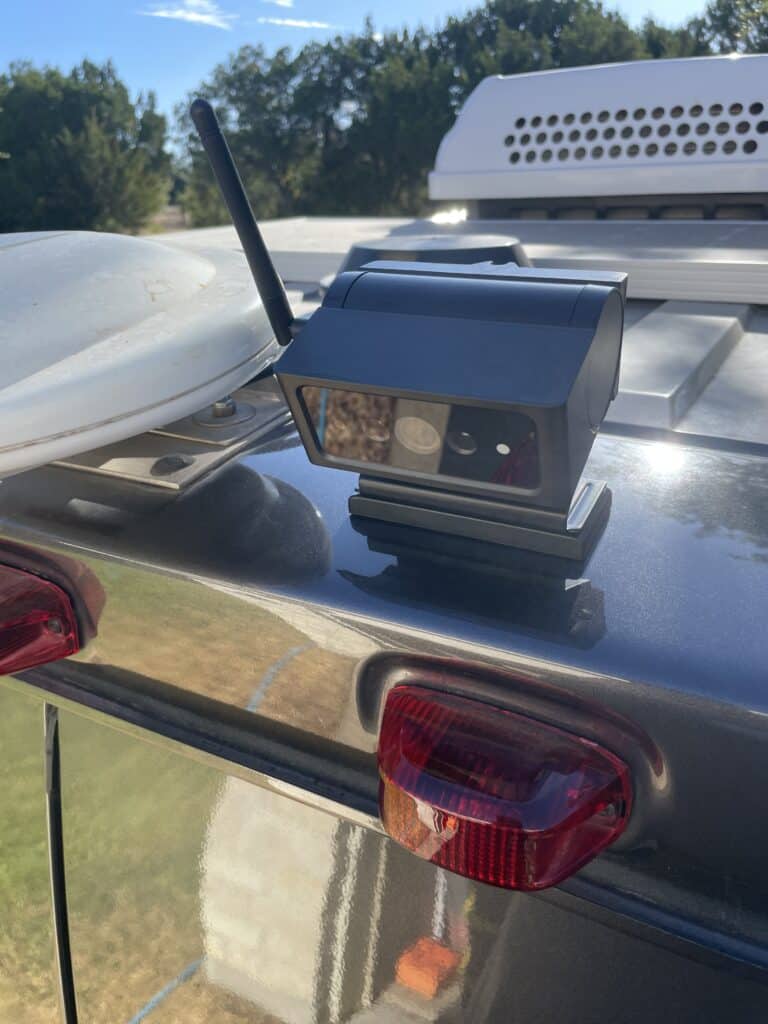
Once the magnetic base is in place, place the camera in an optimal location after cleaning the vehicle surface. You’ll also want to adjust the angle of the camera so that you are viewing the desired area behind your vehicle.
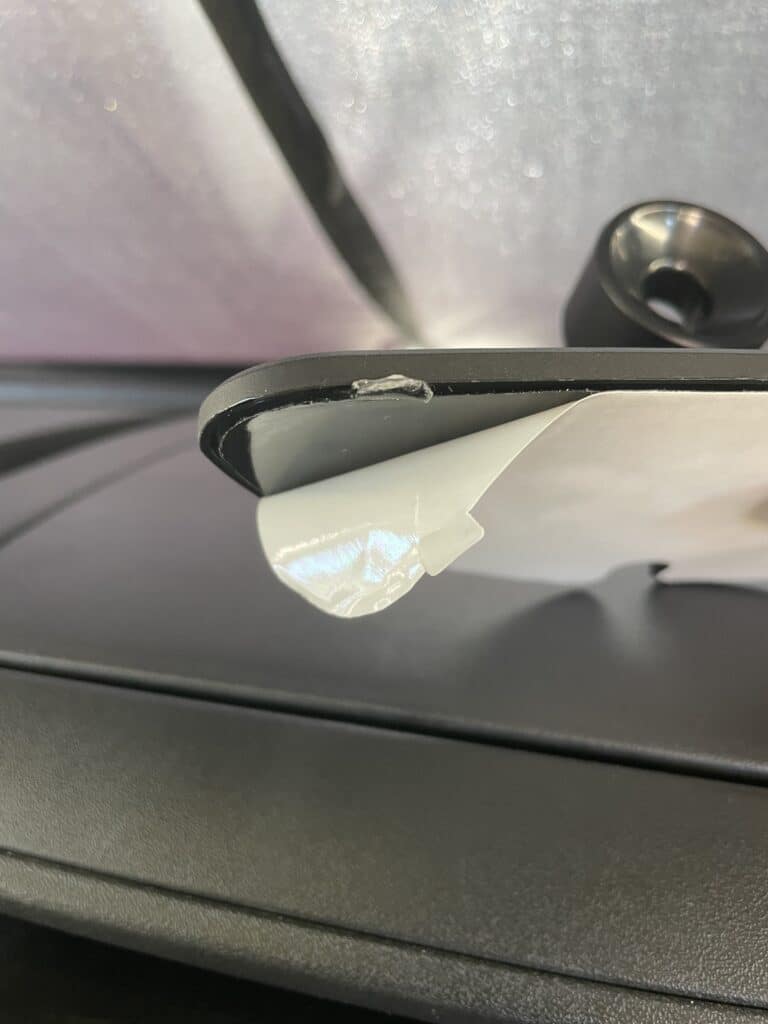
Install Camera’s Solar Charging Panel
Well, this part of the installation barely warrants mentioning because it’s so straightforward. But I’m mentioning it. The solar panel has an adhesive pad on the bottom, very similar to the monitor base we already installed inside the van.
Just follow these simple steps to install the solar charging panel for camera:

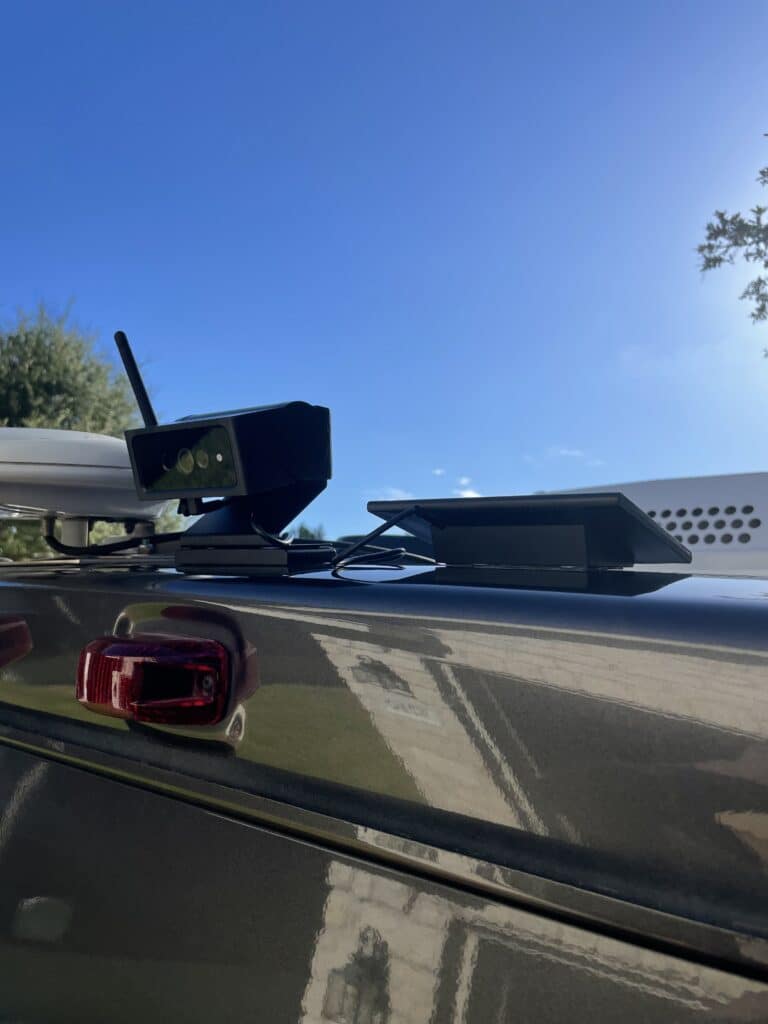
And there you have it! All components installed without drilling a single hole or running a single wire. That’s beautiful in my book.
Now we get to the fun part of turning everything on and checking our settings and overall camera operations and functionality.
Wireless, 7" Monitor, rechargeable battery, split-screen camera can be used for simultaneous truck and trailer backup views.
Auto Vox Settings and Operation
Be sure you have the camera turned on. The power button is located the bottom of the camera next to the charging port where you plugged in the solar panel cable. Check that your monitor is powered up, which may require your vehicle be in accessory mode.
Pairing the Camera to Monitor
Once both units are powered on, it is possible that the camera will automatically pair with the monitor.
If it doesn’t, however, just press the menu (M) button the monitor and the first option to come up will be “Pair”. Simply press OK on the monitor when that option is selected and the pairing process will happen automatically if your camera is powered on.
Note: If you have a second camera, you will need to pair both cameras and then switch between them using the channel (CH) button on the monitor.
Accessing Backup Camera Settings
You can access the system’s menu by pressing the menu (M) button on the monitor. This will pull up six different menu options.
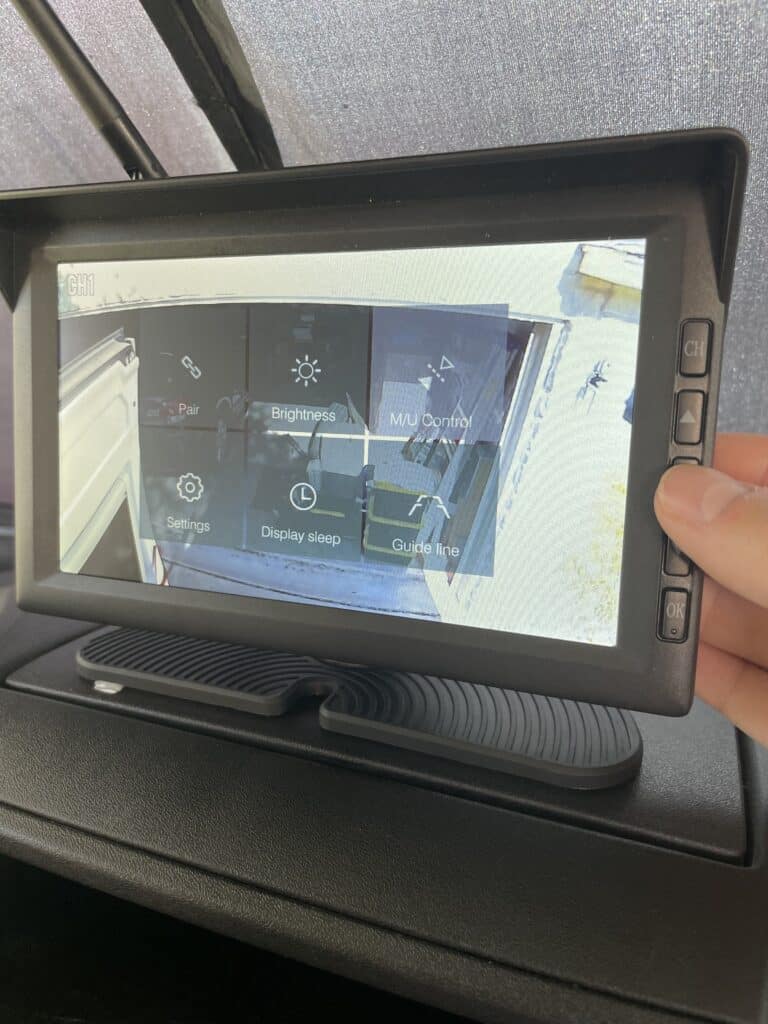
You can then select the different menu items by using the up and down arrow buttons on the monitor. When the option you want is selected, simply press OK (bottom button).
Here are the basic settings you can adjust:
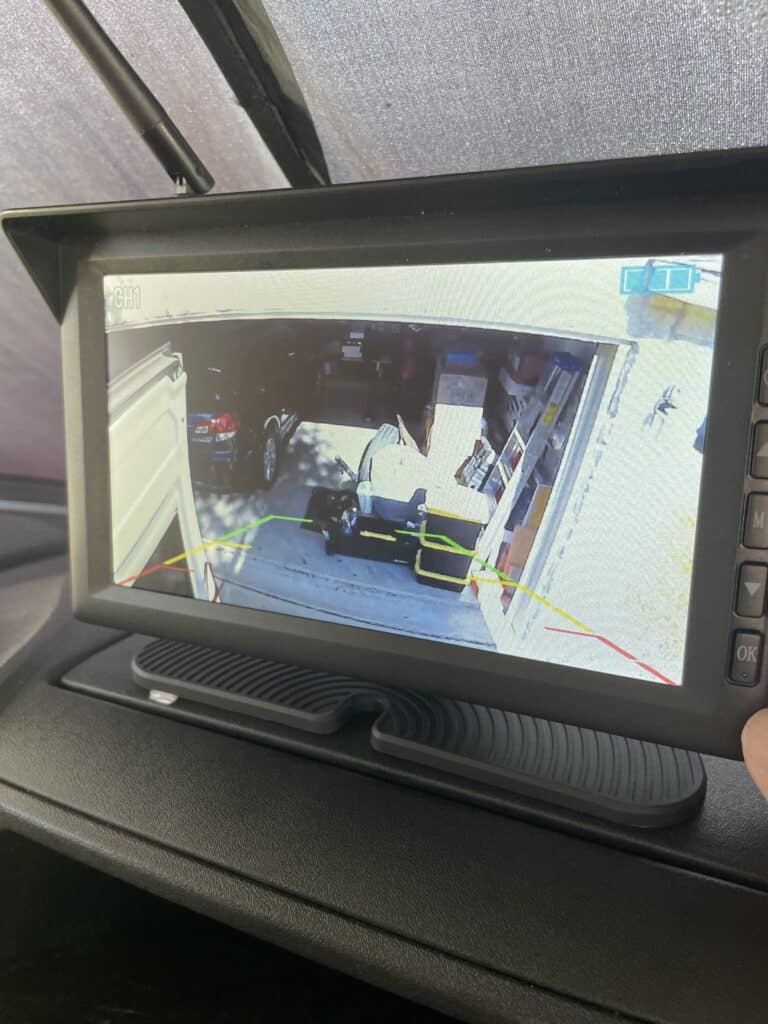
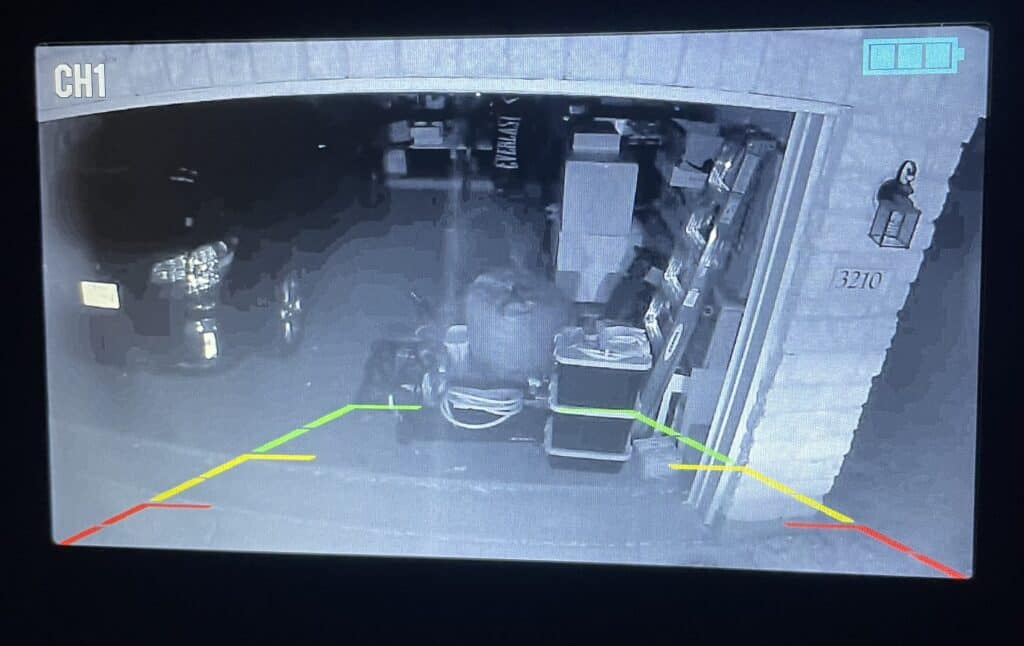
You can also change the size of the colored guidelines in the image as well. If you press and hold the Menu (M) button for about 3 seconds, the guideline will begin to flash or flicker off and on.
At that point, just use the up or down buttons to change to one of 6 different guideline size settings. When you find the size that works best for you, just press the M or OK button to save that setting.
5 Reasons the Auto Vox is the Best Camera for Us
By now, you’ve probably got a pretty good idea whether this Auto Vox Solar 4 Truly Wireless Backup Camera Kit is going to check all the boxes for you and your situation.
For me, it turned out to be exactly what I was looking for. All my good ratings are because of these essential features:
- Ease of installation with no hole drilling required and no wires to run
- Solar powered so I don’t have to constantly mess with removing and recharging the camera
- Large color monitor with high image quality allows me to see everything clearly and avoid hazards while backing
- Excellent wireless connection between the rear camera and monitor
- Quality components that don’t leave me wondering how long they will last
Wireless, 7" Monitor, rechargeable battery, split-screen camera can be used for simultaneous truck and trailer backup views.
Related Reading: RV Accessories You Will Actually Use
Other Top Picks for the Best RV Backup Camera
I also understand that your specific needs and priorities may differ when it comes to the best accessories for your RV, travel trailer, or 5th wheel. The Auto Vox has been a great fit, certainly the best camera for our travels.
But, you may be looking for other standard features or functionality. So we did some more research and sought out guidance from other full-time RVers.
Here’s our short list of the top picks for great RV backup cameras to help you make an informed decision. With one of these systems, parking in tight spaces can once again be a one-person job.
Furrion Vision S RV Backup Camera System
This is a highly-rated rear view camera system for travel trailers and RVs that can also be wired and used to enhance your travel and vehicle security. Positive customer reviews highlight the ease of installation for travel trailers that are pre-wired for Furrion, clear picture quality, and simplicity to pair with side cameras.
The Vision S systems are available in three sizes, including side cameras, rear camera, and doorway security camera.

Includes 7-Inch Monitor, 1 Rear Sharkfin, Infrared Night Vision, Wide-Angle View, Hi-Res, Waterproof, Motion Detection, and Microphone.
4UCAM Digital Wireless Cameras
This may be the best backup camera for RV owners looking for multi-view angles and the flexibility to include additional cameras for up to four separate views on a single display.

HD 1080P 7" DVR Monitor, with infrared night vision capability. Quad-view compatible for Voyager Wisight pre-wired RV, Travel Trailer, and 5th Wheels

Todd loves a competitive game of table tennis, a breathtaking hike, and exploring new places. He lived and traveled in an RV with his family as they traveled throughout much of the US and parts of Canada. Todd has extensive knowledge about RV travel, safety, and accessories and has shared many of his stories here on TREKKN. When he’s not busy launching and building small businesses, you may find him staring at pictures of Glacier National Park (probably his favorite spot on earth).