Steps to Winterize RV: Pink Stuff and Other Tips
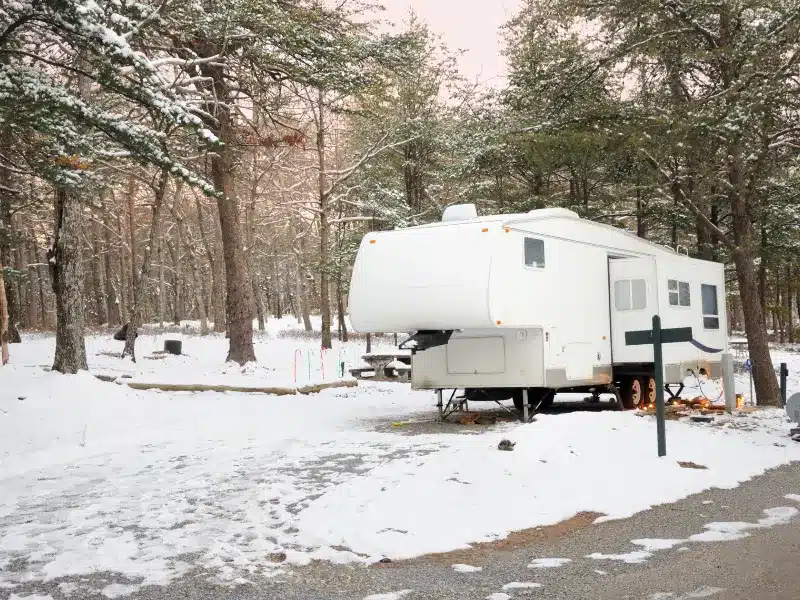
For weekend and part-time RVers, fall is an awesome time to take your RV out and enjoy those cool, crisp nights and brilliant fall colors. However, with winter around the corner and the end of the camping season near, RV winterization will soon be a top priority.
Properly winterizing your RV is the key to placing it in its winter slumber so it will be ready, willing, and able to hit the road once those first signs of spring arrive in a few short months.
Compressed Air or Antifreeze Method
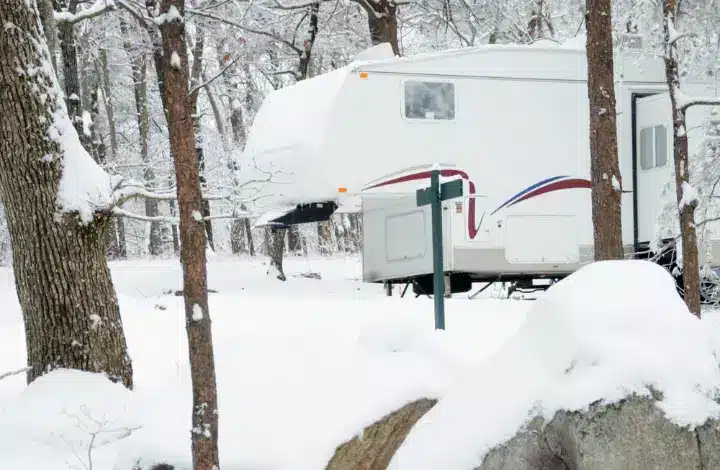
While your RV is in storage, it will be susceptible to extreme freezing temperatures during the winter months. There have been enough past winters to prove to us that almost no one here in the US can escape.
TREKKN is ready-supported. We may earn a small commission for qualifying purchases, at no additional cost to you. Please read our disclosure for more information.
Unless you plan on heating your rig continuously, your water lines could freeze and possibly split open. This could mean an indoor flood come springtime, or sooner.
To protect your water lines, there are two methods for winterizing: blowing them out with compressed air or filling them with RV antifreeze.
Both methods require using some antifreeze. I recommend using Splash, which is specifically designed as an RV / Marine Antifreeze.
One difference between the two methods is that the blowout method requires far less antifreeze. It will only be used in drains and holding tanks, rather than filling all of your water lines.
The Blow Out Method
This method is usually reserved for those who are located in slightly warmer climates or climates that only see a few nights of temperatures below 32 degrees each winter.
Steps to Winterize Using Blow Out Method
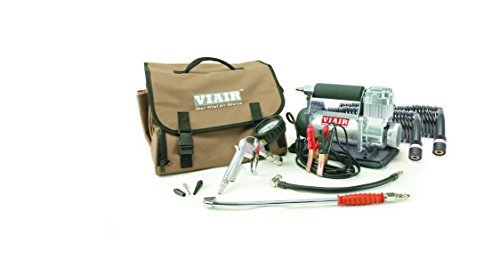
The following are general steps to get you through this process. You will need an RV blowout adapter, a standard oil-less air compressor, and one or two gallons of RV antifreeze.
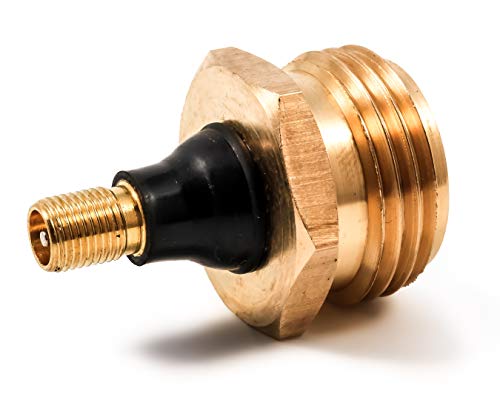
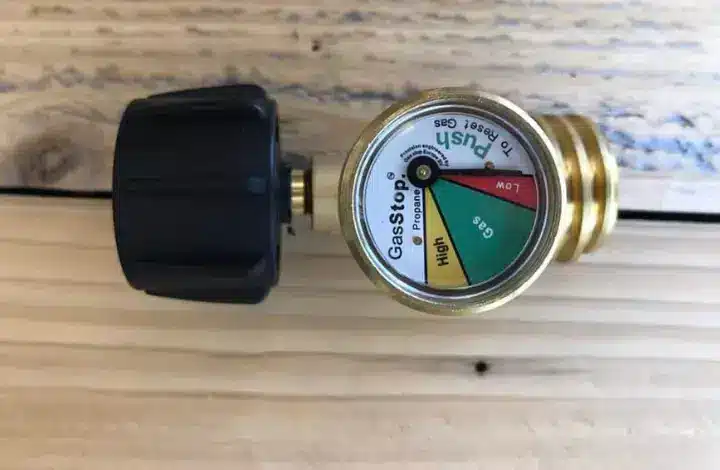
Helps clear your RV's water lines during winterization and de-winterization.

Flexible hose, garden hose connector, air compressor quick-connect plug, and shut off valve.
The Antifreeze Method
For those who live further north or who live in mountainous areas that see snow and sub-freezing temperatures throughout the winter months, RV antifreeze is the method to use.
What is RV Antifreeze?
RV antifreeze is made of ethanol, propylene glycol, or a mixture of both. It raises the freezing temperature to prevent your plumbing lines from freezing. The following are general steps on how to winterize your RV with antifreeze.
Depending on how big your RV is, it may take up to 6 gallons of antifreeze to fill all the plumbing lines, fixtures, and holding tanks for protection.
Steps to Winterize Using Antifreeze Method
The following steps will guide you through a winterization process using the RV antifreeze method:
Interior Maintenance
This article wouldn’t be complete without a few more RV winterization tips. Another important step that should be part of your winterization process is to care for the interior of the RV.
Be sure to remove any food products from inside the RV, along with any other items that you may not want to attract any furry four-legged friends or insects.
Also, remove any items like bathroom or beauty products that you do not want to freeze. We also take this opportunity to wash all of our bedding, wipe down all cabinets, and clean the entire bathroom, including the shower stall.
A clean RV will be much easier to de-winterize and prepare for another camping trip next season, especially on short notice. You will be glad you put in a little effort up front, trust me!

Exterior Maintenance
Of course now that you made sure the interior is ready for winter storage, do not ignore the exterior. A proper winterization process needs to ensure the seals, awning, windows, and roof are clean, secure, and protected. That exterior shell is your RV’s first line of defense against the winter elements.
I like to start with by completely washing our RV. That includes the roof, sides, front cap, and rear wall. Remove any dirt to reveal seal breaches or other potential issues.
Repair any seals that are cracked or showing signs of degrading and apply a good coat of wax to the front cap, sidewalls, and rear wall. Condition all slide seals, and apply lubricant to all moving slide and jack parts.
Trust me, there is nothing worse than starting off the camping season with an uncooperative (or leaking) slide!
Winter RV Storage
Now that your RV is fully ready for the “ravages of winter”, storing it will be the final step.
Covered storage is best at protecting your RV from the winter elements. If you do not have the option or resources to build or pay for covered storage, a fabric cover can be almost as good and give similar protection.
We have a cover specifically made for a fifth wheel that we cover ours with. It provides protection from the elements but allows us to keep the RV at home in case we want to take a quick trip or a long winter vacation to some warmer climates.

5 Layer UV protection, waterproof, cover for 5th wheel constructed with durable rip-stop material.
Materials Used for RV Winterization
As mentioned above, both methods require the use of RV antifreeze.
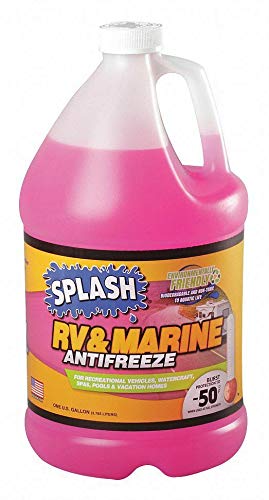
Add to RV plumbing systems to prevent water pips from freezing. -50 Point Freezing (F).
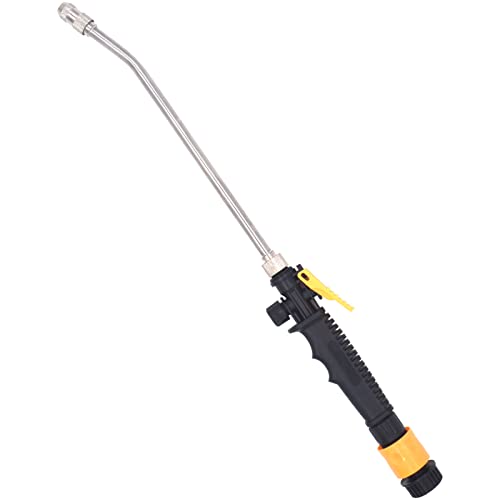
Stainless steel RV water heater flush wand. 360-degree rotating spray, water shut-off lock.
Supplies for Blow Out Method
These are the supplies needed when winterizing the RV with the blow out method:
Flexible hose, garden hose connector, air compressor quick-connect plug, and shut off valve.
No matter your RV type or your location, winterization is a process that all RV owners need to go through. Taking the time to accomplish the task properly will absolutely pay off in the end.
It’s worth taking these simple steps to ensure your motorhome, travel trailer, fifth wheel, or camper is properly prepared for winter storage.
Doing so will not only help you avoid costly repairs down the road, it will give you peace of mind that your rig will be ready for new adventures come spring!
Happy winterizing, and we hope to see you on the road!


Nick and Kelsey Hensley are part-time RVers and full time adventure seekers. Nick is a Rocket Scientist by day and a Certified RV Technician by night. Kelsey works as a freelancer, photographer and digital ninja. With their two kids, the Hensleys road trip across the country every summer on their quest to see all 63 National Parks. On the weekends you can find this nerdy crew at a campground, historic site, or checking out the newest restaurant in town.